Pages

Showing posts with label QFK. Show all posts

Saturday, February 25, 2017

Finish #4 QFK Charity: Square Green Quilt

Binding on, this quilt is finished!

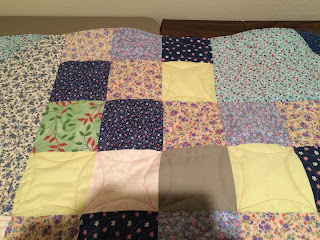
I'm very happy with the charity quilt.  I like the free form wavy line quilting, the way the added border looks on the front and the back, the way the corners have the extra line of stitching so it makes a square on the back, the way the binding went on so easily too.

Maybe I'm getting the hang of this!

4th finish for 2017!


Thank you again Angie @ http://quiltingreadersgarden.blogspot.com/ 
Really like the wavy lines for charity quilts!


Friday, February 24, 2017

WIP: QFK Square Quilt Part 2

When I last wrote, I had finished quilting the major parts of the quilt.

I went back and added a wavy line of quilting so the light green inner square had stitching on both sides.


And I added the outer borders to the piece!  This makes it so it's the correct size for Quilts for Kids.

I just placed the border, and stitched it down.  If you remember I was having a ballooning effect so the borders were removed, so when I replaced the borders I did not go by the edge of the quilt, but rather went where the border strip went when it was placed, this meant that I lost a little of the quilt, but not much.  And now the quilt is flat!

I added a line of stitching so on the back it looks like there is a square in the corners of the piece.

As soon as I put the piece on the table to bury the threads, my friend jumped on the quilt to keep me company.
(She is getting almost too comfortable in the sewing room!)

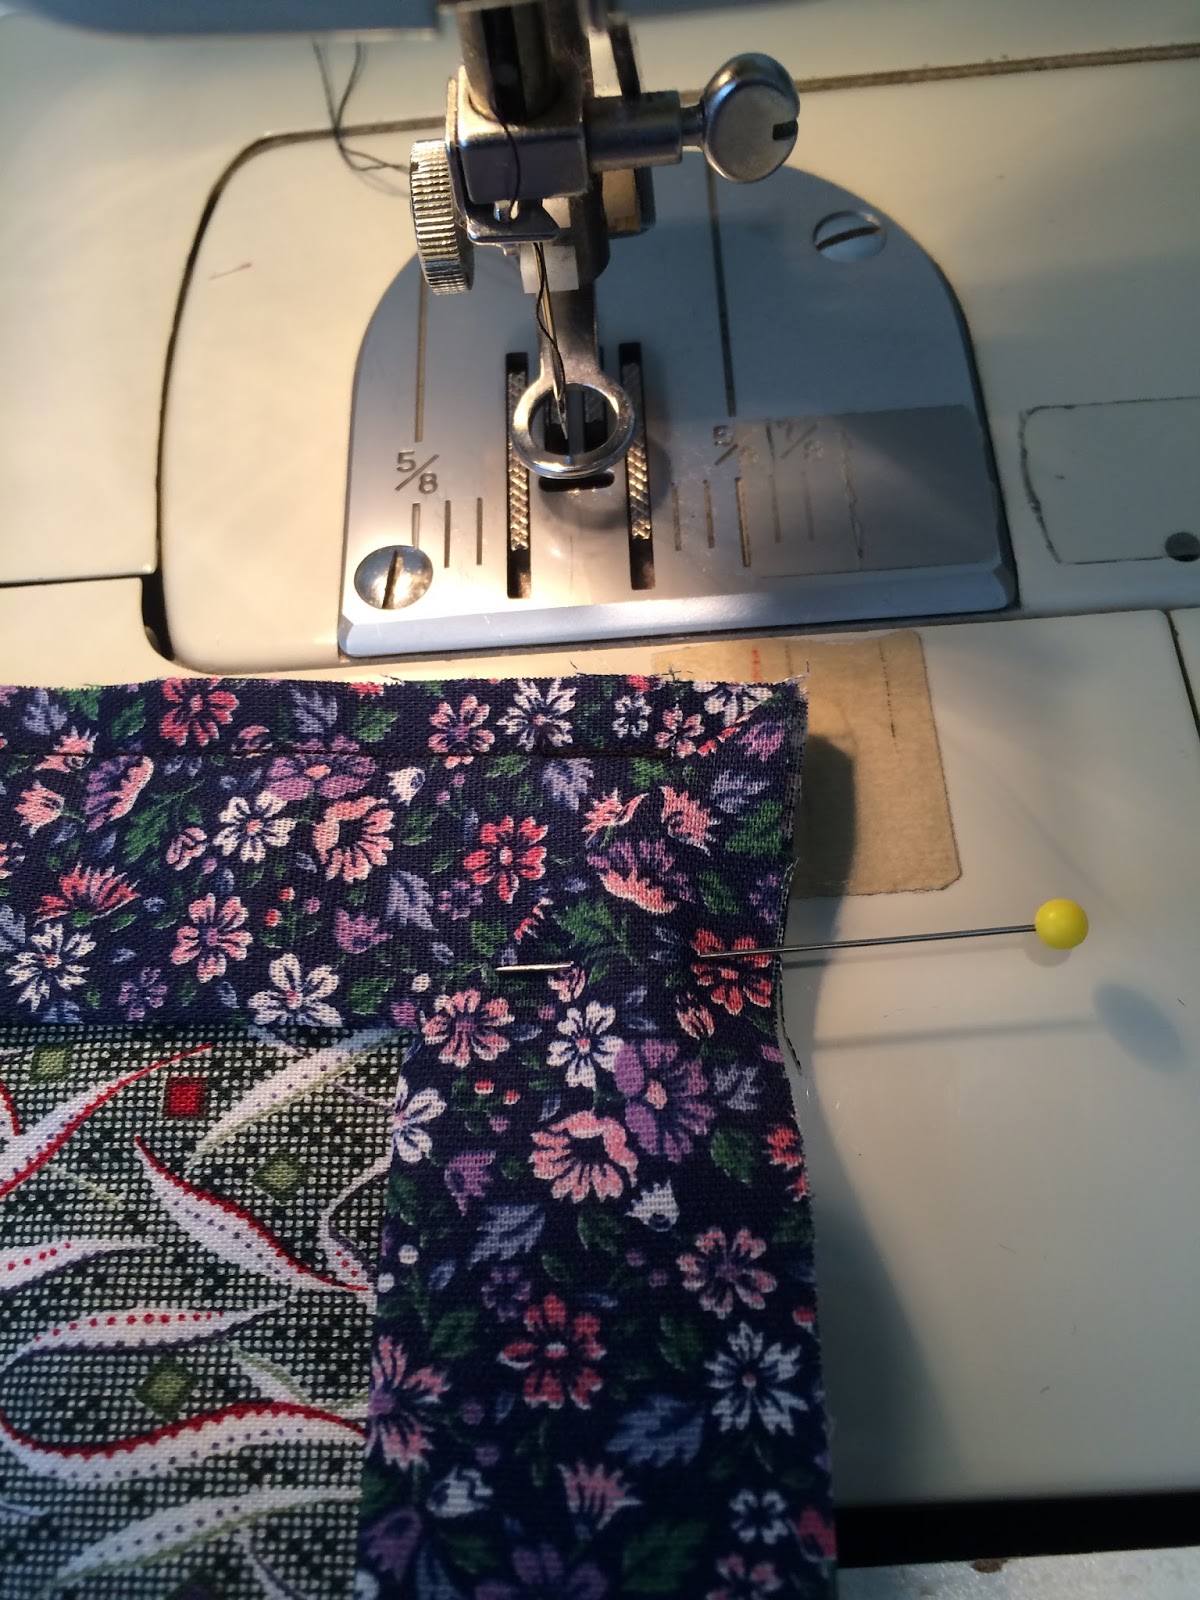
I do not usually pin, but pinning every three inches helped me keep the border so it covered the quilt seam.  (I didn't pin the second seam and after adding the third border saw that there were a few places where the fabric was not joined correctly.  So I removed the stitches and did it correctly.)  The pinning also helped keep the fabric in position under the batting.


I added a line of stitching just in the batting and backing so there is a corner square. Here you see one corner undone.

I added the stitching so it did not show on the front.  I think the corner on the back will disguise that the extra lines of thread were added when the final border was added.  Will make it more symmetrical.

Here is the front.  The extra stitching doesn't show.   
In this case I knew I had borders to add, but I think this technique could be used to enlarge a quilt when there is extra batting showing at the sides.

Now the piece is ready for the binding.

I named this post Part 2, but there have been many starts with this project.  I'm glad to be closer to finishing it up!

Wednesday, February 22, 2017

WIP: Quilts for Kids Square Quilt

I've blogged about this project before, for such a little project it has gone thru several changes in it's creation.  First it looked sort of like the Nazi symbol, then was redone to be this square.  But it had so many ripples that it was taken apart again and partly sewn back together.  I left the final border off and will add that after the quilting is done...

I did Angie's wavy lines on the larger center square, then went back to cross over them.

Then on the outer triangles I made a design with different types of waves to fill that area in.

I'm really liking the way the wavy lines poof up, and sort of go with the design of the piece too.

In class tomorrow I'm going to ask someone to show me the proper way to tie the threads off.  I've been using the Clover cheater needle that Leah Day recommends, and added a knot after rewatching her video, but the teacher at the class I attend showed a way to pull up a loop so the two threads end at the same place so that would save a lot of time from what I've been doing.


As soon as I finished the initial lines I put it down for a photo and Buffy appeared from thin air and sat right in the middle of the quilt, so I had to take her picture!

Yesterday I took her to Petsmart and they trimmed her nails, brushed her teeth, and cleaned her ears.  Her teeth were so bright afterwards!  I wish they would show me how to brush her teeth but actually they hid her away from me while they did that and the ears.  I'll have to learn from videos posted on the web.  I think it's better to have someone else trim her nails though, it was always stressful when I groomed our cat's nails.  They had a good set up for doing the nails in the front part of the grooming area, and did give me a coupon when I asked if they had any, so I got 15% off the food!  But I'd rather have a set up where I can at least see Buffy all the time whenever she is being groomed.

Buffy is at the far table.
I gave her a bath when we got back, her conditioner makes her hair so soft!

I'm going to look into videos for training dogs too.  She sometimes will run to grab a ball, but doesn't know what to do with it really after that.  It would be fun for her and for me if she would bring the ball to me so I could toss it again for her to retrieve.


Monday, December 7, 2015

A Charity Finish: Freeform Scrappy Thread Orange Peel and Curved Corner Finish

I have a finish!  The new things I practiced were curved corners different thread orange peel, applying the binding to the front.

Curved Corners and Binding

I hadn't planned on curved corners, but I goofed when doing the miter corner so it the only way I could think to repair was to trim the corners so I could work around the corner.  (I still only have the darning foot and the stitches were too small to remove.)  The corner makes a nice finish.  When I was reading up on how to do the curved corner the blogs I found said I would need to use a bias binding, but since mine was already cut and partly applied and stuck with what I had.  Other than the one corner where I had originally messed up though I did not find that I had trouble applying this straight of grain binding so I will try that again.

I did cut the binding strips at 2.5 inches, next time I'm going to try 2.25 inch strips as the line of stitching could have been closer with this kind of batting.

I did sew the binding to the front and then wrapped it to the back to sew the final stitching.  This I will do again.

Freeform and Scrappy Thread FMQing

I did an free form orange peel design and used up some of the thread I had that is in different colors. I like the way it looks - reminded me of leaves when I sewing, but then a firework when the different colors met at the intersections.  Since it's a scrap quilt, it made sense to me to also be scrappy with the thread.  Pink, red, blue, black, grey.  I will do this again.


Edges of Quilting

I didn't remember to be consistent at the edges with the orange peel design until the very end...  So many of the points are lost under the binding.  In fact I had intending on wrapping the back to the front to make the binding.  However, because I was inconsistent had to cover up those endings.  So I trimmed the quilt up and cut the binding from the backing fabric.  Next time I hope to remember to be consistent so the points aren't lost!  I could simply stay stitch all four sides of the project and use that to guide my FMQing.


Mitered Corner Error

My mistake on the corner.
I think I will make up some mug rugs to practice binding....


For the Future

I'm interested in different ways I can FMQ using consistently sized blocks to guide my stitching.


History

Looks like I started these charity quilts the end of January 2015...
Blogged here:  http://quiltquest.blogspot.com/2015/01/20150130-final-border-on-green-qfk.html

Wednesday, December 2, 2015

Charity FMQ Unmarked Baptist Fans, Orange Peel, Feathers

I finished another Quilts for Kids!

This one I had planned on sewing together so the squares would be on point, but I goofed so just have strange corners instead.  The leader of our local Quilts for Kids said it would be okay so I went ahead and basted and free motion quilted.  I started with some feathers in each of the corners, but the pick thread makes it very difficult to see that detail.

I decided to try some unmarked Baptist fans, was afraid I would run out of thread so switched to orange peel design that would use less thread.

It's my first time for both of these.  It would have been easier if my working space were consistent instead of having the strange corners.

So this quilt has several firsts for me:
1.  The first huge mistake with piecing made it so I didn't get to try the on point setting as I wanted to.
2.  First feathers on something more than a practice piece (and those were done in 2012!)
Example Feather - each corner has a different interpretation of a feather.
3.  The first Baptist fans
Unmarked Baptist Fans - they do look nice from a distance!
4.  The first orange peel
Unmarked Orange Peel - Very easy to stitch in the squares.

I didn't break any needles even though I'm just getting back into sewing and quilting again.  Had planned on using some gold thread but that didn't work out so grabbed the one spool of pink that I had just to get going on the project.  My hand was unsteady so guess it's okay that the thread blends into the background in most cases.

I have another quilt with these materials that is made of all squares waiting to be finished.  I wonder how that will end up being quilted?  It will have binding made from bring the fabric from the back to the front.

This one was made with the top and back facing each other, then it was turned inside out.  I've only done this one time before. I think I should have basted this one even though my 'teacher' said I didn't need to.  There is one spot where things bubble with extra fabric.  Perhaps that could have been avoided with some basting.

Still it will be a nice quilt for someone.

It was pretty easy to move my tables so I had extra table behind the sewing machine and to my left - think I will be liking the new sewing space!

I just realized I hadn't posted a full photo of this project.

Made from charms cut from fabric with Studio GO.  Was supposed to be on point, realized after sewn that I had to add corners to make the quilt a rectangle!

Back was one piece, sewn as an envelope then pulled inside out, so there is no binding.

I think this is my fourth finish for QFK.

: )


Here are I think better photos of the project.  Including a few toes!

Sunday, November 1, 2015

QFK Green Quilt Finished and Baby Quilt with Block Lotto Winnings Finished too!

I finally finished the green Quilts For Kids (started Jan 2015) project last summer.  I brought it with me to the east coast and used it to help my friend make a quilt for her granddaughter.

We only had the regular walking foot for the machine so were only able to do straight stitching.  I was disappointed to not be able to introduce her to FMQing, but it was very freeing also to just do the stitch in the ditch and to get the projects done!

First went around each block.  Goofed in one place near the middle so just added another line so the quilting was symmetrical.  Then went around the borders.

When it was time to do the borders realized:
1.  I didn't have enough pins with me to pin the bindings the way I have done in the past, and also didn't have any glue or snapping pins to keep the border in place.
2.  There was extra batting and fabric all around the quilt.

So instead of trimming the batting even with the top and wasting the batting, we cut the batting so it was even on all sides (but sticking out about an inch) and trimmed the background so it was even and would cover the new batting plus about inch so the edge could be finished.

Then we just folded and sewed, pinning on side down at a time.  I did the top then the sides - but now I'm not sure that is the correct order.

The binding then added two inches to the size of the quilt and looked like another border instead of binding.

The wider binding made it very simple to finish this quilt and I think I will just do it for all my charity quilts. Then it will mean I can finish them so they can be donated and used!

As a lesson I showed her how to do a step with my green quilt, and she then did the sewing on her baby quilt.

We'd prefer more quilting, but sometimes it's better to just get something done...

If you look closely you can see the extra lines that do not follow the outline of the blocks.
Much easier to see the extra lines here, but they just look like a design pattern.  Not a mistake!
Wider binding added to the size of the project, followed the design in the borders, and was so easy to do!
A finish!
I brought blocks I had won in the Block Lotto and my friend
picked some to put in her daughter's baby quilt.

She sewed nine blocks together, then added two
borders.

We folded the backing over and extended the
size by trimming the batting so it was
about 1 inch wider on all four sides.
Machine sewed the binding and project was done!

A finish!  Here is where I wrote about the Block Lotto blocks... 

Created with the HTML Table Generator

Wednesday, February 20, 2013

Wed Feb 20: Eddie Izzard


Fitbit Daily Activity: 14424 steps taken, 18 floors climbed (You have climbed: The Leaning Tower of Pisa),  6.01 miles traveled, 2308 calories burned, 779 active score.

I pulled myself out of bed at a better time than yesterday, weighed myself, did some email, had some lunch, then left to see if the local fabric places happened to have a quilting foot for the wonderful Singer that wonderful lib-quilter Audrey got me on Freecycle.

Took a different street, went down Hamphire Street and ended up sort of near MIT!  Then cut across to Cambridge Street and went to first SEW LOW Discount Fabrics Inc, 473 Cambridge St, Cambridge, MA - they didn't have what I needed, but I did see great looking fleece for $5.99 a yard - I didn't bring my pattern envelope so I wasn't sure how many yards I needed to get for that jacket I want to try to make.  Sewfisticated Discount Fabrics, 14 McGrath Hwy, Somerville, MA also didn't have the quilting foot.  Her fleece didn't look as nice, but she had something called minky that might be good to try....  She did have a tape measure for fifty cents and a piece of batik for $1.49 so I go that before heading to Shaws (Grocery store).  Both fabric places have nice workers - they both referred me to the Davis Square Singer Sewing Machine place so guess I will visit there soon.

Expenses
$ .50 tape measure
 1.49 batik fabric - about 3/4 yard
$2.00 Total

At Shaw's I got pudding, whipped cream, batteries and cake mix - all the essentials.  (ha!) DH made the boboli pizza while I rested a bit and checked on where the evening event was to be held.....

This was the second event we attended put on by the Harvard Humanist group - they are a nice group.  I'm glad they have some events open to the public. (What a deal - tickets to their event were only $25 each - to see Eddie in NYC it's almost $200 a seat!)

When we got home we had some pudding while watching an episode of House of Cards.

"We are delighted to announce that comedian Eddie Izzard will accept the 6th Annual Outstanding Lifetime Achievement Award in Cultural Humanism -- an award presented at Harvard University each year by the Humanist Community at Harvard, the American Humanist Association, and the Harvard Community of Humanists, Atheists, and Agnostics.

Previous recipients have included: novelist Sir Salman Rushdie, punk rock star and biologist Greg Graffin, writer/director Joss Whedon, TV debunkers Adam Savage and Jamie Hyneman (of the hit show Mythbusters), humorist Stephen Fry, and author Mary Roach.


Held in Harvard’s Memorial Church, a historic building in the center of the campus yard, the award ceremony honors an individual whom we feel has made a superlative contribution to Humanism in world culture. 


In addition to his humor, Eddie Izzard’s political activism, charity work, and support for education reminds us all that the nonreligious can be outstanding members of global society. 


Join us for this celebration, performance, and opportunity to ask questions!"


The Harvard Humanist group is not funded by Harvard, I'm not sure really how they get to insert Harvard in their name.  I need a way to meet people so I'm hoping this group will help with that. I don't need to talk about theology but do need friends here to share some of my time with while my DH is working on his sabbatical projects.

I had emailed the Cambridge Many Helping Hands organization after spending MLK there helping with things and after I got my sewing machine, but have not received an answer yet...  I could be doing some sewing for them while I am here.

I've missed some days of posting - I finished the top for the Quilts for Kids project during that time - after returning from NYC.


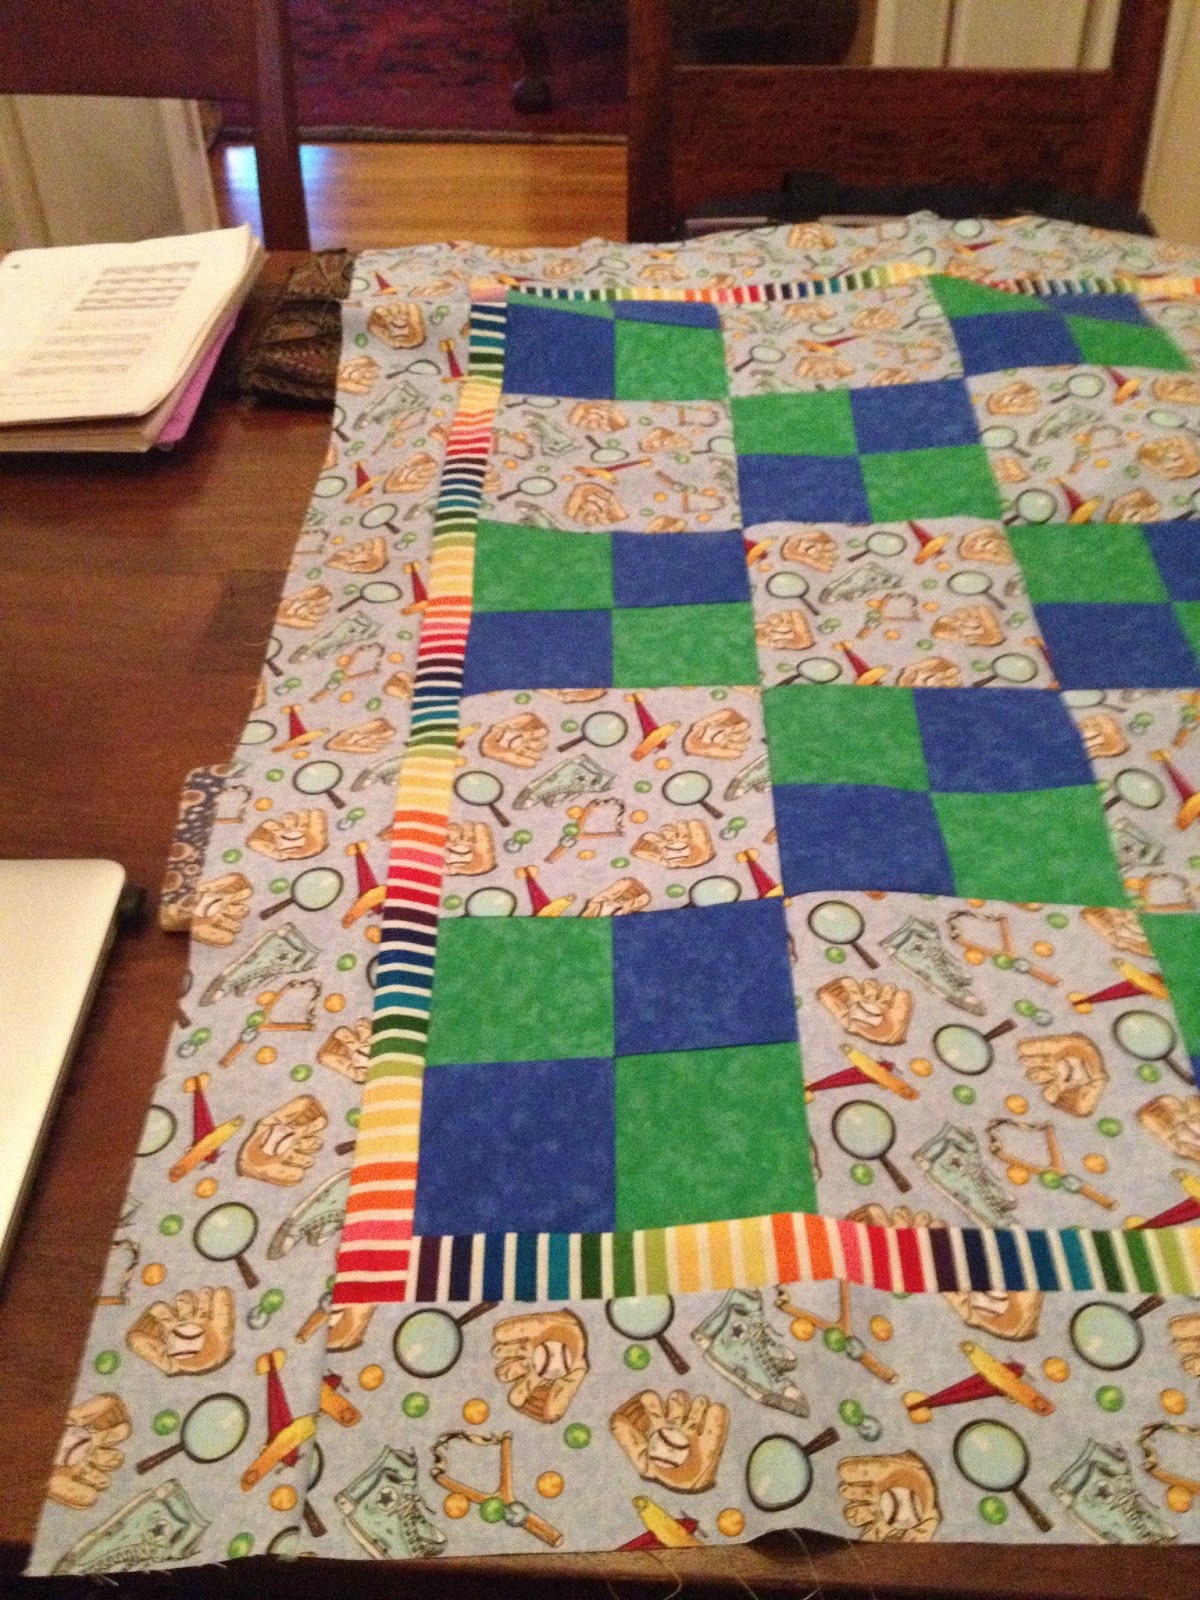
Quilts for Kids Project from provided kit.
I don't like the fabric as much as the first kit they sent me (Robots on a yellow background), but it is looking nice now that it's all together.

Now I need to get the quilting foot for this singer machine and the pinmoors so I can baste this baby!  I left a project in San Diego all set to quilt with the first batch of pinmoors that I got last spring.  They are so much easier to use that safety pins!

Linking to Sew Many Ways - Find a Friend Friday - maybe there are some liberated quilters who'd like to walk with me or meet for coffee!


Sunday, January 27, 2013

Sun Jan 27: Little more sewing and Walk to MIT and Pizza

I used a pencil and drew my cutting lines so I could sew some of the 4-patches for the Quilts for Kids project. If I had planned my time better I could have walked to get the batting and the cutting mat - but instead I made some calls and sent text messages.

Was hoping to have lunch with someone from San Diego now living in RI but that didn't work out.  I decided to walk to MIT instead of taking the T - it took less than 30 minutes.  Was a nice walk - I brought my coat in my backpack and just had light jacket on.

There were 22 teams at the game competition - it took three hours to see all the projects - what fun.  Very creative ideas and interpretations.  I'm glad I got to see it.  http://www.twitch.tv/mitgamelab

Then we took the T and met friends at the end of the red line in Alewife - there is a nice pizza place just steps away from the station.  We each got a different individual pizza - then shared pizza so we got a variety.  There were many left over slices - but the dessert menu had a photo of an apple topped cranberry bread pudding that was calling to me - so we got a serving to split.  Man, was that tasty!  I don't even like bread pudding - I thought it was a pecan bar from the photo - but it was really good.

More importantly, it was fun to get to chat with J and B.  DH and J will be going to RI this week to see J's house that is under construction.  Will be a nice trip...  Nice for them to get to be together with the ladies....


Saturday, January 26, 2013

Sat Jan 26: Slow Sewing

I still can't believe that my online friend was able to get me a nicer sewing machine than the one I have in San Diego -  thru Free Cycle!  I plugged everything together, threaded the machine, and started making the Quilts for Kids project that I brought with me from home.  Going well.

I need to get a cutting mat so I can use the rotary cutter that I brought along, but when I left the front door wouldn't lock.  I looked all around -  could not figure it out.  Even called a friend in CA for advice - we couldn't figure it out.  So I stayed in and heated up some soup for lunch, and made a quesadilla for dinner.  A new noise then started in the kitchen - sounded like the microwave but I couldn't figure out where it was coming from.  Finally I figured that I must have pushed the 'vent on' button instead of microwave power on button - clicked it again and turned the noise off.  Then I was watching TV and the gas fireplace turned on.  I sat and tried to remember when I had last touched the remote for that...  It went off 45 minutes later.

When DH came home he showed me how to push buttons on the side of the door to set it to lock or unlock when closed.  I don't remember touching anything there, but must have done that - so now I know.

And we figured that I had somehow programmed the fireplace to go on at a certain time - so think that it's cleared out now.

Boy, I feel like Granny in the Beverly Hillbillies - trying to understand how this newfangled place works!

DH had a full day at the game design competition - he is the designer on the team.  There is also an artist and a programmer - they are all working well together.


Friday, June 18, 2010

FMQ Designs Used in First Quilt - Red - Long Beads

I intended to use a different design in each color - but at the end I saw the long strip of red and I just didn't know what to do. I didn't have control of the fabric at all so I couldn't fathom sewing columns of chevron's there. So instead I just did a long loopy stitch then came back fill it in - like beads...


I was really tired with this effort - pleased but tired. I determined to get new thread - I wanted red as it would stand out - for my second quilt. I also put the quilting aside until the things I ordered from Leah arrived. Having the bobbin glides and gloves really changed things. And I can't imagine sewing with the machine just being on the top of the table now - having it secure in the little desk really helps.