Friday, October 30, 2020

Autumn Jubilee: Quilt Assembly and Finish

So after only four weeks of blocks, now we see the beautiful finishing up of this quilt:

https://frommycarolinahome.com/2020/10/30/autumn-jubilee-quilt-along-assembly-and-finish/


See how she has added different sized sashing between some of the rows of blocks?  Using different colors for the light back ground too makes the quilt come alive.  And look at the three borders she added.  One of the background, then a scrappy one using up some of her left over fabric, and the beautiful gold that she used for the last border and the binding.  It's really a lovely quilt.  She said it is queen sized.  Wouldn't it be a great present for a friend moving from New England to Florida?  I think so.  I have downloaded the steps and will shop my stash for fabric to use for this beauty!

--------

On the June side of sewing, last night I put a binding on a piece of pre-quilted fabric that I found while going thru my fabric.  One side has bright blue, the other bright orange. The fabric is non-cotton - a kind of slippery light weight fabric.  Reminds me of the fabric that used to be in ski pants and jackets.  Our little dog seems to like this slippery kind of fabric to sleep on and snuggle under.

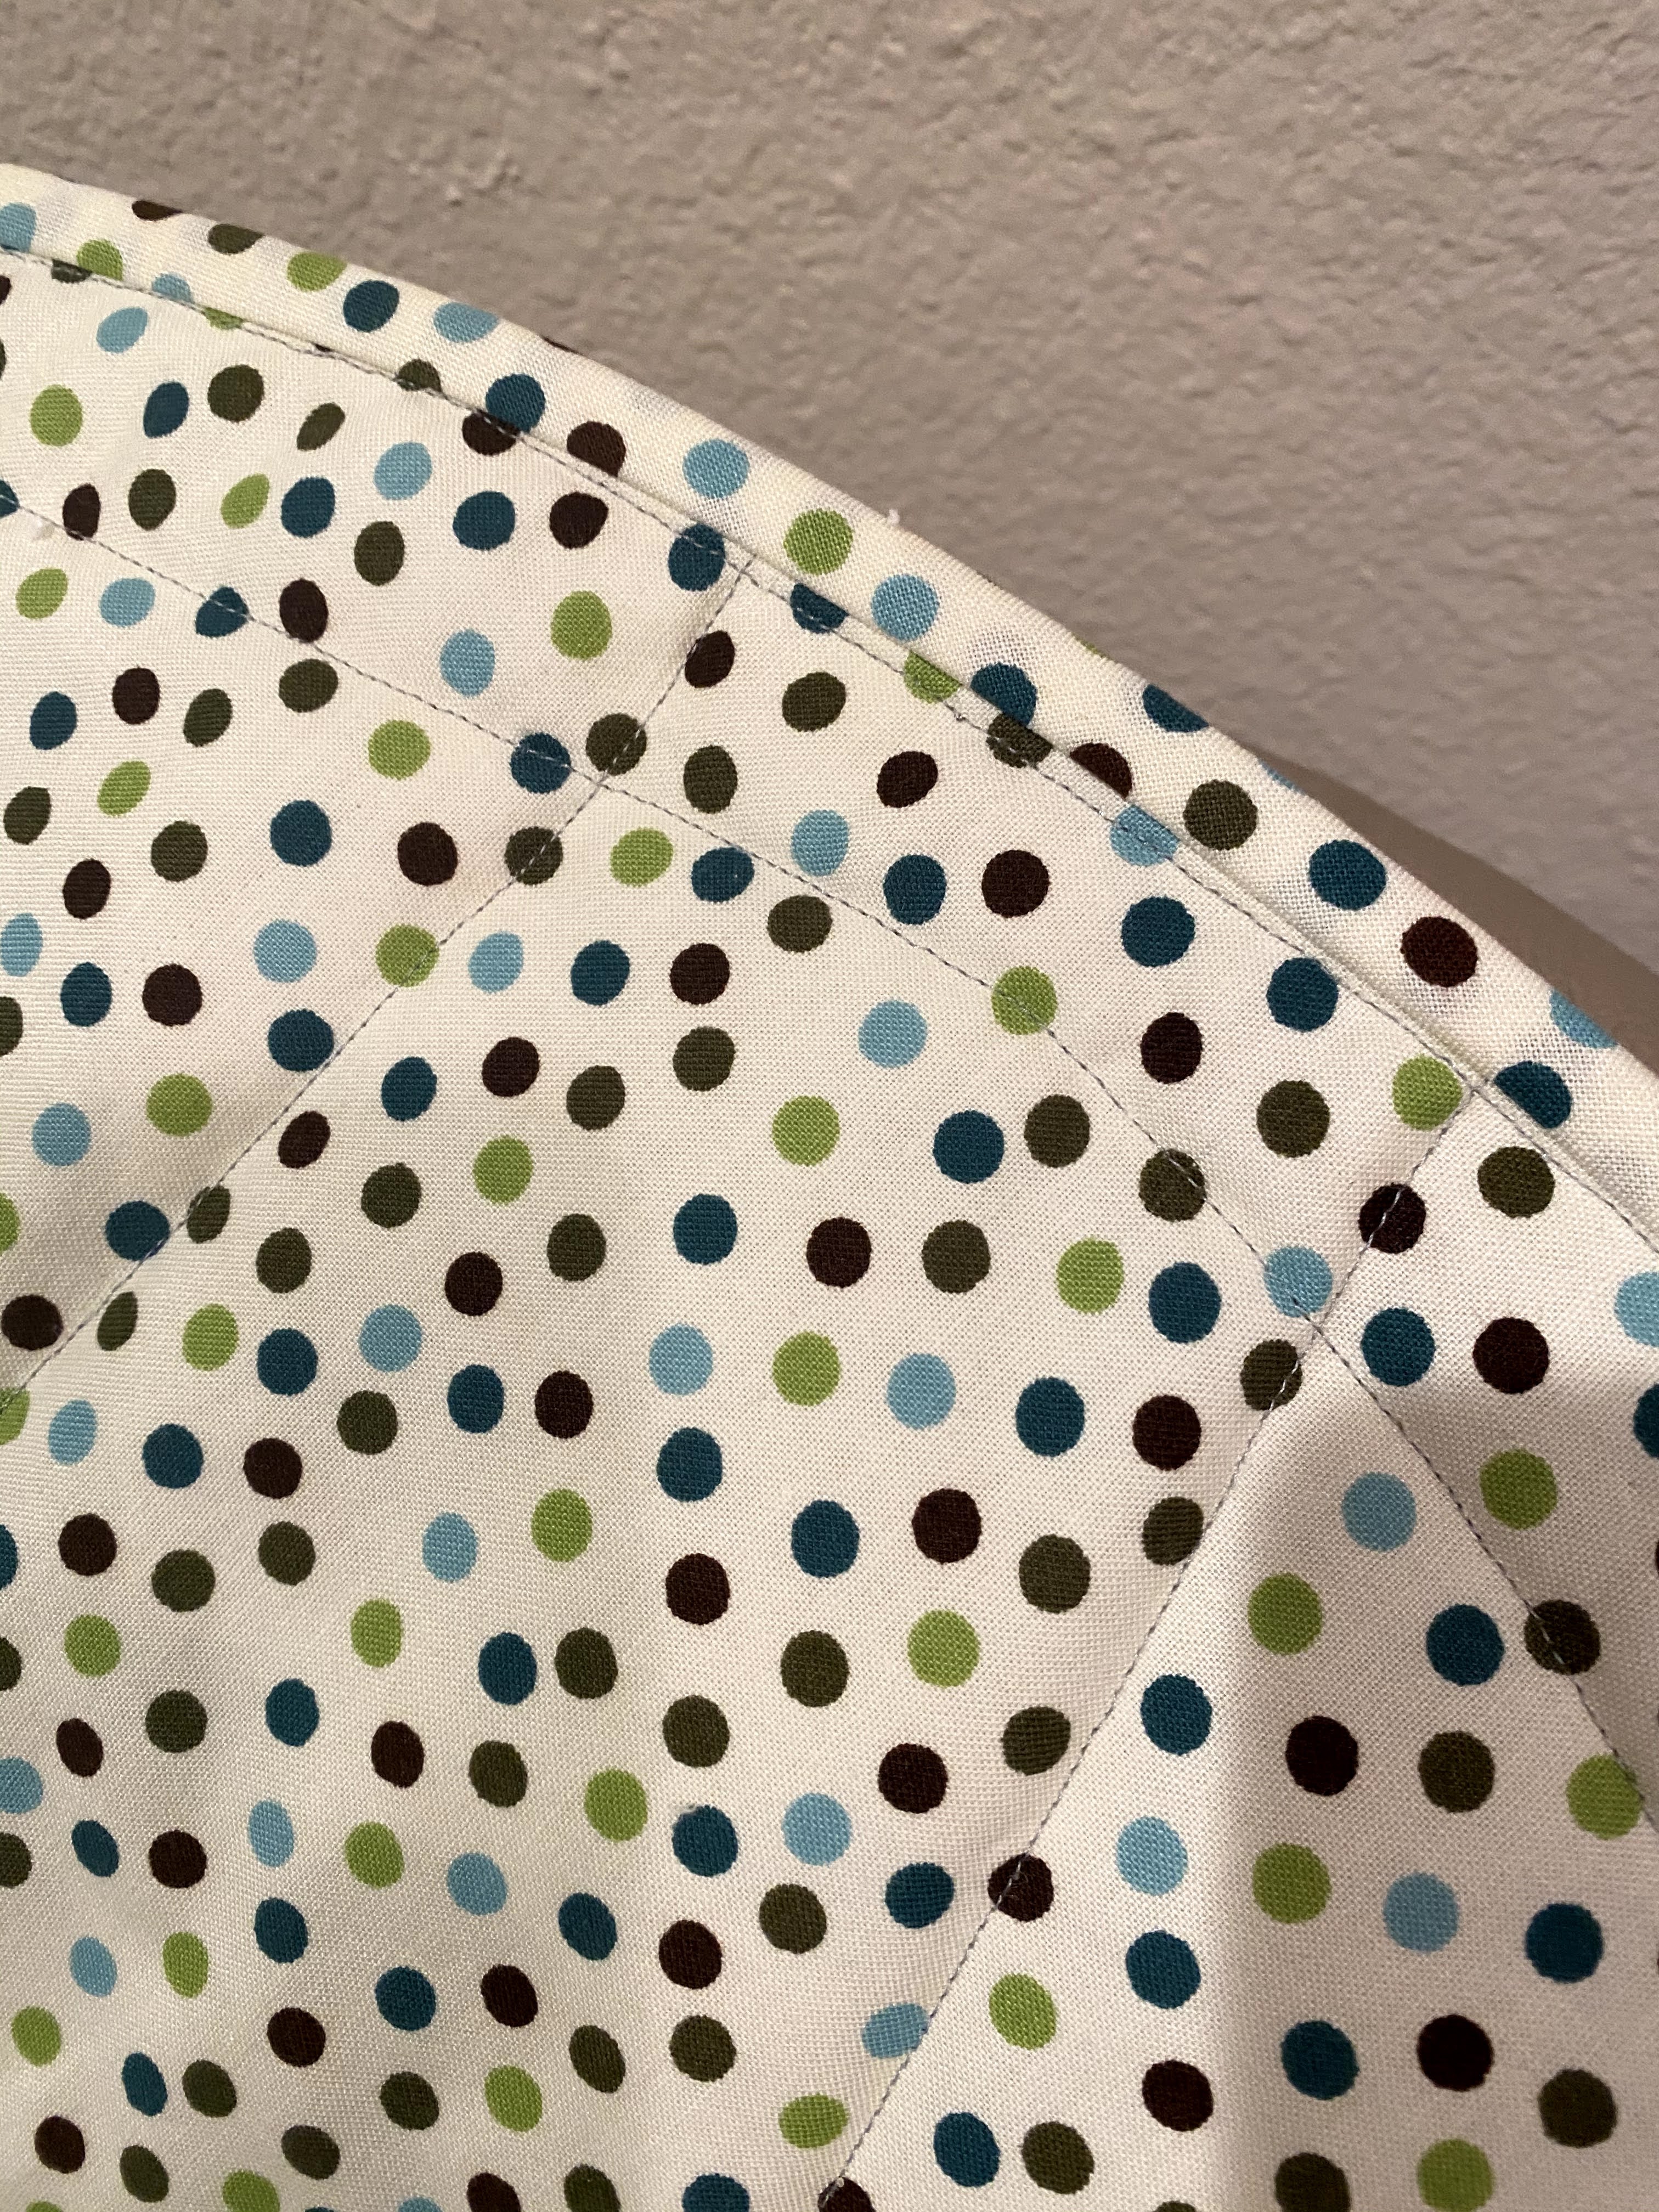
Last year I had bleached some green pants that I got at Costco (quick dry pants with zippered pocket in the leg and more in the front and back at each side). With the bleach they turned construction worker yellow.  I wore them for my Pj's during our trip to Africa (thinking if I needed I could wear outside too).  They were fine for Pj's, but I guess the bleaching made parts of the pants weak so developed a hole.  I cut a pant leg into 2 inch strips and joined them together for the binding.  I thought I could press the piece in half and sew it onto the fabric in one step. It sort of worked, but even with this I had trouble getting the sides to be even and smooth.  I had thought of using a glue stick to place the fabric, but thought I could bypass that so just sewed.  To mimic the stitching on the fabric I went around the fabric two times.


I thought the pants that I used for the batting would not fray, but it looks like it might already be doing that.  Oh well,  Buffy already liked sleeping on it earlier to today.

I read that dogs would see blue and yellow, so it is good colors for her.

JoAnn's had a good sale earlier this week - the things I was interested in were 30% off and they offered free shipping so I treated myself finally to the June Taylor Shape Cutter to help when cutting lots of strips, a 2.25 inch ruler (for binding), different types of self threading needles, and a couple of bottles of basting spray.  After I placed the order I saw that Amazon has much better prices of the self-threading needles, so if I need more will get via Amazon.  But almost everything has already arrived from JoAnn's - and so great that I didn't have to stand in any lines to get them!

DH got me some new legs for my cutting table - I will be able to turn a small handle to change the height so I can cut without hurting my back - or I can sit down at it with a regular chair too. We haven't put the new legs on yet.  In the meantime the bed risers I got are working okay.  I just have to be very careful not to push on the side or the table falls off the risers.

I emptied out two metal pattern chests my mom left me.  It is fun to see the fabric and patterns she had left inside the drawers.  I am going to keep them as I may decide to sew some clothes someday.  But my husband and son will now have 30 divided drawers to organize their tools and things in for their woodwork and electrical stuff. I can picture having a drawer for drills and one for sanders and other things.  Mason jars can be filled and we can write what it in them on the lids so it's easy to find.  It would be so nice if they would put labels on the outside of the drawers and put things back so things are easy to find!


There is one more of the red chests for the screw drivers and flatter tools. Right now that is on a red cart next to the taller chest in the unfinished part of the garage.  Maybe someday I will be able to use again for sewing, but they are too heavy to take up the stairs to my sewing area now, so this will be a great way for them to be used now. Also the sections in the drawers are either to large, or too small it seems to really use for quilting projects.  

I have a bunch of stuff again now to organize and put into my already overflowing sewing area...

I have been using this lock in time to really go thru things and make stacks of things to give away, or toss and to keep.  Honestly only the kitchen and den are without extra boxes now.  But since no one will be coming over, I will be able to make hopefully the best progress ever with going thru things.

I found about four roasting trays.  I never use them and am ready to free cycle or goodwill them.  I always thought I would figure out a reason to use them, but so far haven't done that.  The few times I have roasted something I have put a few carrots or potatoes under them and just put in the oven on a tray.  If anyone has ideas for me to use these things, please let me know!

I received text from the city telling me they had received my ballot.  Hope anyone reading this has voted, or will vote on or before next Tuesday.  

Tuesday, October 27, 2020

Autumn Jubilee: A Tablescape for Two

 Today, Carole shared how she is going to set her everyday table for Autumn.  Such a nice selection of dishes and accessories!  Please click to see her ideas for a lovely Fall table...


**** C&T Publishing is today’s sponsor with a giveaway of a $50 gift certificate for their online bookstore!

---------

Not sewing for me today.  I went thru all my hanging clothes and clothes in drawers to remind myself of what I have and where it is.  Also looking for the garage key.  I was hoping they had slipped out into the drawers when I got changed.  But still need to keep looking for them.

I ordered some items from JoAnn's as they had free shipping.  All but the 2.25 inch binding template arrived!  Pretty fun to get non-food things delivered for once.


Sunday, October 25, 2020

Autumn Jubilee Quilt Along – Week 4 - Final Row

The blocks this week are a row of pumpkins!  Fun to see how she does it.

If you have fall colored fabric -  do go by and get the directions!

https://frommycarolinahome.com/2020/10/23/autumn-jubilee-quilt-along-week-4/


Thursday, October 22, 2020

Skill I Need to Master: How to get Binding so it's the Same Width on Each Side (Machine Applied)

So I've pretty much mastered how to cut binding, how to miter corners, how to make fake flange binding.  I have failed miserably with getting the binding so it ends up being close to being the same size on both sides.  I realize that by using the machine I will have a line of stitching showing, but my widths are so uneven - it really looks awful.

I still want to learn how to hand stitch the binding, but since most of my quilts are for charity or for babies I need to get the machine binding so it looks better.

Oh, and after that I want to learn how to apply binding for scallop edges and so there are points and different angles in the edge.

I need to make a point of adding a daily session of doing different parts of making a quilt so my skills do not have to be relearned each time I work on a project!  But this binding business is the finishing part and I need to figure it out.

Cutting Binding on the Straight Grain:
Sew Very Easy: How To Make Quilt Binding
She likes binding strips cut 2.25 inch.  I add the step of pinning the fabric before marking the line and that works well for both straight grain or binding cut on the bias.
https://youtu.be/sXXXEQUaLEU

Cutting Bias Binding
Take up to about 3/4 yard of fabric.  Press and trim the cut edges so they are even.  Fold a corner up to make a square.  Press.  Pin to secure the fabric.  If you want fold the fold edge again and pin so the fabric does not move.  Pin so you can cut the folded side half the desired width.  Then put new pins in and remove the ones that would be blocking the next cut.  Just continue cutting carefully.  This way can cut two strips with each cut!  The cross the edges so they are at right angles (as she shows in the Sew Very Easy: How To Make Quilt Binding video).  I find it helps to keep the ends so I can see them to easily check that the fabric is lined up correctly.  I have a collection of these end pieces, thinking of what to do with them!   I can get between 8 and 9 feet of binding from a fat quarter.  I am saving my left over binding to join together and finish up some scrap quilts I've made.  Guess I will try trimming them down to 2.25 inch strips...

Easy way to start and finish applying the binding on the first side:

Sew Very Easy: How to Bind and Finish a Quilt
Folding the start to make a little pocket, and inserting the end in the little fabric pocket.
https://youtu.be/dPDbVfE24pc

Sew Very Easy: An Easy way to sew the binding on your quilt top
This one shows making the pocket at the start, pinching the fabric at the corner, using a nail file to help when doing the corners, and inserting the end in the little pocket to finish it up. She hand stitches the last edge though.

Sew Very Easy: How to Sew Faux Flange Quilt Binding
She has great detailed photos on how to do the miter corners.  Much simpler than the way I did this a few years ago...  Her flange part it larger than what I did before too...

Sew Very Easy: How to hand sew binding on a quilt
I haven't tried this, just found it tonight when looking at binding tutorials.

Here finally is a tutorial discussing the width of the binding:
iCandy: Quilt Binding Tutorial
Hmm I think I was cutting my binding too wide.

Hmm, another one at 2.25 inch binding strips
The Crafty Quilter: Best Tips for All Machine Binding

I remember going to a workshop where the teacher suggested cutting the batting and backing so it was a tad larger than the front (to get a full binding) - but guess that only works when you sew the binding to the front first.  I tried that for the second baby gift, but since it's a curve edge it was difficult to measure the 'tad' larger...

What a shame that I didn't take time to do this binding review before making my recent baby gifts.
From this review, I'm thinking it's the width of the strips (of course) that were too wide so that is why I needed to pull the fabric over more so the binding would be full.

I will need to make another one just to double check all this reading!

: )

Then I can move on again to learning the scallop edges, different angles edges and hand stitching finish!

Wednesday, October 21, 2020

Finished: Play Quilt, Hoodie Towel and Washcloth - Bright Colors and Fish

The second gift did not take as long to make.  This time I made the binding, then hoodie and washcloth, and ended with the round play quilt. 

Here is the finished play quilt.  In error I had only a yard of the fish fabric.  So I cut it in a 28 inch square, and added 8 inch strips to the sides.  I picked the blue, to have the fish swimming in the water.  This Jenny Byer blue was originally purchased for a quilt I was going to make for my parents.  I'm glad to finally start to use it!


I was considering applying the borders with miter corners but decided against it as then I didn't want to be slowed down in finishing this up.

The back and binding are from fabric I used to make my son napkins for the kindergarden school. Each day he would leave with his big blue basket filled with fresh napkins, plate, cup and silverware.  In class one of the activities was to make lunch for the class.  I'm still looking for those recipes.  At the time it was so hard for me to cook, I don't think I ever made them at home.  But now I could make so some nice soup using their recipes.  I remember Alex really liked the barley soup.  I think they put carrots and apple in the soup.


I did the same wavy lines free motion quilting - about 3-4 inches apart I think.  In both directions.  I just used a regular pressure foot to do this.


After I did the quilting I trimmed the piece so there was about 1/8 of batting and backing beyond the top fabric.  I sewed around the piece so it would be easier to sew the binding.  At first I sewed on with a 1/4 inch, then I thought the binding would be too baggy if I left it that wide, so I went around the quilt again, so it would be closer to 3/8 inch.


Then I measured and when the fabric is pressed back measures around 3/4 inch.

I again used "Sew Very Easy" Youtube way of starting and ending the binding.  It was really hidden in this fabric!

I put the binding first on the back, as I knew when I sewed the last edge down there would be extra stitches on the back and the thread wouldn't show up as much...

I'm okay with the thread showing when I do machine binding.  But I wish I could figure out how to get the size of the front and back so they are more equal...

I always wanted my son to have a special nap cloth, but I didn't know how to sew anything then.  I gave him a towel each time he needed to nap.  How cute it would have been to have a round play quilt for him!

I really need to figure out how to get the machine binding so it is the same size on each side of things.

Making the extra fold makes it easier to cut the binding.  I used my new 2.5 inch template and that made it really easy to get the correct width.  Except I think having a 2.25 or 2 inch binding strip would help me have the same size on both side.  But I took some photos to remember how I did the set up for the cutting.


 The hoodie towel turned out really nicely I think!  When I was sewing, I forgot to add the hood, so had to seam rip so I could insert it.  This time I trimmed of any edging on the towel so there were no hard spots in the binding.  I used saucer to shape the corners.  I sewed the fabric on the hood all the way around, and adding the binding so the smooth seam will be next to the baby.  I used Sew Very Easy's way of starting the ending the binding.  The towel is 30 inches square.  The triangle was cut from a 14 inch square of towel and this time I remembered to stop cutting the binding so I had a large enough triangle to use for the hood.  The long edge of the triangle is 20 inches.


I made a washcloth using a 12 inch square from the towel.  I had enough to make two, but since I had only made one for the gift I had finished last week for her SIL, stuck with just the one for this gift too.


This will be another nice baby gift.  I sure need to sew more often to keep my skills up!  Neither gift is perfect, but they are down and tomorrow this one will be in the post - hopefully to arrive before the online shower.  (this one is going to the one giving the shower to her SIL.)

I'm considering starting another of these gifts - so I have an example to see when I make it again.  But boy am I bushed from all this sewing now.

Finished: Play Quilt, hoodie towel and wash cloth - Jungle and dots

 I finished the first Baby Shower gift.  My son took to the post office to send it off!


Saturday, October 17, 2020

Autumn Jublilee Row Quilt Along - Make Sure You Vote!

(From My Carolina Home) Carole is now onto her third row for this quilt.  This week there are just five maple leaf blocks to make.  

I think, as her previous quilt projects have all been, this will be another winner.

If you have some good fall color fabrics, and time, you should click over to see what she is sharing!


Sunday, October 11, 2020

Autumn Jubilee Cookish

So Carole has posted another blog post - this time it includes a recipe from a book she is having a drawing for - Milk Street.  Sounds like a nice cook book to refer to, to learn how to gain confidence with cooking.

https://frommycarolinahome.com/2020/10/11/autumn-jubilee-cookish/ 

I just finished a week of Asian inspired dinners so will save this to try another time.  Perhaps I haven't mentioned here that I'm working on planning at least a few dishes ahead.  And thinking I will try different countries for inspiration.  I'm recording our meals on my other blog - there is a link at the top of the screens of this blog.  I'm doing pretty well at just having meals ready for my husband and son, now it's time to get more interesting and to try newer things.

So today the fabric for my two baby gifts are all washed and dry so I will be able to start making the circular day quilts, the towels with the little triangular hoods and washcloths. I got each of the mother's special fabric for the top of the day quilt (need 1.25 yards to make it all with one fabric).  Will have to edge one of the pieces as I only got 1 yard of it, but it will still be nice.  But I think I will be starting by cutting and connecting the bias strips that will be needed for the binding.

***** I'd like anyone reading this blog post, to please share the URL of a recipe they have recently made in the comments!

Friday, October 9, 2020

Autumn Jubilee Quilt Along

Carole From My Carolina Home is hosting another Autumn Jubilee!  She has so many projects that she is sharing - incredible amount of work and although us mere mortals could only hope to do one of them, it is fun to read her clearly written directions and see how things can be done.


The one that is really catching my eye this time is the row along quilt.  So far there are stars and trees done in fall colors.  I have never actually seen trees with leaves in these bright fall colors, but hope to some year soon.

It seems from the web that there are a lot of people who are able to get sewing and projects done during these stay at home days.  I've managed to master the food ordering and making of meals, and the standard things one does.  But I have yet to settle into a nice schedule of sewing or doing things just for fun.  Guess I'm paying for still needing to clear out the garage.  I keep moving boxes and going thru them - it seems to be my life's work...  Hmm.  I guess having a personal trainer for three or four times a week for 60-90 minutes counts as doing something just for me.

But someday I will be able to just power thru and sew projects to learn new skills and just have fun.  Carole always has lots of posts to read and learn from.  She is like a real person Martha Stewart - without all the staff and helpers to get the various projects designed and put together!