Pages

Showing posts with label Baby Gift. Show all posts

Wednesday, October 21, 2020

Finished: Play Quilt, Hoodie Towel and Washcloth - Bright Colors and Fish

The second gift did not take as long to make.  This time I made the binding, then hoodie and washcloth, and ended with the round play quilt. 

Here is the finished play quilt.  In error I had only a yard of the fish fabric.  So I cut it in a 28 inch square, and added 8 inch strips to the sides.  I picked the blue, to have the fish swimming in the water.  This Jenny Byer blue was originally purchased for a quilt I was going to make for my parents.  I'm glad to finally start to use it!


I was considering applying the borders with miter corners but decided against it as then I didn't want to be slowed down in finishing this up.

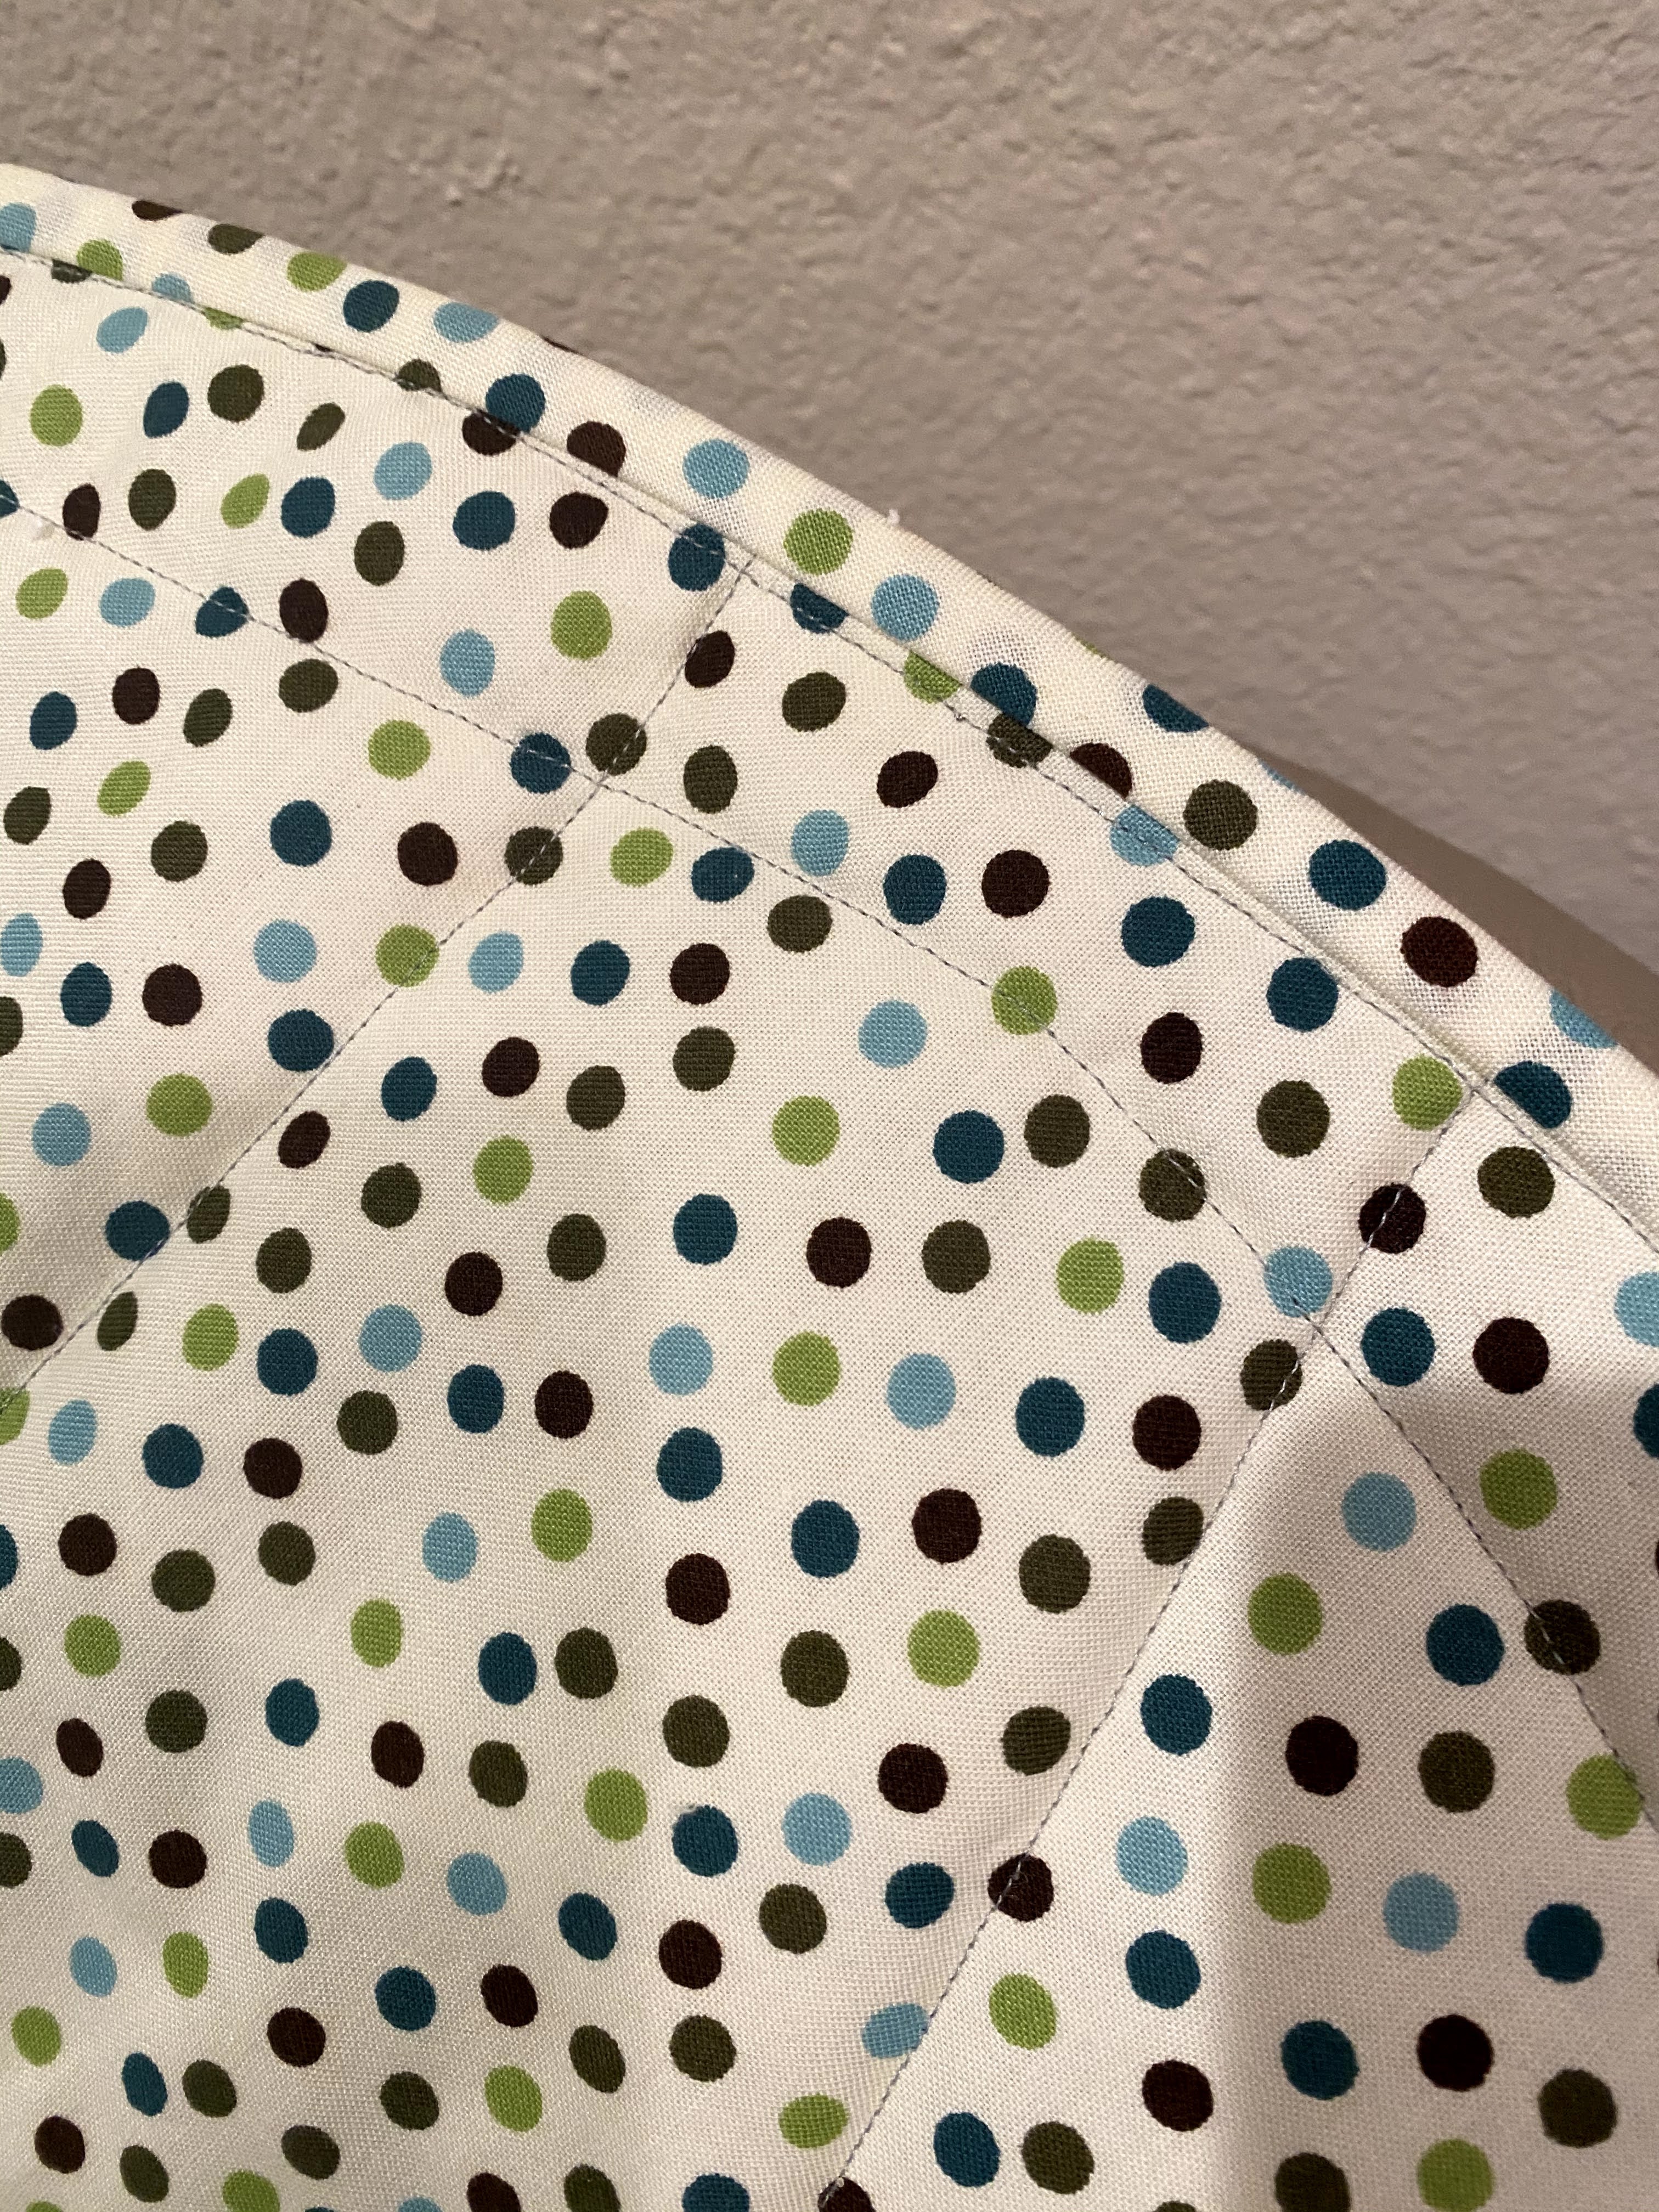
The back and binding are from fabric I used to make my son napkins for the kindergarden school. Each day he would leave with his big blue basket filled with fresh napkins, plate, cup and silverware.  In class one of the activities was to make lunch for the class.  I'm still looking for those recipes.  At the time it was so hard for me to cook, I don't think I ever made them at home.  But now I could make so some nice soup using their recipes.  I remember Alex really liked the barley soup.  I think they put carrots and apple in the soup.


I did the same wavy lines free motion quilting - about 3-4 inches apart I think.  In both directions.  I just used a regular pressure foot to do this.


After I did the quilting I trimmed the piece so there was about 1/8 of batting and backing beyond the top fabric.  I sewed around the piece so it would be easier to sew the binding.  At first I sewed on with a 1/4 inch, then I thought the binding would be too baggy if I left it that wide, so I went around the quilt again, so it would be closer to 3/8 inch.


Then I measured and when the fabric is pressed back measures around 3/4 inch.

I again used "Sew Very Easy" Youtube way of starting and ending the binding.  It was really hidden in this fabric!

I put the binding first on the back, as I knew when I sewed the last edge down there would be extra stitches on the back and the thread wouldn't show up as much...

I'm okay with the thread showing when I do machine binding.  But I wish I could figure out how to get the size of the front and back so they are more equal...

I always wanted my son to have a special nap cloth, but I didn't know how to sew anything then.  I gave him a towel each time he needed to nap.  How cute it would have been to have a round play quilt for him!

I really need to figure out how to get the machine binding so it is the same size on each side of things.

Making the extra fold makes it easier to cut the binding.  I used my new 2.5 inch template and that made it really easy to get the correct width.  Except I think having a 2.25 or 2 inch binding strip would help me have the same size on both side.  But I took some photos to remember how I did the set up for the cutting.


 The hoodie towel turned out really nicely I think!  When I was sewing, I forgot to add the hood, so had to seam rip so I could insert it.  This time I trimmed of any edging on the towel so there were no hard spots in the binding.  I used saucer to shape the corners.  I sewed the fabric on the hood all the way around, and adding the binding so the smooth seam will be next to the baby.  I used Sew Very Easy's way of starting the ending the binding.  The towel is 30 inches square.  The triangle was cut from a 14 inch square of towel and this time I remembered to stop cutting the binding so I had a large enough triangle to use for the hood.  The long edge of the triangle is 20 inches.


I made a washcloth using a 12 inch square from the towel.  I had enough to make two, but since I had only made one for the gift I had finished last week for her SIL, stuck with just the one for this gift too.


This will be another nice baby gift.  I sure need to sew more often to keep my skills up!  Neither gift is perfect, but they are down and tomorrow this one will be in the post - hopefully to arrive before the online shower.  (this one is going to the one giving the shower to her SIL.)

I'm considering starting another of these gifts - so I have an example to see when I make it again.  But boy am I bushed from all this sewing now.

Finished: Play Quilt, hoodie towel and wash cloth - Jungle and dots

 I finished the first Baby Shower gift.  My son took to the post office to send it off!


Tuesday, June 25, 2019

Finish: BlockLotto Baby Quilt Grows Up!

My friend and I put together nine of the Block Lotto blocks I won back in 2010 to make a baby quilt for her new granddaughter in 2015. This year the daughter returned the quilt and requested that it be made larger since the baby was larger now. She didn't want a new quilt, she wanted this one enlarged.
My friend's first quilt - 2015

So how was this going to get done?  I sent my friend some fabric and more of the blocks to help her get started.

She decided to start by making another quilt the same size!  She even put binding on the quilt!

My friend's second log cabin - 2019
So when I came for my visit we had two quilts the same size that needed to be combined.  She did not want to remove the binding.  The idea of sewing strips to the sides to join the pieces was unappealing to her.  So I suggested trying to zig zag them together.  Last Road to California, I had watched a demo by Pauline on how she joined quilt pieces to finish the projects up...  Since our pieces had binding we had to adapt the method.

My friend zig zagged the two quilts before I came for my visit.  It actually looked pretty good.  But we decided to finish it off nicely with strips to cover the zig zagging.

We made strips of fabric.  Wider for the front.  They were folded in half, then the ends were brought up to meet at the center.    So the resulting strips had folded edges, and were all two layers deep.  These were starched and then sewn to cover the joining of the two pieces.  We sewed the back side first.  Then the wider strip was sewn to the front.  Each strip was sewn down on both sides.

     
If you do this I suggest sewing the left side first - it would be easier then to pull the fabric flat while sewing.  I seem to only have taken a photo of the first seam when it was done with the initial sewing on the right side - don't do what is shown in the photo above! Look below for a better sequence.

After the two quilts were joined we made borders and added them using the same method.

     
In the photos above, you can see we sewed initially the left side and then the right side - this was the best way to do add the strips, then it was easy to pull the pieces flat.  My friend used a walking foot to make the design on the borders.

  
We pinned the pieces together before we sewed, but did not measure until we were trimming things up.  Each time we could see more and more ripples appearing in the project.


But we liked the way the stitches were showing up and how easy it was to join the larger quilted pieces together....

Her little dog liked the larger quilt too!

When we added the shorter top and bottom borders we could see that we needed to be sure the pieces were pinned on so things were centered, then the waves did not appear.  So that is a step to be sure to add if you try this method!

We were not consistent with the size of the strips, started out with half inch on back and 2 inches on front. We used Clover bias tape makers at first, then decided we wanted different widths.  It was pretty easy to just press and get things set up without the Clover tools.

We sewed the binding on and took some close ups of the corners...

For the binding we trimmed so the batting extended about 1/8 or maybe it was 1/4 inch from the quilt.  The strips were cut 3 inches.  We adjusted the seam width so it was sewn on around 3/8 inch so the front and back were pretty even.


You can see the fold in the one strip, that was the one sewn right side, then left side mentioned above.  In the end that fold washed out, but it bothered me once I noticed it.

Here is how it looked before it was washed...

And here is how it looks after being washed!  The ripples pretty much disappeared!  (Usually I give my quilts unwashed to charities so it was nice to see how it looked after being washed.)


It is easy to the original quilt size on the back of the quilt.  Enlarged now so it covers the top of a twin mattress!

Here I tried to get an artistic shot of the quilt on a chair...

I'm sure her daughter and granddaughter are enjoying the enlarged quilt, and it will be used for many more years now!

This was a fun challenge.  So lucky I got to share in the adventure with my friend.  This method of joining quilted pieces is very easy, the results were very nice. I recommend giving it a try!

Amazingly, I still have more BlockLotto blocks to play with!

Monday, April 1, 2019

Finishes: Play Mat, Hooded Towel and Washcloths

My friend's daughter is having her second baby.  I made gifts for her baby shower.

I got very nervous about doing this once I had started everything - she had a gift registry for the baby but I wanted to make something instead of just clicking away to pay.


So I made a 42 inch play mat, very similar to what was on her list:


My son helped me make a quarter circle template with freezer paper that I used to cut the circles.  (I cut the front and back, but if anyone else does this just cut one of them, then pin the batting and backing on that and use that fabric circle as the template.)  I used hi loft polyester batting.  Using curved stitching made it very fluffy!  The 2.5 inch binding was applied with a walking foot on my Brother.  It was about 3/8 inch on the back and also when it was brought around to the front.  I folded it at the beginning and then just tucked in the final piece when I came back around.  This made it very simple to finish.


For the hooded towel, I got a quick dry towel and cut it so it was square - ended up being 30 inches.  Used a saucer to shape the corners.  I cut a triangle from the remainder of the towel.  Also cut a triangle of different fabric.  (I had planned on using the bird fabric from the play mat but my left over pieces weren't oriented the correct way.) Used the same saucer to shape the top triangle.  Used 2.5 inch binding to connect the triangle fabric to the triangle bit of the towel.  Then pinned the triangle down and put binding around the whole thing.  (I saved the link to my inspiration for this but can't find it now - here is one that is similar: https://sew4home.com/projects/bath-linens/hooded-baby-bath-towel-and-matching-bound-washcloth


I had some left over towel, so used my 12.5 inch template to cut two squares.  Used that saucer to shape the corners and added the binding!

Two days before the event I got so upset thinking I should have just clicked to buy something, I had myself in tears.  But got myself together so I got some new clothes, had my nails done, and found these clear bags (supposed to be to put gift baskets in) to put the gifts in.  


 These were the first sewn gifts I have given to people who know me (other than the little quilts for my husband and son).  I put directions for washing and some of those Shout Color Catchers in an envelope with the purple and black quilt.

Baby Shower was March 23, didn't realize I hadn't posted here until I was working on the red charity quilt post...