Pages

Showing posts with label Process. Show all posts

Monday, April 19, 2021

Round Up Week 14: Pineapples!

I spent a bunch of time making pineapple blocks for the Christmas Block Swap.  I wasn't finished in time for the swap, but sent word that I was making progress.  (Didn't promise I'd be done in time for next month, but intend to be done this coming week.)

I made a few test blocks to be sure I could do it, and then set about cutting lots of 2.5 inch strips.  For my block I only needed 2 inch strips, but I thought I needed the extra wiggle room.

I decided to use the focus fabric in the center, cutting that 3.5 inches square.

For the dark color, I decided to use the dark green I had acquired at the quilt shop fire sale years ago.

For the light colors, I used the white on whites I collected on the cross country driving trip.  All purchased at different quilt shops along the way, with most of them I think from Lancaster PA shops. My plan is to use a different fabric for each round, but to use the same fabric within the round.

I sewed strips to surround the center block, then used the rulers to end up markings (using a pencil) to show me where to place the next color down to sew.

Lauren had suggested we first draw a square around the center block that was 1/4 inch, then use that to draw the fabric placement lines, but I didn't want to give the blocks with a pencil mark showing so I use the 45 degree line.  I placed a mark on the ruler so I would be consistent with where I placed the ruler to draw the line.


I used the ruler to double check that I had a square.

So then it's just a matter of sewing the next color around, trimming so the log is one inch, and continuing.  Lauren had suggested just trimming the fabric as you go, but I thought it was better to cut the strips up ahead of time.  I made another test block and wrote down measurements for the subcuttig. After the first row, can line up with the bottom line and the previous row seams.

I cut some of my white strips so they were 3 inches long, (I wrote down the wrong amount when doing the test block!) so they were put aside to be used for another project, as I needed them to be at minimum the same length as the center block.

I was making great progress and then my iron stopped working.  So unreasonable!  I had purchased the iron at my Godsister's garage sale around 1975 - so it had served me very well.  My son remembered that CVS carried irons so he went to pick one up for me.  What a difference! Heats up so quickly!  It is a good addition to my sewing tools.  It was less that $30 - a Silhouette.  However, the on and off switch and temperature gauges are made by letter indents in the white plastic.  So once I got it on, I decided to keep it at the same temperature, and to plug it on and off instead of messing with the pretty much invisible to me markings.  Anyway, I like it.  And it was so nice of my son to pick it up for me.

After pressing a round down, I set about sewing some logs down - but then saw that the last pieces might end up being less that the 1.25 inch that I had planned.  I realized I had been measuring from the seam of the log, but I needed to change to the tip of the center piece.  (That's when I realized I couldn't make the deadline.)  Luckily it meant only redoing about ten blocks - two seams each.  The next morning I sewed each piece down again 1/8 inch nearer, removed the original stitching and trimmed the seams down to 1/4 inch.

Then the machine really started squeaking.  So I had to put that aside and pulled out the Kenmore I had had serviced fall 2019 - but never used as I like the bobbin in the Singer and it's so much lighter.  But my Mom's Kenmore is sewing like a dream so I'm happy to use it now.  Very quiet.  I am using the filled bobbins that I found for now - when needed will refill with the thread I had been using.  My son gave me some pieces of wood to put under the machine - works much better than the magazines and things I had been using.

So here is my progress now:


In the front are the sample and test blocks that I made, then you can see the blocks I'm working on next. It will feel so good to have these done and distributed to the group. I'm guessing the group leader will just tell me to drop them off to her so she can give out next month. I'm not sure. I don't think I will feel like I can sew with them until after our son has his second vaccine and at least two weeks have passed.

I had wanted to make the wreath blocks, but it is a 16 grid block, where it was just easier for this swap to do something in a 9 grid design - or by changing the center to 3 inches, this pineapple became easy to end up with 9.5 inches unfinished. I think this group prefers more traditional designs anyway. So I hope the blocks turn out as expected and will be received well.
Had my math a-ha moment on this after watching Tiny Orchard Quilts:
How to Change the Size of a Quilt Block! Make A Block Any Size with These Tips!
https://youtu.be/sffeszovP98

I'm supposed to have some half log cabins prepared for Lauren's class this Thursday, but I haven't even really thought about that!

So that's it for sewing this week.

Sewing Inspiration:

In Lauren's class, one of the ladies shared another variation of a log cabin - we found a site with directions here:

The people on the Isle of Man have their reasons for using the folds, but I think it would be good to included a few folds in the quilt I'm making for our little dog - would be good places to hide treats for her to find!

This site gives permission for having different widths of logs - and trims before the next log is added on:


==============

I did two days of walking while chatting on the phone and of exercise.  I cancelled with intent to reschedule my Friday session as I was dreaming I'd be able to get the blocks done in time on Saturday...

Made some nice meals and had nice times chatting and cooking with our son and my husband.

: )


Sunday, February 14, 2021

Process: Squaring up Blocks

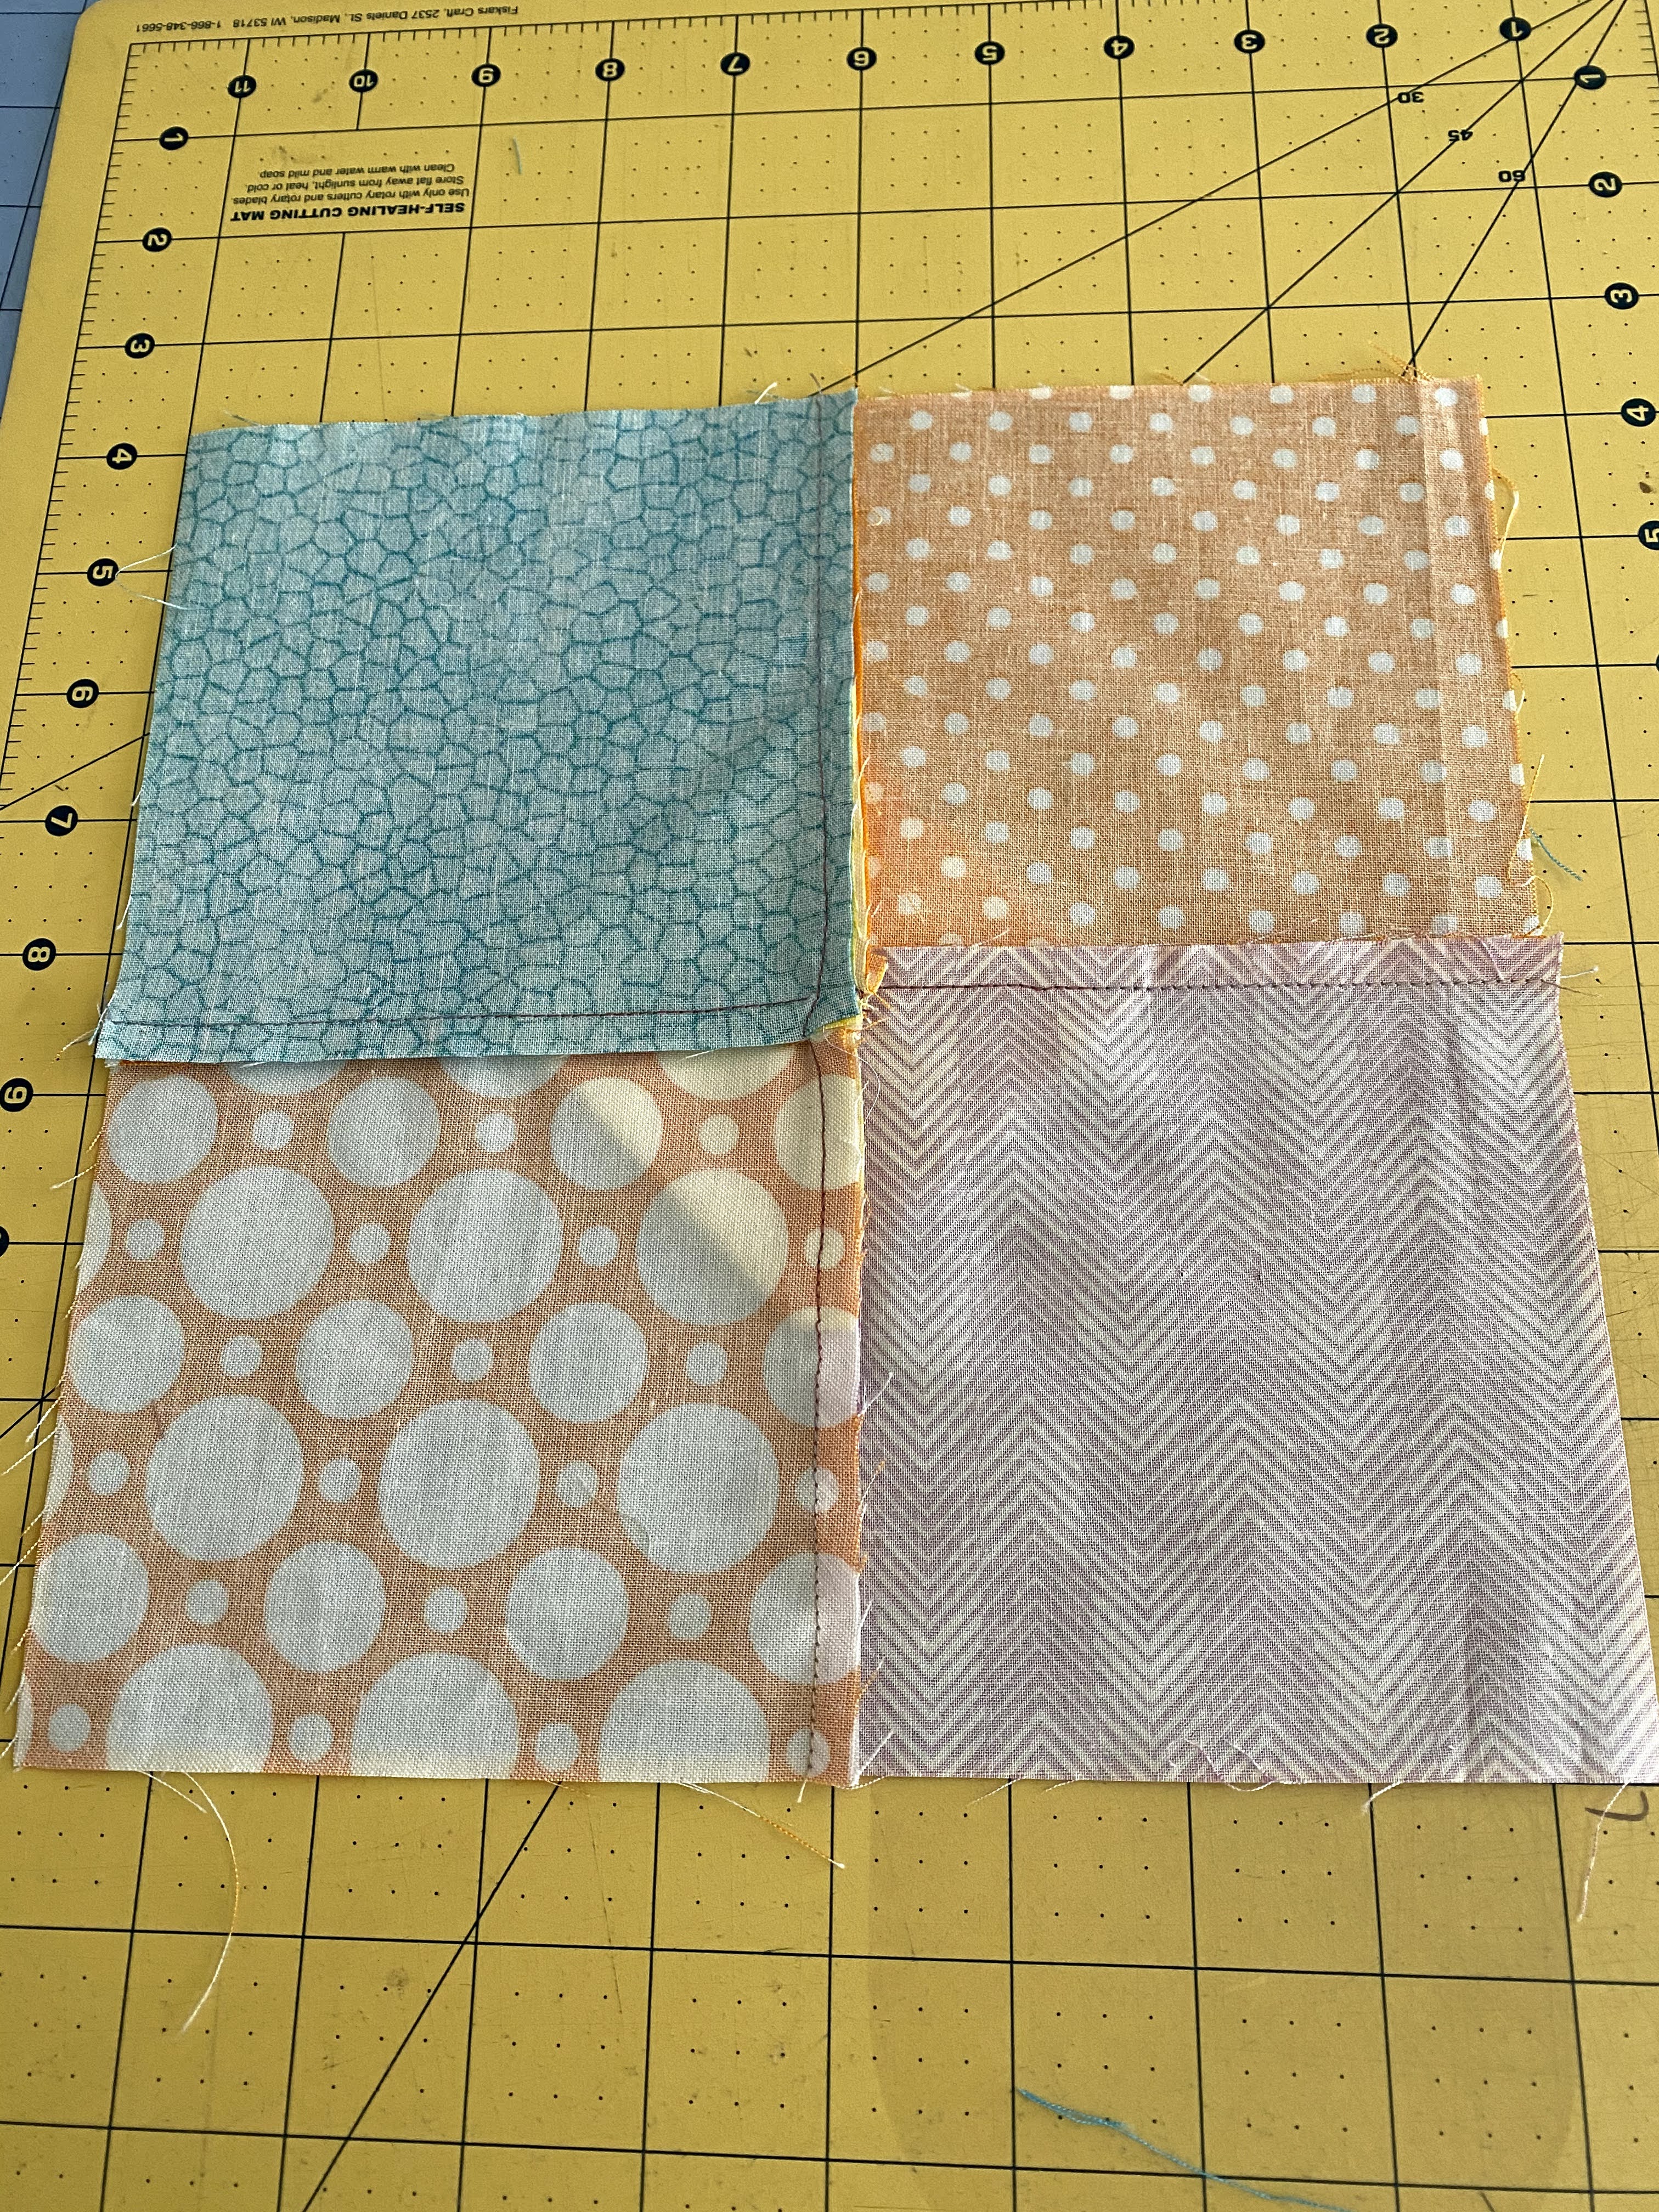
I made a few more of the bow-tie blocks.  None of them ended up at 9.5 inch square.  I had them on the design wall for a week or so, debating what to do about the difference in the sizes.  Because there are the middle yellow pieces, it didn't seem using a square clear template would work.

So finally I just cut a piece of fabric that would be the correct size and used it as the template.

At first did a lot of double checking on both sides of the blocks, but then just centered the fabric templated and cut.


So now I have 15 blocks that are the same size.

Monday, April 1, 2019

A Finish: Red Charity Quilt

I finished this quilt up today.  It took around 4ish hours to change the top into a quilt.

The group gave me fleece to use for batting and backing, so it was pretty easy to finish up.  I put the right sides together, then sewed around the outside leaving a space for me to turn the quilt right side out.

At first I was going to keep the right angle corners, but then I decided to curve them out.

I used a saucer to determine the curve, first marked with a pencil, sewed, then cut.


After turning it right side out again I pressed with my fingers to get all the edges oriented so the seam was at the side, rather than with the backing or front showing on the other side.  I put extra pins where the opening was to help keep that in place.

I did a variation of an orange peel design.  This is how I started in the center.


Then it was just a matter of going out one square and finishing the design and stitching around the outside of the piece.

I didn't intend to have the center be off to the side, but I kept going hoping it would look okay in the end.  There was one spot where I deviated from the plan and put an extra loop.  The last two lines I could feel something wasn't right with the thread or tension but when I looked it was okay.  It was only after I pulled it completely off that I saw the two spots with the thread build up.

Added April 18 2019:  Took about 30 minutes to remove the thread buildup, hide the threads and resew the quilting. Looks a lot better now!


It was quick to finish, but I think I prefer working with a binding, then it is easier to go off onto the batting when quilting.  But I'm not sure.  So looking at my notes from the first post on this I guess it took around 8 hours of hands on time with this quilt.  Is that what it would have taken you?

Added April 18, 2019 30 minutes to correct the thread build up issue on the back.

First post on this project here:
https://quiltquest.blogspot.com/2019/03/wip-red-charity-quilt-top-done.html

I used the Singer that Audrey got me from Freecycle and a walking foot for the quilting.

If I do this pattern again I will put two rows around the outside so the points are not lost...

Finishes: Play Mat, Hooded Towel and Washcloths

My friend's daughter is having her second baby.  I made gifts for her baby shower.

I got very nervous about doing this once I had started everything - she had a gift registry for the baby but I wanted to make something instead of just clicking away to pay.


So I made a 42 inch play mat, very similar to what was on her list:


My son helped me make a quarter circle template with freezer paper that I used to cut the circles.  (I cut the front and back, but if anyone else does this just cut one of them, then pin the batting and backing on that and use that fabric circle as the template.)  I used hi loft polyester batting.  Using curved stitching made it very fluffy!  The 2.5 inch binding was applied with a walking foot on my Brother.  It was about 3/8 inch on the back and also when it was brought around to the front.  I folded it at the beginning and then just tucked in the final piece when I came back around.  This made it very simple to finish.


For the hooded towel, I got a quick dry towel and cut it so it was square - ended up being 30 inches.  Used a saucer to shape the corners.  I cut a triangle from the remainder of the towel.  Also cut a triangle of different fabric.  (I had planned on using the bird fabric from the play mat but my left over pieces weren't oriented the correct way.) Used the same saucer to shape the top triangle.  Used 2.5 inch binding to connect the triangle fabric to the triangle bit of the towel.  Then pinned the triangle down and put binding around the whole thing.  (I saved the link to my inspiration for this but can't find it now - here is one that is similar: https://sew4home.com/projects/bath-linens/hooded-baby-bath-towel-and-matching-bound-washcloth


I had some left over towel, so used my 12.5 inch template to cut two squares.  Used that saucer to shape the corners and added the binding!

Two days before the event I got so upset thinking I should have just clicked to buy something, I had myself in tears.  But got myself together so I got some new clothes, had my nails done, and found these clear bags (supposed to be to put gift baskets in) to put the gifts in.  


 These were the first sewn gifts I have given to people who know me (other than the little quilts for my husband and son).  I put directions for washing and some of those Shout Color Catchers in an envelope with the purple and black quilt.

Baby Shower was March 23, didn't realize I hadn't posted here until I was working on the red charity quilt post...


Friday, March 22, 2019

A Finish: Two Pillows to Go with the Purple and Black Cultural Fusion Windmill Quilt


My pillow tops are 19 inches, the pillow form is 20 inches - the result is a firm pillow!

I sandwiched and quilt the top as normal.

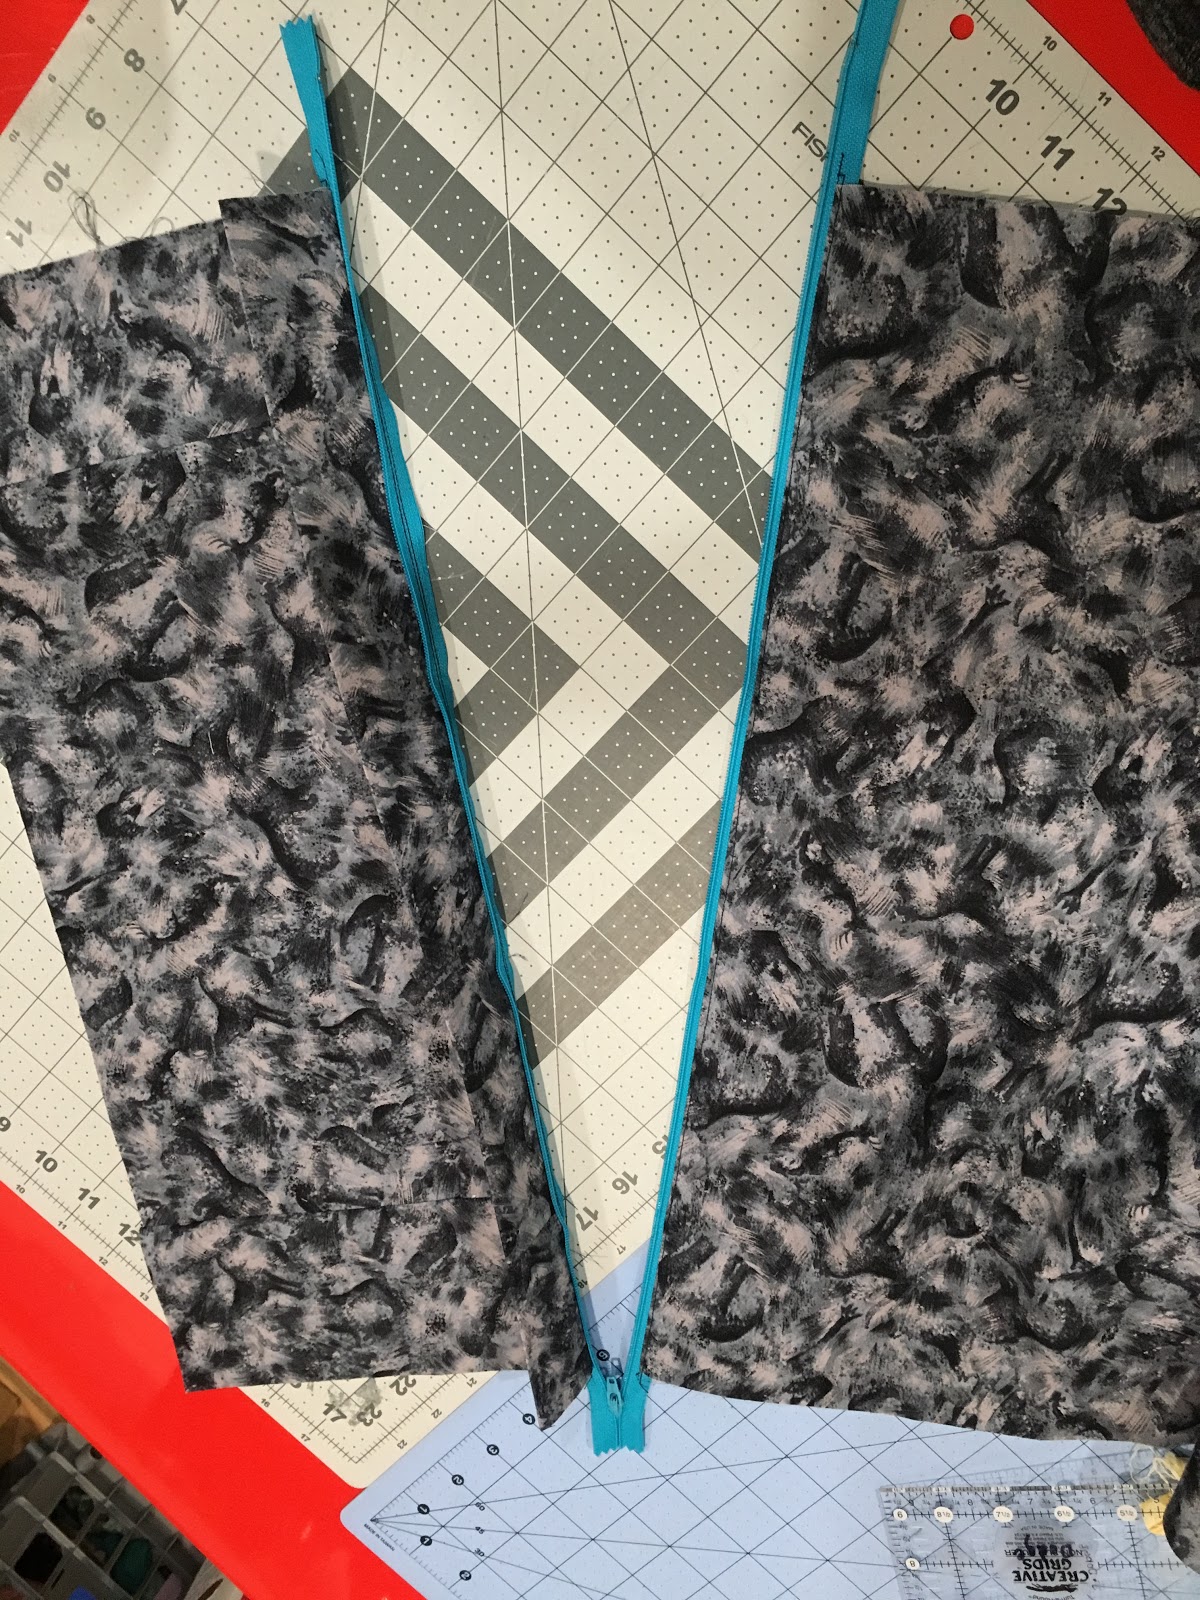
For the back I used a method where I did not have to be exact with the zippers - there is a large flap that covers the zipper up.

I had to piece the second pillow, that is what I took photos of.

Thanks to Heather Kojan @ Moda Bake Shop for the directions on how to put zipper with flap on a pillow back.

First the backing is cut to either the same size as the front or just pick one direction make the same.  Cut at least the top section of the backing to size.

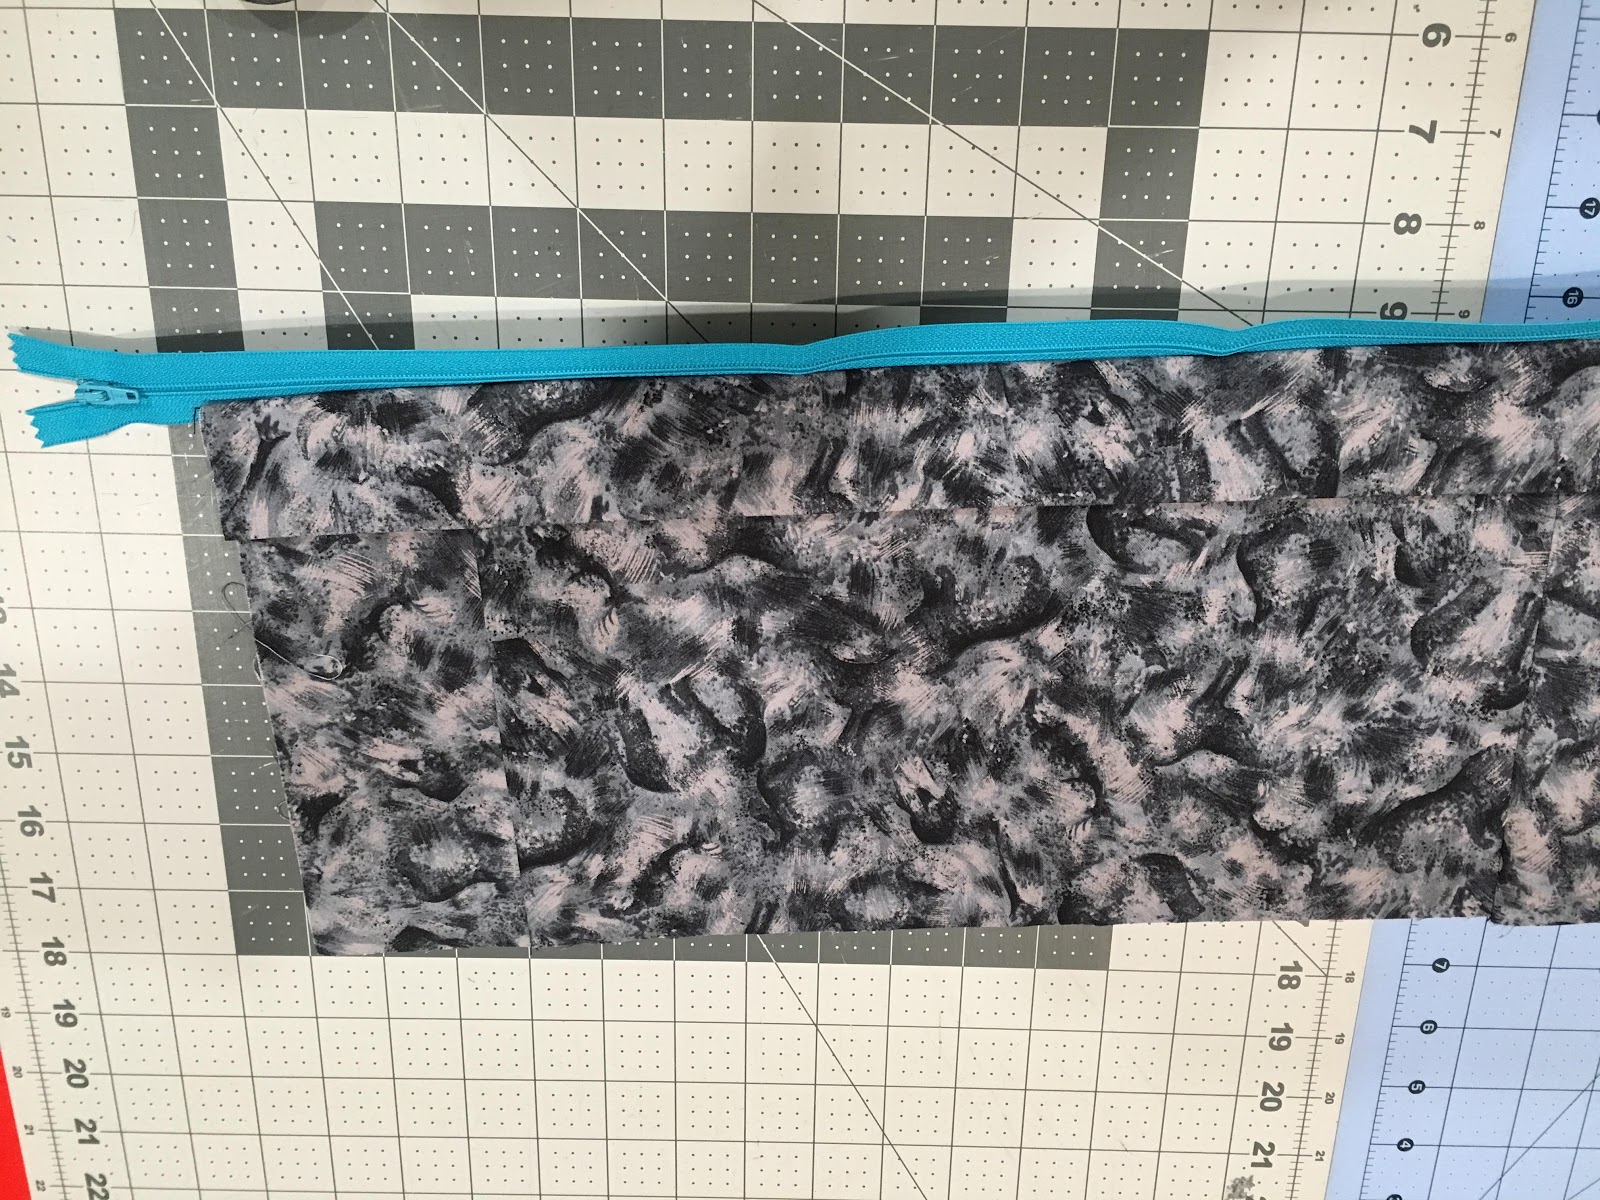
Make a flap that is about 4 inches wide and the same length as the width of the backing.  Press it in half with the good side showing.

Place the top section of the backing facing up, then put the flap so the cut edges are even with the top of the backing.  At this point I used pins to make sure these pieces would not move.

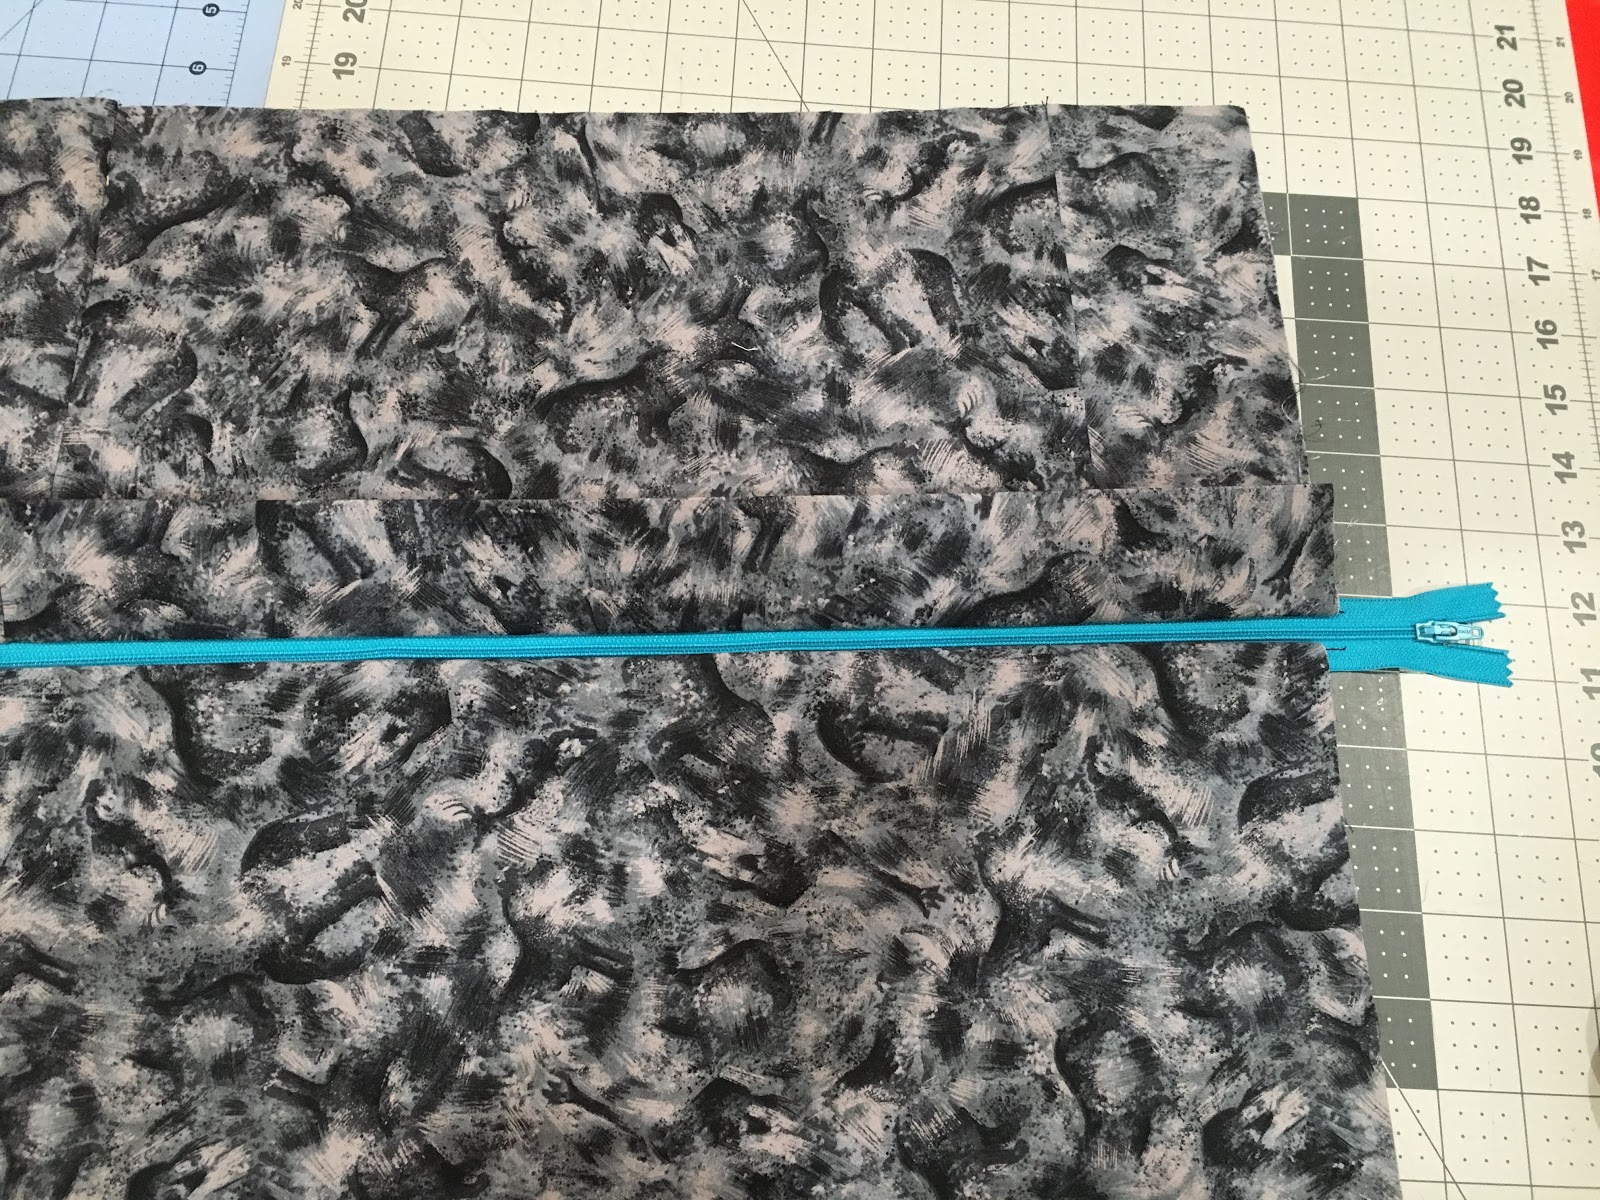
Then place the zipper upside down with the opening part on the left.  Then sew the three pieces together.  I did not have a zipper foot, but as I wanted some of the zipper to show this is not an issue to worry about.  I use a zipper that is longer than the pillow backing - this makes it easy to sew it down as I didn't have to fiddle with anything.

After it was sewn, I smoothed the fabric away from the zipper.

I added the bottom piece of the back so it was lined up with the other side of the zipper and the sides of the top of the backing.  I used pins to be sure things stayed lined up.

Then I smoothed the fabric again to see the zipper.  I checked to be sure the zipper still worked.

Then I sewed along the top of the fabric next to the bottom side of the zipper.

Then I pressed the flap down and sewed right next to the seam on top of the flap.

Tested to be sure the zipper worked.

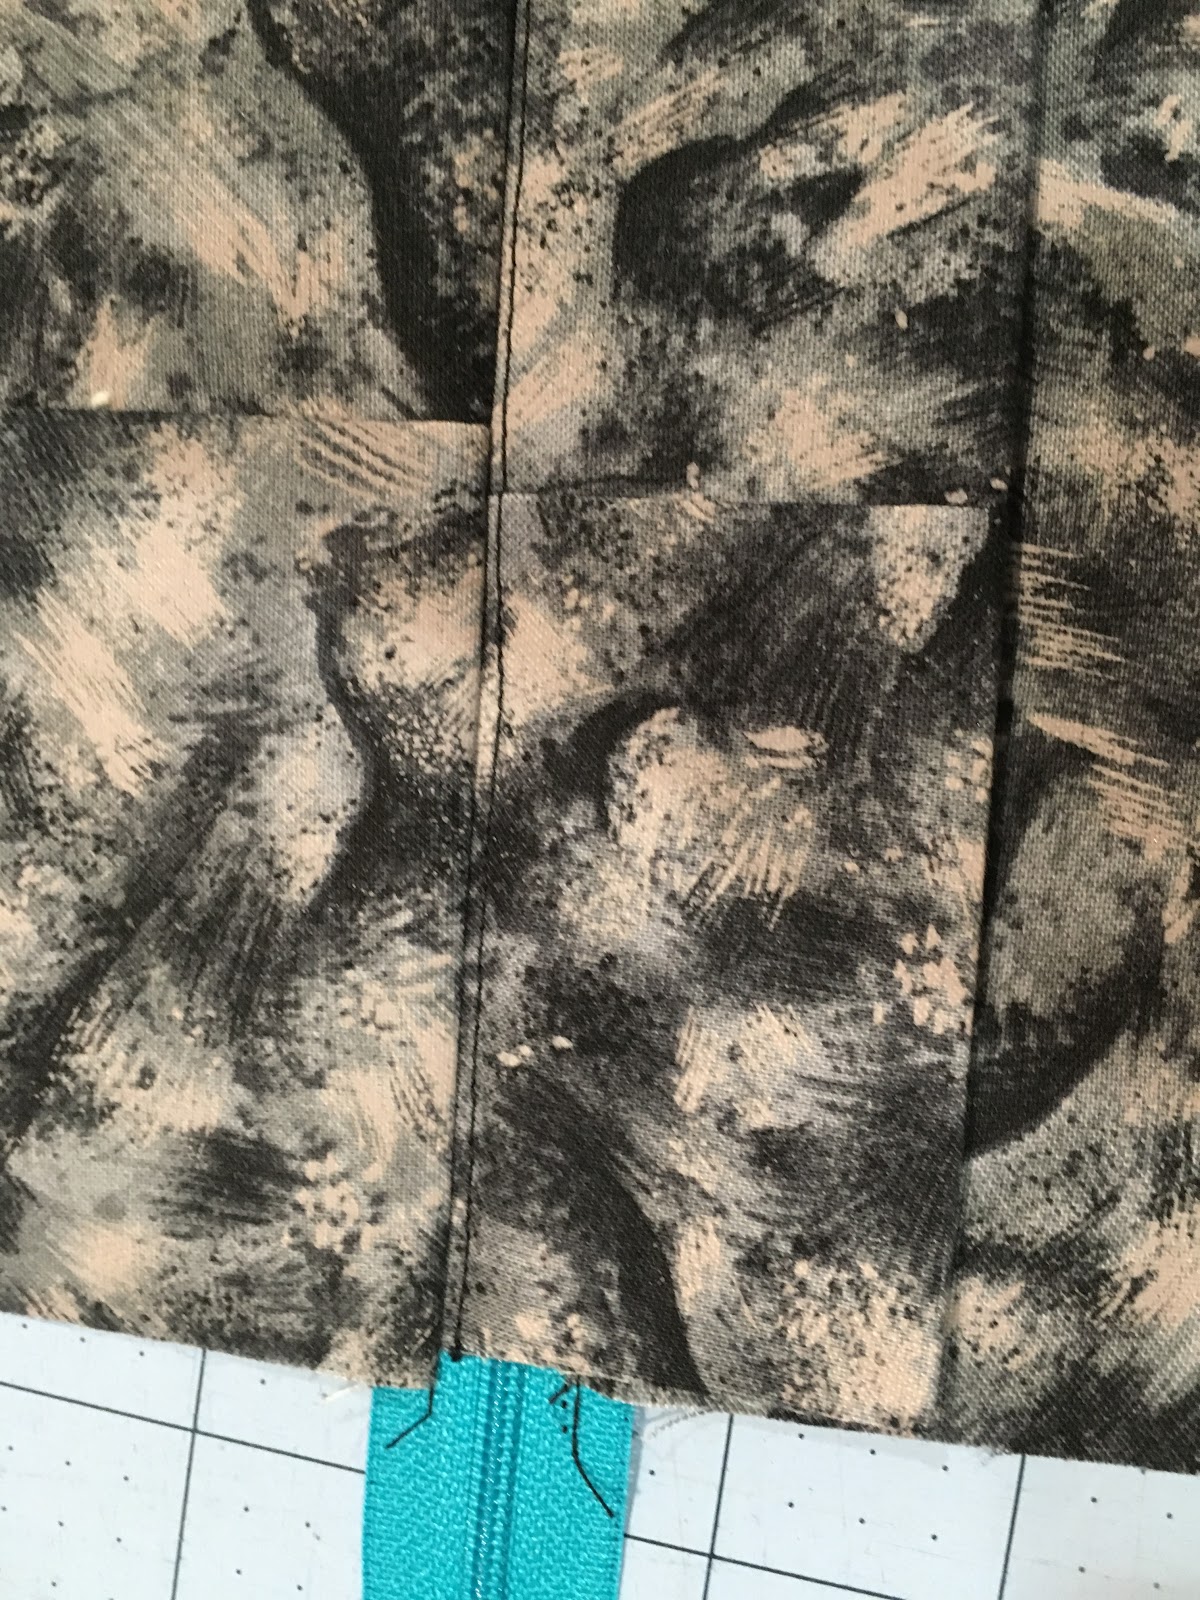
Then I sewed by hand to be sure the zipper edge would be in the correct place.

Sewed just that end of the zipper with the machine.  I unzipped part way.

Then it was a simple matter of pinning the top to the zippered back.  I had left my piece of fabric a bit longer.  This was trimmed after the back and front were joined together.

Thanks to Chrissie D for the directions on how to get rid of the bunny ears on the corners of the quilt.

Then I marked each corner to show 1/2 inch from the seam and five inches from the seam.

Then I drew lines

And used the lines as my cutting guides.

Turn the pillow covers so the right side is out - done!

A Finish: Cultural Fusion Black and Purple Windmills

I finally put the binding on the black and purple windmill quilt that I started in the Sujata Shaw workshop in 2014 in Maryland.

Timeline:
2015-07 Take Sujata's Workshop and Start Piecing:  Mid-Appalachian Quilters July 2015 event 
2016-02 Sew Blocks Together: https://quiltquest.blogspot.com/2016/02/one-monthly-goal-feb-2016-sew-blocks.html
2016-02 Making it Larger and then Spray Basting: https://quiltquest.blogspot.com/2016/02/one-monthly-goal-feb-2016-sew-blocks_28.html
2016-03 FMQing: https://quiltquest.blogspot.com/2016/03/omg-march-2016-quilting-cultural-fusion.html
2019-03 Squaring up and applying binding


My quilting friend, K,  reminded me how to square up the quilt and get the binding on...

For squaring up we used a large square and a long ruler.  Put the square on the corner and use the longer one to then see the where the side is to be cut.  Using the larger square was new to me and really helped get the job done.

My binding is cut on bias at 2.5 inches.  I put on using an approx 3/8 inch seam - binding is full and nice.

The back is just black and the quilting does not really show up.


Thursday, March 14, 2019

WIP: Red Charity Quilt - top done!

Took between three and four hours to sew this top up.  I did the sewing in two sessions....

Squares are six inches, I started with two blocks each with 36 squares.  I used the same fabric in the diagonal of the blocks, and arranged the blocks so the same fabric would not line up along any of the six inch seams. (I will bind using the same fabric as the diagonals.)


Then I cut each block along the diagonal, and then sewed on the edge of the diagonal cuts about 1/8 of an inch (to help avoid stretching).

Then I placed the resulting four pieces so the triangles were on the outside of a square. 

And I sewed the pieces together!  Magically I was able to nest all the seams. Only the final connecting seam had to be repressed so it was all in the same direction and flat.

The top is now 46 inches square.  A great size for a charity quilt.  It should be easy for me to quilt and bind.  Now I need to decide how to do the quilting!

But first I need to get back to the gifts for the upcoming baby shower!

I think this link will be a good place to start dreaming:

I see she is giving some workshops in CA soon - maybe a road trip is in order?