

My pillow tops are 19 inches, the pillow form is 20 inches - the result is a firm pillow!
I sandwiched and quilt the top as normal.
For the back I used a method where I did not have to be exact with the zippers - there is a large flap that covers the zipper up.
I had to piece the second pillow, that is what I took photos of.
Thanks to Heather Kojan @ Moda Bake Shop for the directions on how to put zipper with flap on a pillow back.
First the backing is cut to either the same size as the front or just pick one direction make the same. Cut at least the top section of the backing to size.
Make a flap that is about 4 inches wide and the same length as the width of the backing. Press it in half with the good side showing.
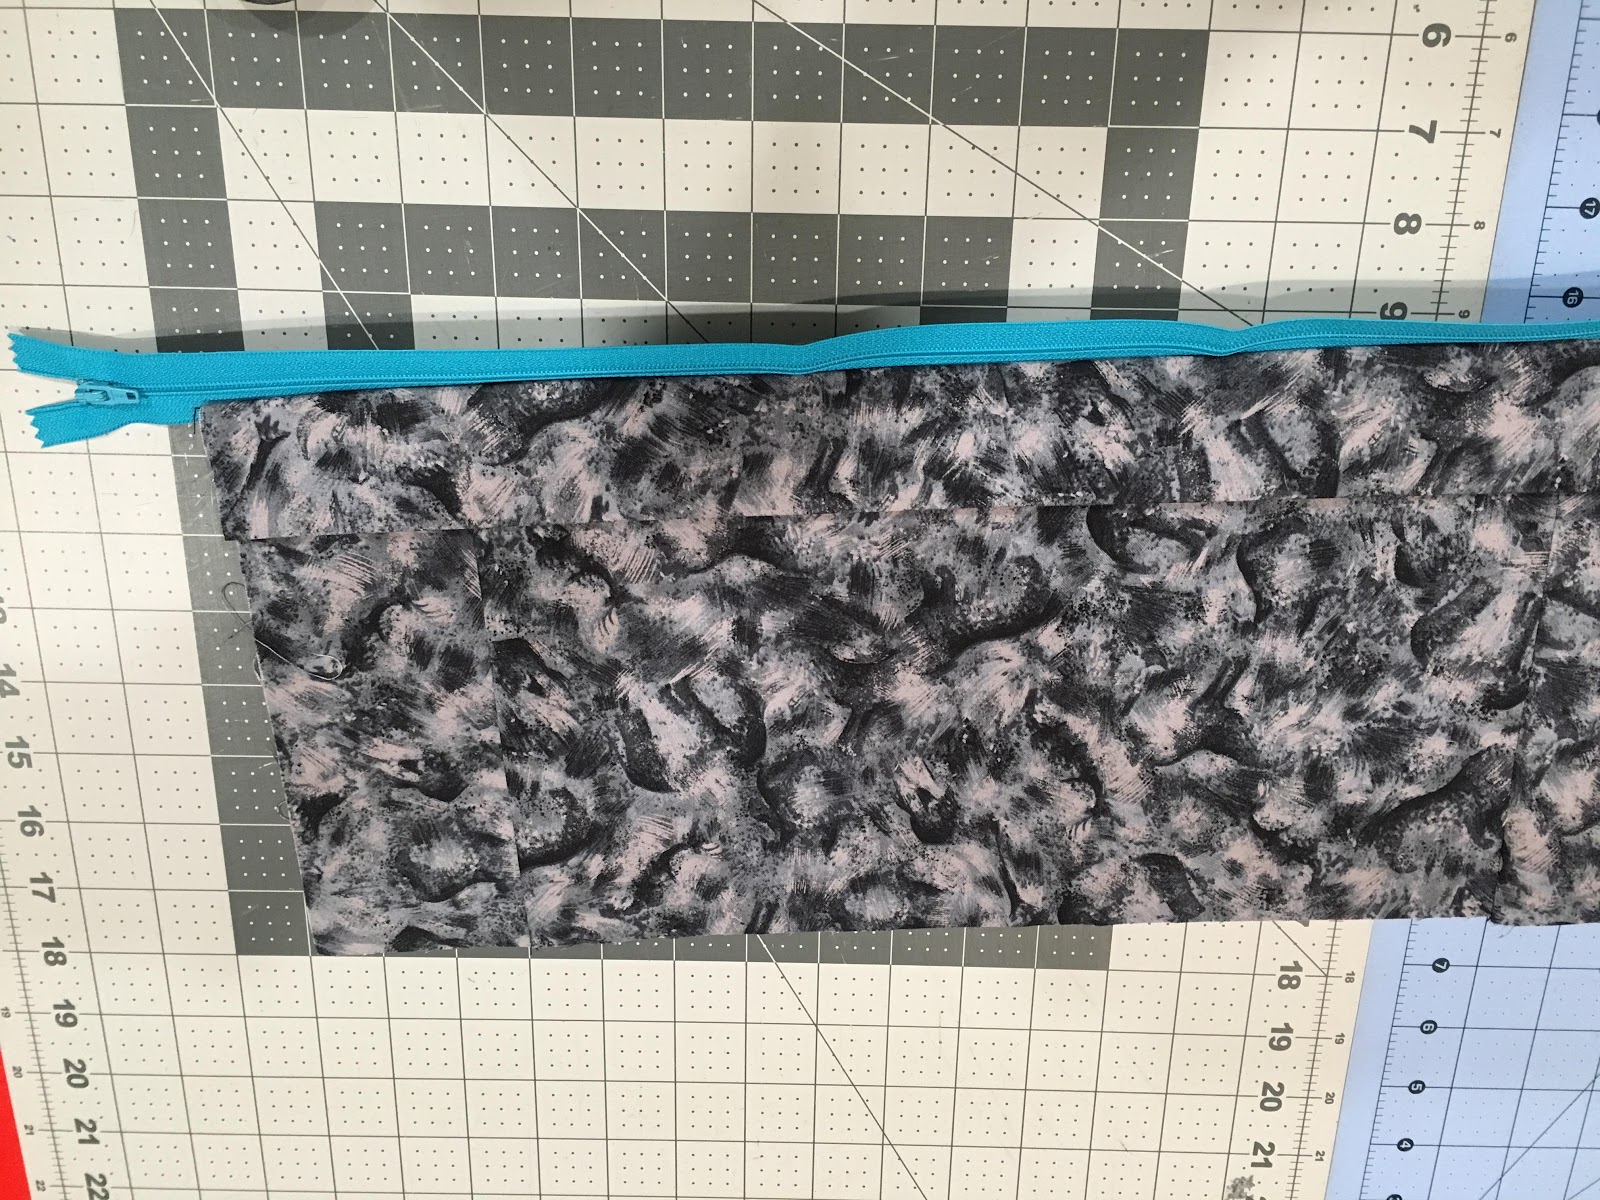
Place the top section of the backing facing up, then put the flap so the cut edges are even with the top of the backing. At this point I used pins to make sure these pieces would not move.
Then place the zipper upside down with the opening part on the left. Then sew the three pieces together. I did not have a zipper foot, but as I wanted some of the zipper to show this is not an issue to worry about. I use a zipper that is longer than the pillow backing - this makes it easy to sew it down as I didn't have to fiddle with anything.

After it was sewn, I smoothed the fabric away from the zipper.

Then I smoothed the fabric again to see the zipper. I checked to be sure the zipper still worked.
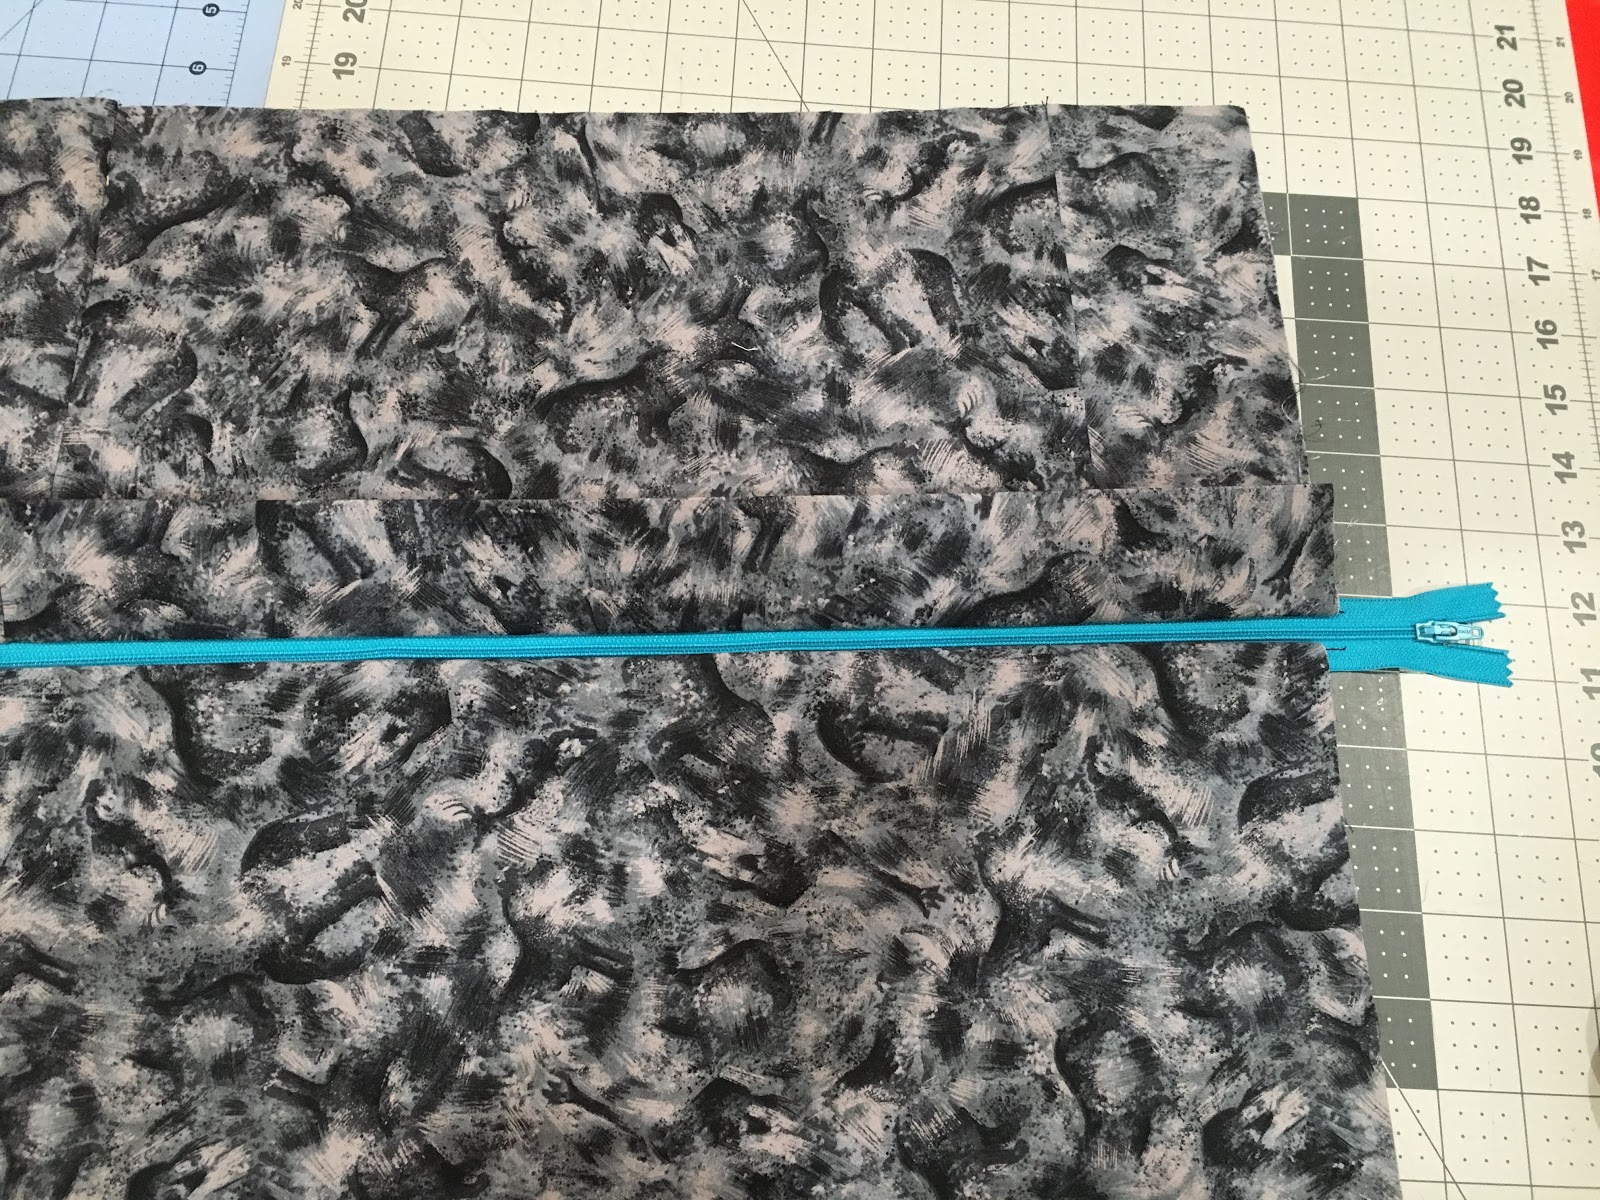
Then I sewed along the top of the fabric next to the bottom side of the zipper.

Then I pressed the flap down and sewed right next to the seam on top of the flap.
Tested to be sure the zipper worked.
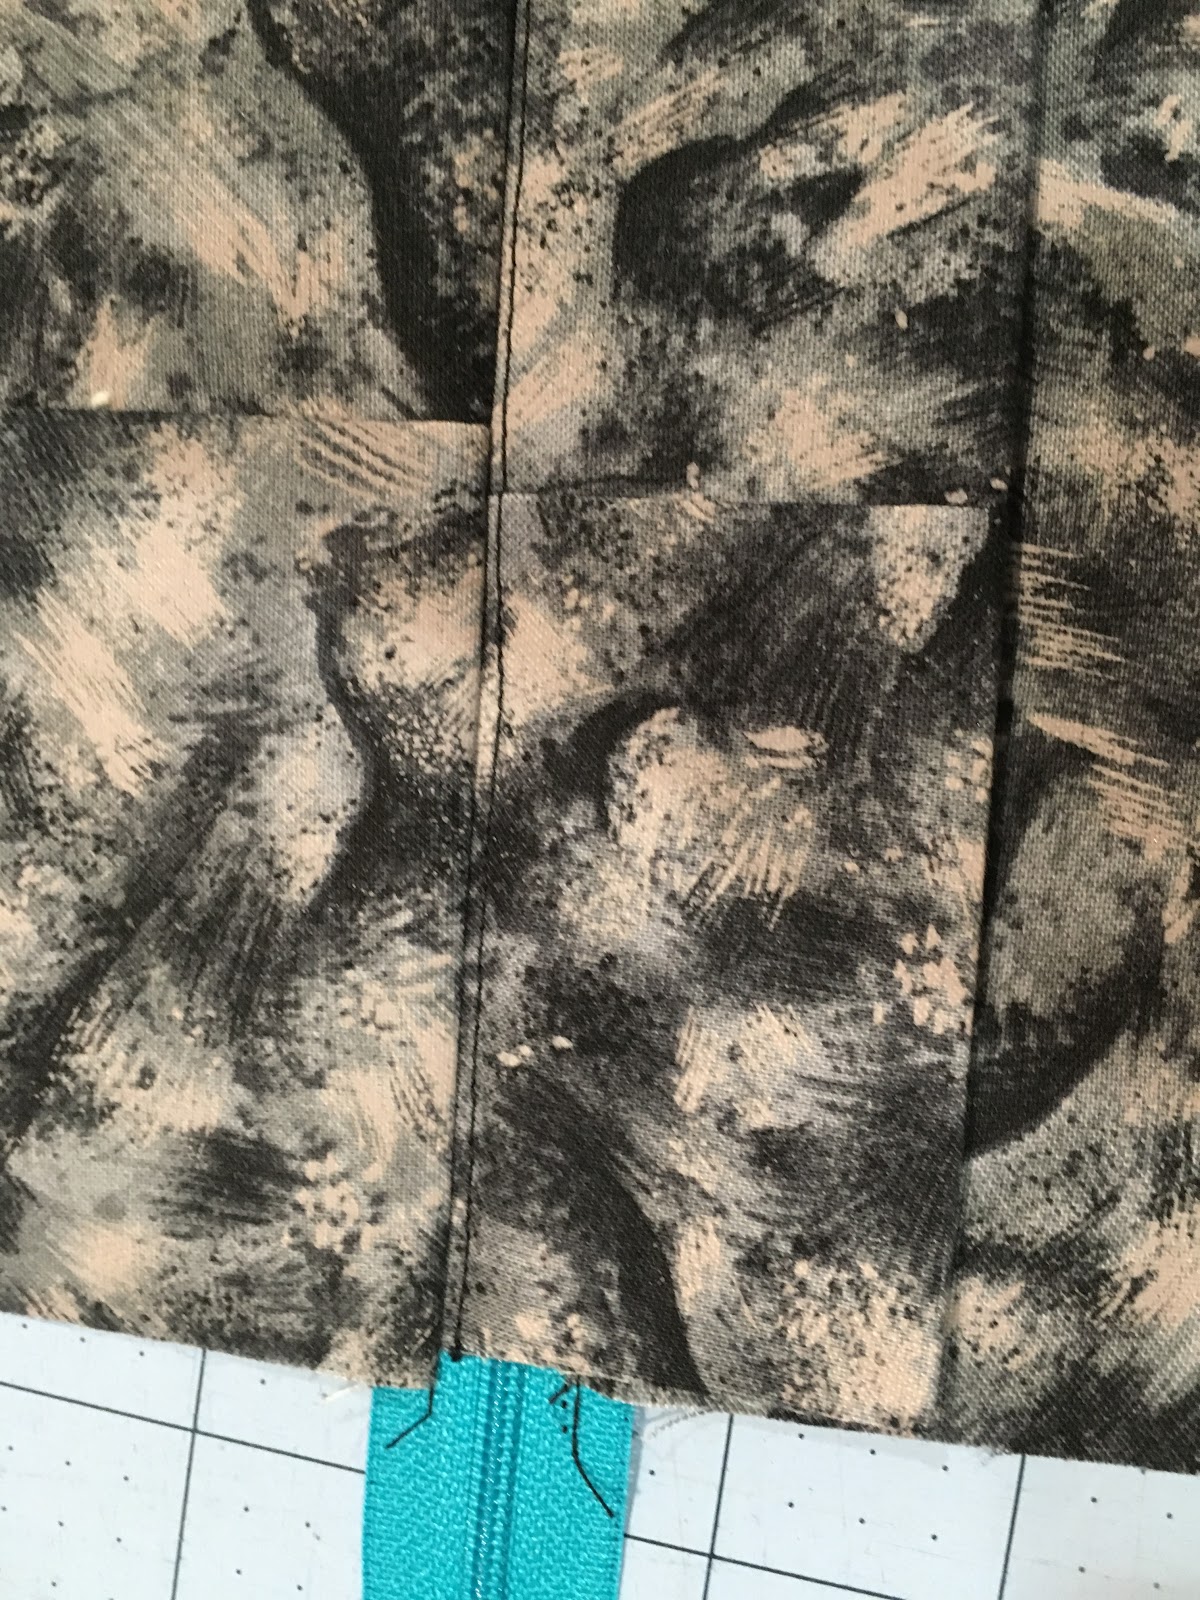
Then I sewed by hand to be sure the zipper edge would be in the correct place.

Sewed just that end of the zipper with the machine. I unzipped part way.

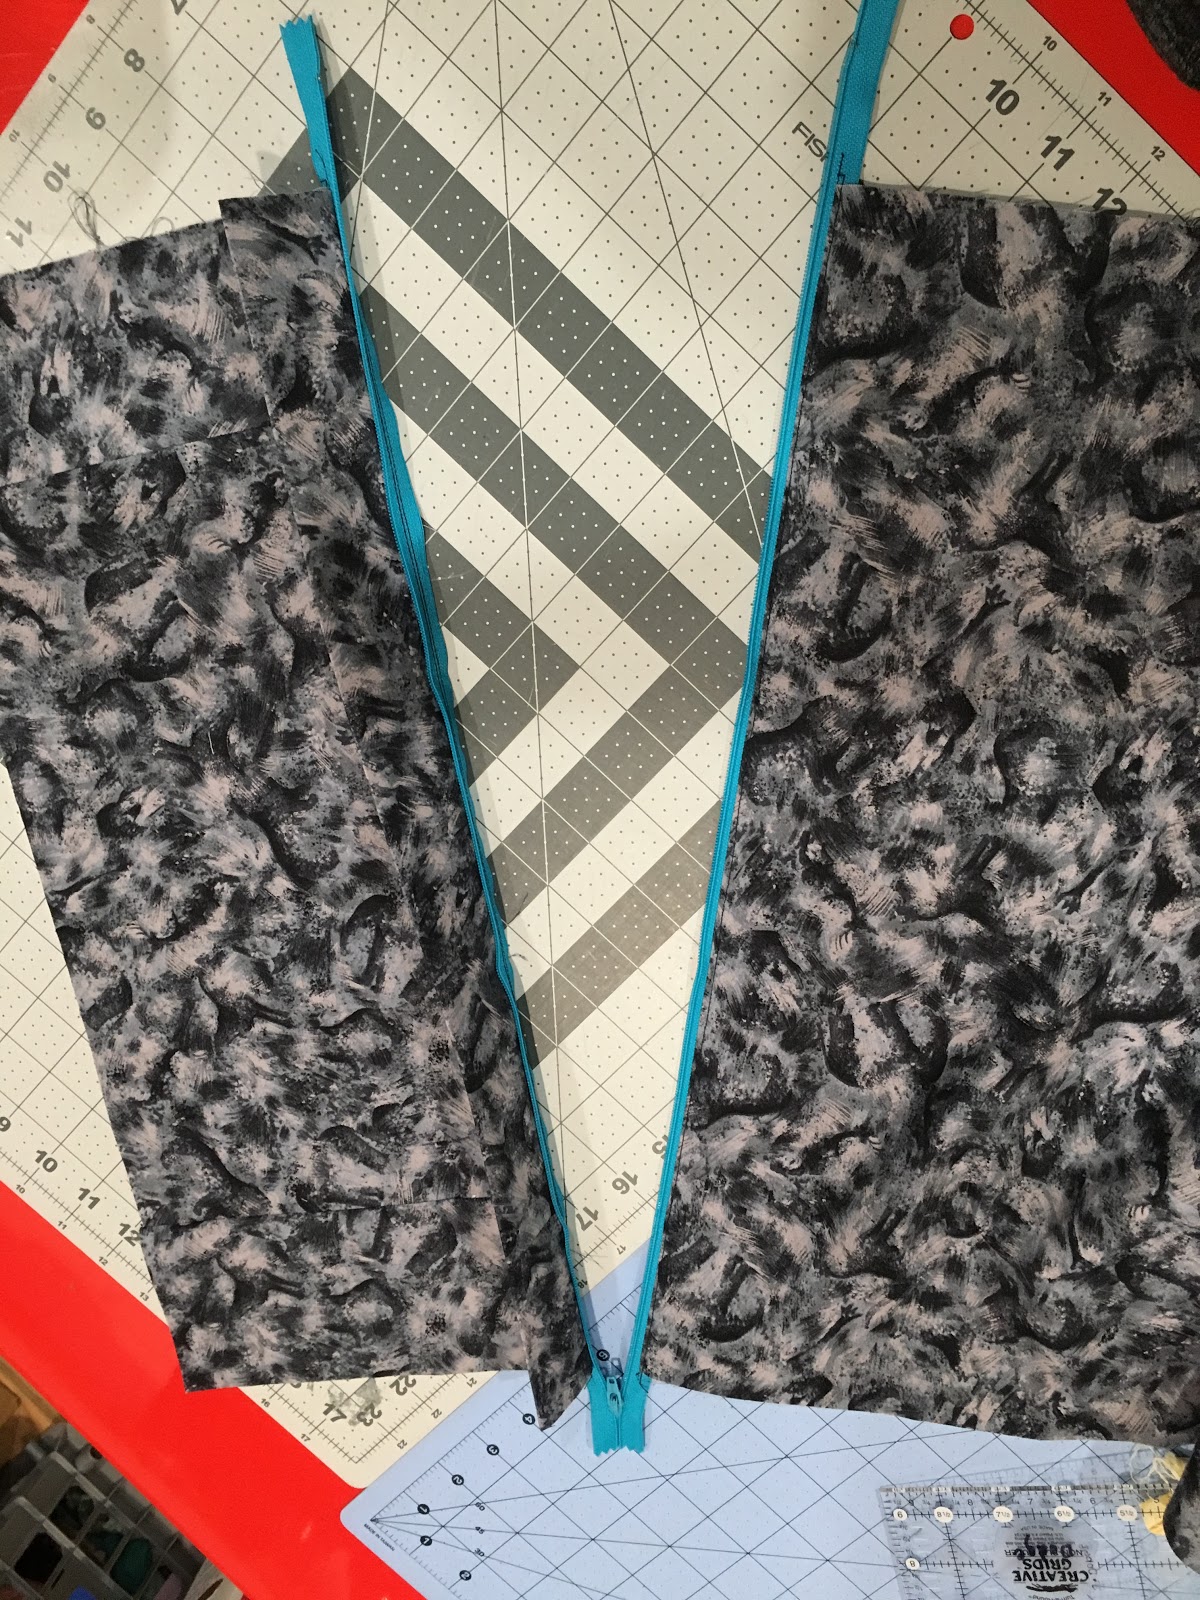
Then it was a simple matter of pinning the top to the zippered back. I had left my piece of fabric a bit longer. This was trimmed after the back and front were joined together.

Thanks to Chrissie D for the directions on how to get rid of the bunny ears on the corners of the quilt.
Then I marked each corner to show 1/2 inch from the seam and five inches from the seam.

Then I drew lines

And used the lines as my cutting guides.

Turn the pillow covers so the right side is out - done!

No comments:
Post a Comment
Feedback is welcome!