Pages

Showing posts with label Binding. Show all posts

Monday, January 20, 2025

Glue Stick Basting

Found this link today while taking a break after a long walk at the zoo. 

Nice pattern and directions for using a glue stick for basting! I didn't see her baste the backing, but guess it's the same as for the front.

When I was in Cambridge I used liquid glue to help me place my binding. Worked so well. I was on a metal kitchen table and I think I just pressed every few inches to dry the glue. I shared to the Liberated Quilters group in Yahoo and got a comment on how I was destroying the fabric. That was before spray basting. I wonder if that woman has switched from the basting she was using (would have been pin or needle and thread)? I sort of stopped writing on that group after that. It had been so fun to be in that little group. The leaders then advertised so it grew by leaps and bounds. And there were too many people then. Everyone wanted to be nice and respond to posts but there wasn't very much new content or sharing. Then Yahoo stopped supporting their group system so it disbanded as far as I know.

Anyway glue stick basting seems like a good idea to try.

I have glue sticks waiting to try it with. Just have to finish a quilt!

Traci from Sewing Channel on YouTube
https://youtu.be/nDb88RaBTaw?si=Yfa9DDvLO53OHKmk

She also does a good job of showing how to bind a quilt too. Similar to how I think I do it, but would be nice to refer to too.

Photos from the zoo and previous week below:

These were little birds, so light they could sit on the leaves.  Other types of birds were flying down and dipping their feet in the water, then they would fly to a tree branch and shake the water off.  There were at least eight of those birds doing it.  One at a time, in no particular order.

My first time seeing the water lilies here.  Made me think how my Godmother decided to change her pool so she could grow them.  I remember my mom made a comment to me about how it was so dark one wouldn't be able to see if there was a body at the bottom of the pool!

In person these Bee Eaters were so cute, shoulder to shoulder on the branch.

A pretty duck by the Polar Bear exhibit.

Colorful flamingos at the entrance to the zoo.


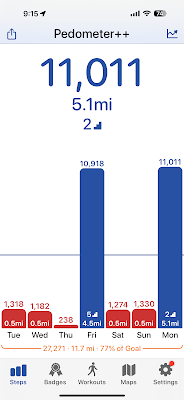
Today is Monday on the Pedometer screen. Last Friday I went walking with the same friend at Costco.  I used to walk by myself and called friends to chat, but now they are all busy and do not have time to chat so I haven't been walking as much....


Earlier in the week, my guys made me a delicious and beautiful birthday cake, burnt almond.  I found four (stainless steel!!) cake pans from my mom, that made the process much easier to end up with four layers.


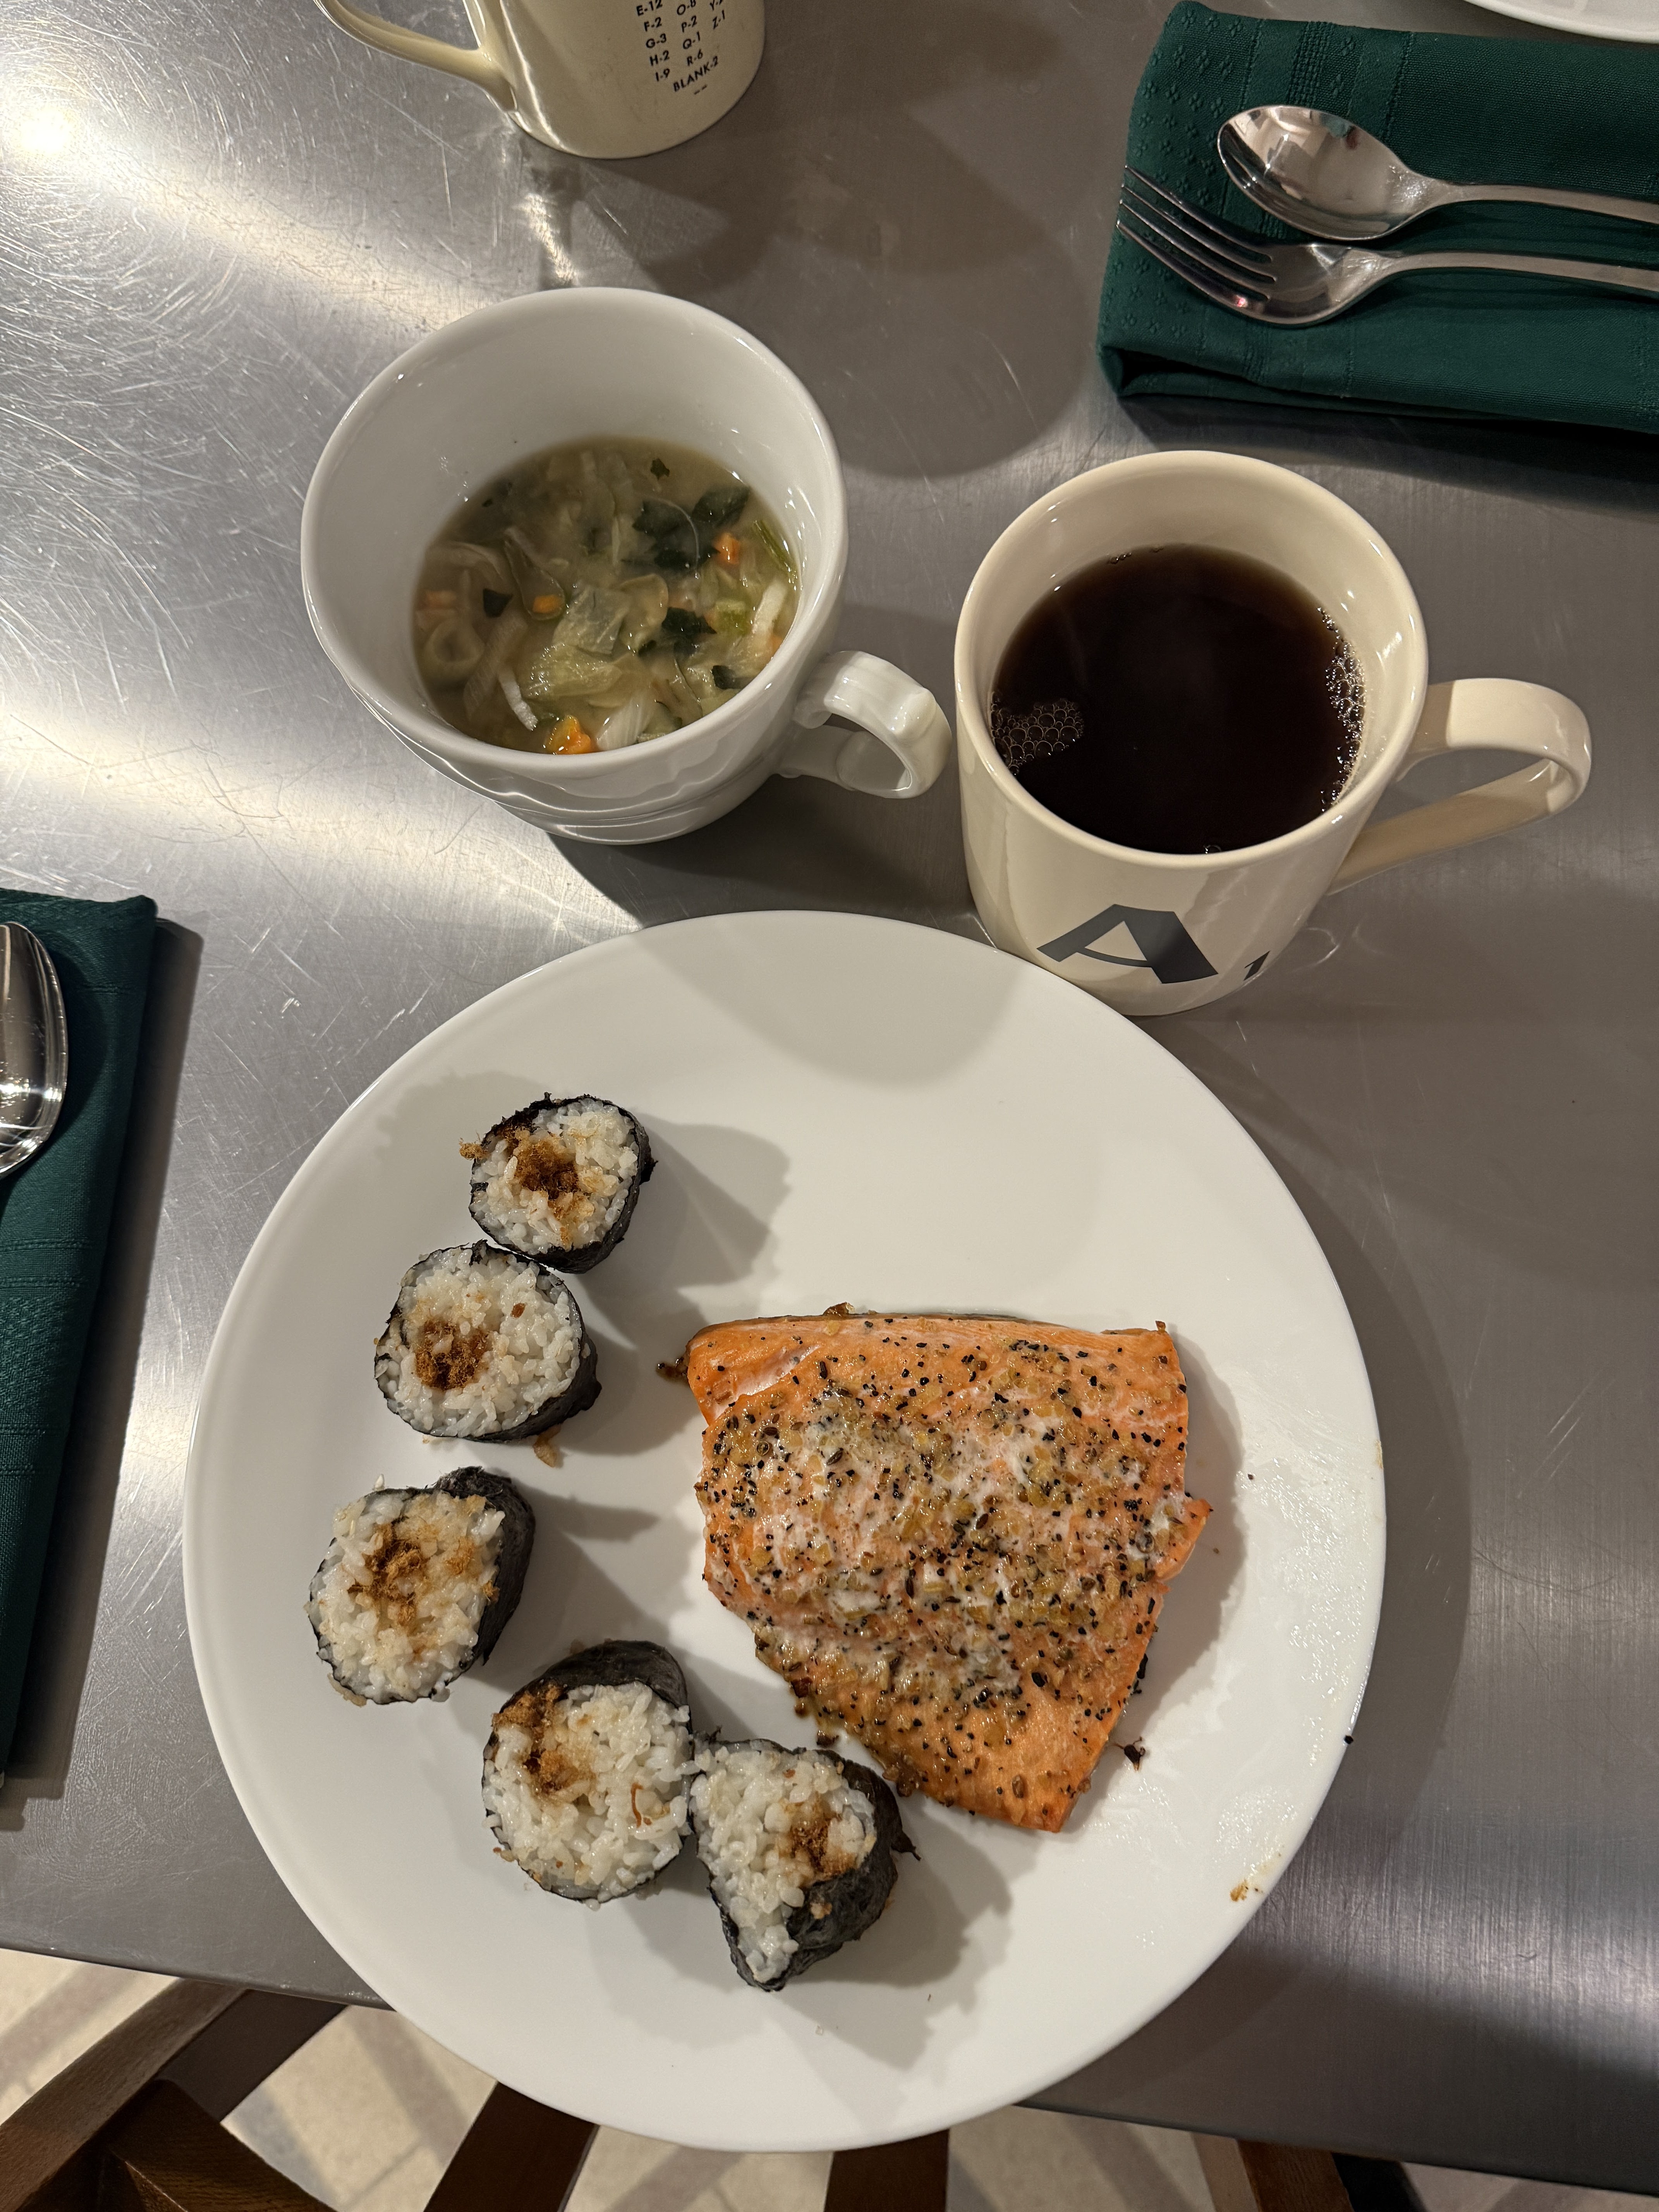
I made some nice meals too:


And although I miss little Buffy, little Melon is lots of fun to be with:


The vet recently said she was 6 pounds.  Son got her as a rescue the end of August, she was just a few weeks old I think.

Wednesday, October 3, 2018

Sewing with Friend in Two States

I visited my sewing friend and we worked together to create this little back pack for her granddaughter to where for Halloween.


We didn't have a pattern.  It goes along with a cartoon the girls likes called True and the Rainbow Kingdom.  We found images on Pinterest, but had to watch an episode to really understand how the gizmo works.  Supposed to be the circle wishes are inside the squishy circles, and when the button on the front white circle are pressed the wishes are released.  My friend figured out the system for adjusting the location of the backpack and front piece.  I mainly sewed what she handed to me.  I will offer to send my Gay Pride Parade Tutu to add to the costume.  Hope I get a photo of the little girl on Halloween!

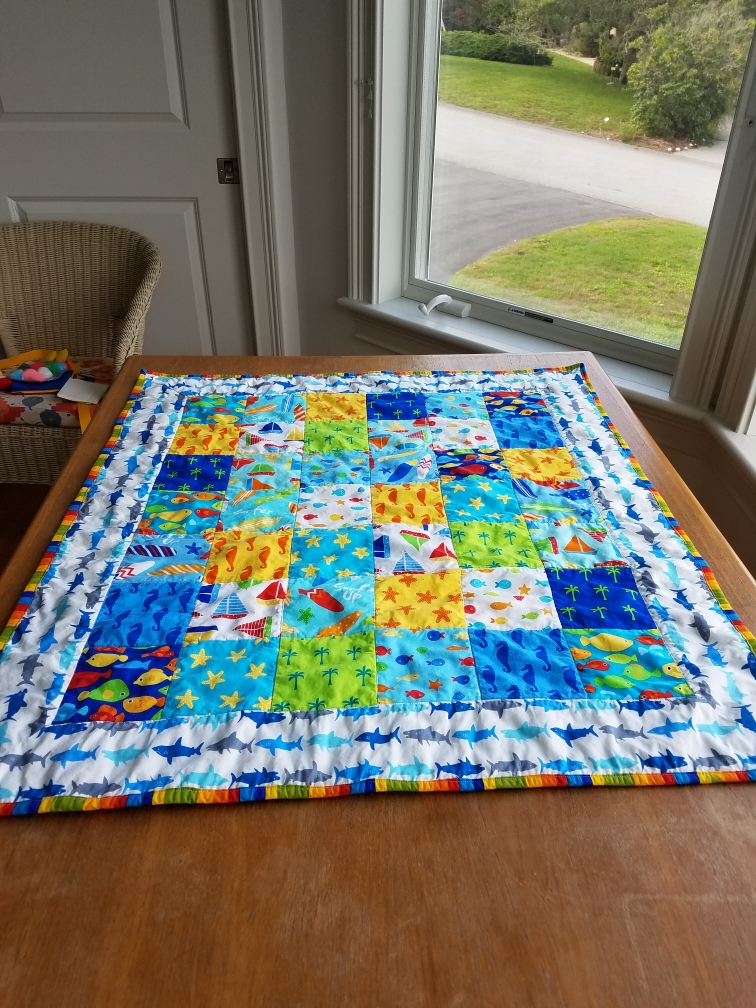
The second project we worked on was putting the mitered border on this quilt (she had already made the center section).  Then there was sandwiching the piece, basting, and preparing the binding.  She had only done binding made with the backing before.  We started in Rhode Island, then finished in Massachusetts!

Ruth Jensen's method for Mitering Borders was really easy to follow:
https://www.youtube.com/watch?v=-m22mnu4ovM
The other sites we found started by marking the 1/4 inch outer squares - which was really hard to do accurately.  Ruth suggests simply sewing on two opposite sides of the border, then using that stitch link to guide adding the top and bottom pieces.  It's a short video - watch it for help!

For the binding, I cut the strips 2.25 inches wide and referred her to Laura of Sew Very Easy Binding:
https://www.youtube.com/watch?v=r8qzeOczXEo
The start and stop was easy, the way she does the corners really works too.

We both didn't remember how much time it would take for her to do the FMQing, so I ended up making a little example of something to bind as a demo - then I pinned the binding on the piece and then pretty much had to leave her to finish it on her own.  She did a wonderful job.

Isn't it cute the way the sharks are circling the quilt?


She went back and stitched around all the blocks after applying the binding.

Front:


Back


 Washed

She had asked me if she should wash it before giving it away and I had said to wash with color catcher and regular soap in cool/medium temps or to give with the color catchers and directions for washing.  She decided to wash, but then was worried it was too wrinkled so she asked if she could gently iron it.  I had told her I had never done that, but since it was all cotton would be old to do a little.  Was I right?  I hope so!

Wednesday, February 14, 2018

Happy Valentine's Day - Mug Rugs

During Carol's Put a Little Love in Your Quilt BlogHop, Karen at Tu-Na Quilts shared a project for making a cute mug rug. (She has the link to the pattern in the caption of the photo.)

So instead of buying chocolate for my husband and son, I made them each a coffee mug from me! I used scraps that were out from the project I did for the BlogHop.


But for the binding, I had to pull out some other fabric.  I cut it 2 inches wide as Leah suggests for machine binding.  I was going to try hand stitching, but chickened out!  The backs are the initial triangles from when I made the binding for the BlogHop project.

Leah Day: Info on applying binding by machine
https://leahday.com/pages/how-to-bind-a-quilt-by-machine

Sew Very Easy:  Folding at start, makes it easy to do the start and end of the binding on a small item.
https://www.youtube.com/watch?v=r8qzeOczXEo  Instead of folding and cutting the initial fold I just folded.
 

I'm working on using the walking foot with Leah Day this year.  For quilting I outlined the mug, handle and heart.  The batting is my first cut into the huge roll of insulated batting that I got a few years ago at a quilt shop fire sale.

Hope my guys will use their gifts at work and think of me!  
They didn't receive this morning as I was still working on finishing them when they left for work. 

Thank you again to Karen at Tu-Na Quilts for sharing her project that inspired me to make these Valentine mug rugs.

Not Quilting


Yesterday made crepes for Mardi Gras.

Used my mom's recipe:

Earlier I had made apple sauce so that and sour cream was inside each one.  I made them in the afternoon then put a sheet of parchment paper (my mom used waxed paper) between each and put in the frig.  When ready to eat just put in a warm oven for a while and serve.

My friend from quilting class told me her family made for Mardi Gras so I decided to make for us too!

Today going to make Martha Stewart's upside down lemon merinque pie.  I've never made before, but this recipe was appealing as I could skip making the crust!


Thursday, February 8, 2018

Just Checking: Was it the fleece, batting or fmqing design?

After finishing the Put a Little Love in Your Heart Project, I was curious to check if the quilting puffiness dimension was a product of the FMQing or the fleece or the batting.  

I pulled out a charity top made with a different quilt pattern and finished it with the same walking foot quilting design and batting.  Not as puffy, but still a great design...


So it was the fleece that make the Put a Little Love in Your Heart Quilt puffy (and I liked the puffiness for that quilt). But with or with out the puffiness I like this variation of the orange peel quilting design!

This quilt had the binding sewn on the front as I thought I was going to try hand stitching it on the back.  But instead I found some thread that almost matches the rust border and sewed the binding on.  These were 2 inch bias cut strips.  Sewn on the front and then the back with 1/4 inch seam.


Wednesday, February 7, 2018

Blog Hop: Put a Little Love in Your Quilt

Welcome to my blog!

Last Christmas I found a fun blog hop where folks shared a Christmas project and a cookie recipe.  Yum!  We ended up making 8 different kinds of cookies for the holidays and I enjoyed the projects everyone shared.  

Carol announced the Put a Little Love in Your Quilt Blog Hop and I signed up to share.  Her requirements were just that we include a heart somewhere in the project...  This is absolutely the fastest I have ever finished a quilt!  I started January 8 and finished February 6. Click on the images to see the details!

My adult ed class teacher challenged us to make a double 4-patch quilt using different fabric for most of the design.  (If we had done this it would have been 30 different fabrics.  She has a huge stash of neat, new fabric so it's easy for her.)  Anyway, I decided to use any heart fabrics I had in my (older, mostly inherited) stash and to make the pattern with that.

Here is my quilt, semi-artfully displayed on a chair in our backyard.....!  

There are some memories sewn into this quilt.  


The white fabric with the large black polka dots (starts at the center and goes up to the right) were from a selection of fabrics I got when our (now almost 30 year old) son was an infant.  Like all new mothers, I had read how exposing the kiddos to high contrast helped developed their abilities.  Our baby ended up with a white paper plate with a black felt pen happy face in the side of his crib (as I got real since I really didn't have any idea how to sew a quilt and it was more fun to hold him anyway!)


The fabric with hearts and words (larger pieces start at the second row and goes down ending with the white heart, this fabric was also used in the smaller 4-patches) is a piece of fabric I got from my Aunt June - probably more than 15 years ago.  It was a design printed on the fabric to cut and make a sort of collar deal.  

In the bottom row is my first paper pieced attempt at a heart.  I was going to make my mom a jacket, but I could only share the sewn together pieces with her.  She felt the seams and appreciated the effort.  She was impressed even though she couldn't see very well.  That red in that heart was in the first set of fabric I ever bought to make a quilt.


Here is how I went about making the quilt:

First I went thru my fabric to pick the colors and patterns...


At first I was going to only use reds and pinks....


I started cutting to get a better idea of how things would look.  I was thinking of adding more colors.  Green and lilac were considered, but black and white became more appealing...

I started with the larger pieces and arranged them on the design wall. I decided to not use all the flower prints and instead went for more graphic fabrics.

I folded and pinned together the narrower stripes to audition how things could look...

Then I made the smaller 4-patches and added them to the design wall...

The piecing of the double 4-patch was challenging.  There were going to be many seams to match so I measured and trimmed if needed each time I got to a square!

The measuring helped.  I think all but one of the intersections is pretty perfect.  I was consistent with how I placed the fabrics when piecing and pressing the 4-patches, but when I put them next to the other blocks they got twisted so the ironing on the back is not consistent....


Ready now for the back.  I have not used fleece before so this seemed a good time to try it out!  My friend found 50" * 60" throws at CVS (3 for $10) and gave me one to use for my backing. 

I took a photo of the front, printed it and doodled to decide how to quilt the project...  (It turned out later that everyone in class did stitch in the ditch in a grid around the larger squares and called it done. But that quilting was right for their beautiful modern fabric and colored projects.)  I added a half row of blocks to the top to not waste the fleece, and added an additional line of quilting going from top to the right intersecting between the two smaller loops when I found that the batting required closer quilting... 

I thought this was going to be really difficult to quilt, but I just spray basted it to some polyester batting and used the walking foot (learning about using the walking foot this year with Leah Day).  The fleece turned out to be easy to quilt. I started and ended the quilting in the batting before I got to the top so didn't have many thread tie offs at all!  I really like the way the design makes the quilt a little puffy!  Click any of the photos to see the quilting!

The binding is my weak spot in the project.  I had hoped to finally be grown up and to hand stitch to the back.  But I decided I really wanted to finish the project in time for the blog hop...  So I cut 2.5 inch fabric on the bias, and joined the pieces together.  Sewed on the back side of the quilt with a .25 inch seam and to the front with a 3/8 inch seam.  This added an extra line of stitching that goes around the back near the edge of the binding.  Looks fine.  

I used these tips from Laura Ann Coila @SewVeryEasy https://www.youtube.com/watch?v=r8qzeOczXEo to help me apply the binding:
  • Minute 0:56 see how she preps the start of the joining part of the binding 
  • Start sewing it on on the bottom middle to distract the eye
  • Minute 4 Mark end of corner, learn foot measurement to help, 
  • Minute 5:23 stop then pinch the fabric at the end of the corner and bring up to the side just stitched.
  • Minute 6:10 use padded nail file or folded fabric to help placement of presser foot
  • Minute 8:08 how to end with her folded method of ending the binding
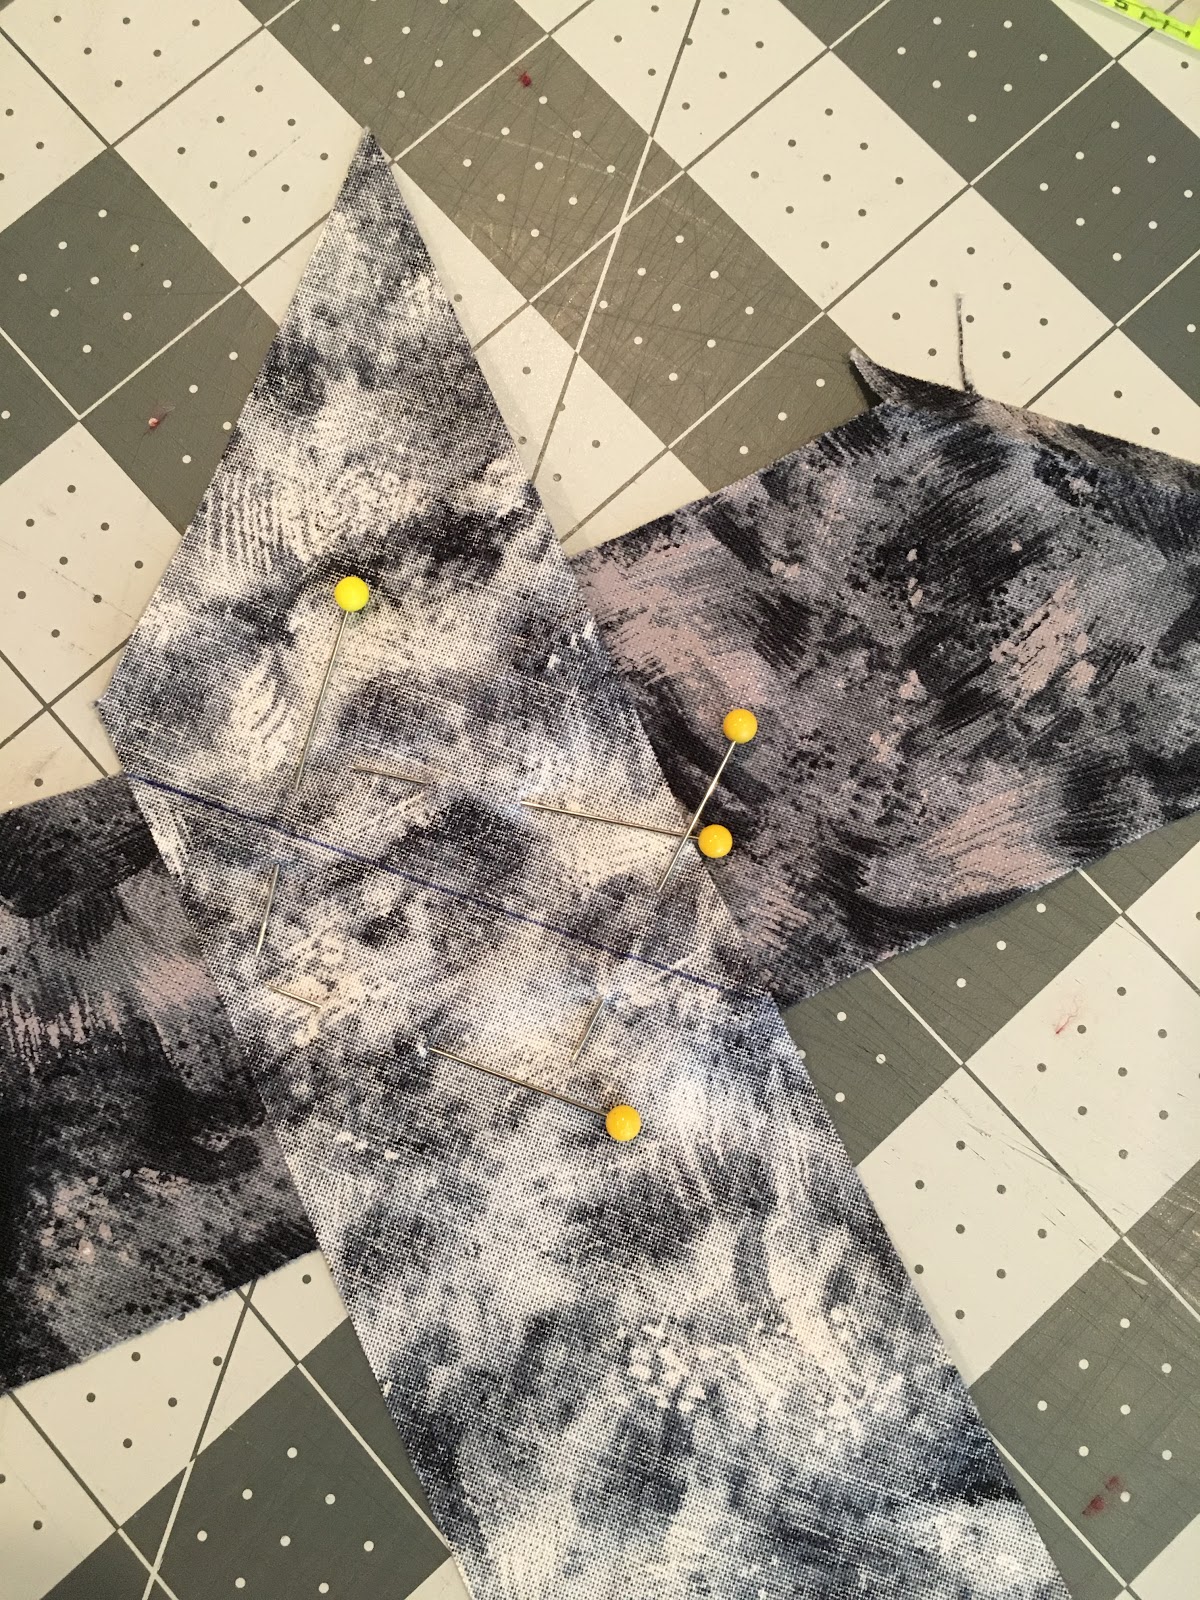
It ended up, I sort of did my cutting the way she describes here: https://www.youtube.com/watch?v=jXvLAHWbyXo except I did more work and cut my fabric into fat quarters first as I didn't notice the video until typing this! I tried making continuous bias strips but lost a portion of the fabric as the way I marked the lines was difficult to see and my cutting went wonky. In my next tries, I did not depend on the angles in the cut fabric to make the seams.  Instead I used a ruler to verify that the intersection was at 90 degrees, put a pin in, drew a line and added more pins. I chain pieced. With this extra effort all the binding fabric strips were usable and straight.

Our son helped me by taking the photos of the finished quilt, and tested the size by sitting with it on a chair.  Little Buffy and he approve, but we decided the quilt will be saved to give as a gift later on. You can really see the quilting in this photo...

I really enjoyed quilting this project and it has been so nice to see everyone else's interpretation of how to Put a Little Love in Your Quilt!

Thank you for coming by and visiting my blog.  Thank you to Carol for organizing the Put a Little Love in Your Quilt Blog Hop.

Please click on the names of the blogs below to visit the other lovely heart projects shared for the event and leave a happy comment!


February 7
QuiltQuest <-- You are here!
And if you missed the first two days.  

February 5

February 6


💕