I decided to start with the middle quilt (of the three newly spray basted quilts) as it was going to just have a regular binding. But then I was reminded about the type of binding with faux piping and I thought having a little extra pop would be nice for the quilt, and a good experience for me too.
Helpful Binding Websites:
http://www.52quilts.com/2012/05/tuesday-tutorial-susies-magic-binding.html
She has video that I found first, the blog post shows what the back of the project will look. Very helpful to me to see. Also has hint to stop stitching 1/4 inch from the end, the to turn the work and sew off to the corner.
https://www.youtube.com/watch?v=HAQWwwAa2K0
Missouri Star - hint to iron to help show which is the front part of fabric and to fold the corner to arrange it so easy to sew the corner.
- I can't find where she says to iron to show the front of the fabric?
- Minute 10 to see order of arranging fabric when joining the ends of the binding after sewing around the quilt
- Minute 13:08 to see how she folds the binding when sewing it on the top.
Great tip to have something to support the pressure foot when starting new corner - also has idea for starting and ending binding that I will try sometime. She also makes it very clear on how to get the right angle for the folding at the corner.
- Minute 0:56 see how she preps the start of the joining part of the binding
- Start sewing it on on the bottom middle to distract the eye
- Minute 4 Mark end, learn foot measurement to help,
- Minute 5:23 stop then pinch the fabric at the end and bring up to the side just stitched.
- Minute 6:10 use padded nail file or fabric to help placement of presser foot
- Minute 8:08 how to end with her folded method of ending the binding
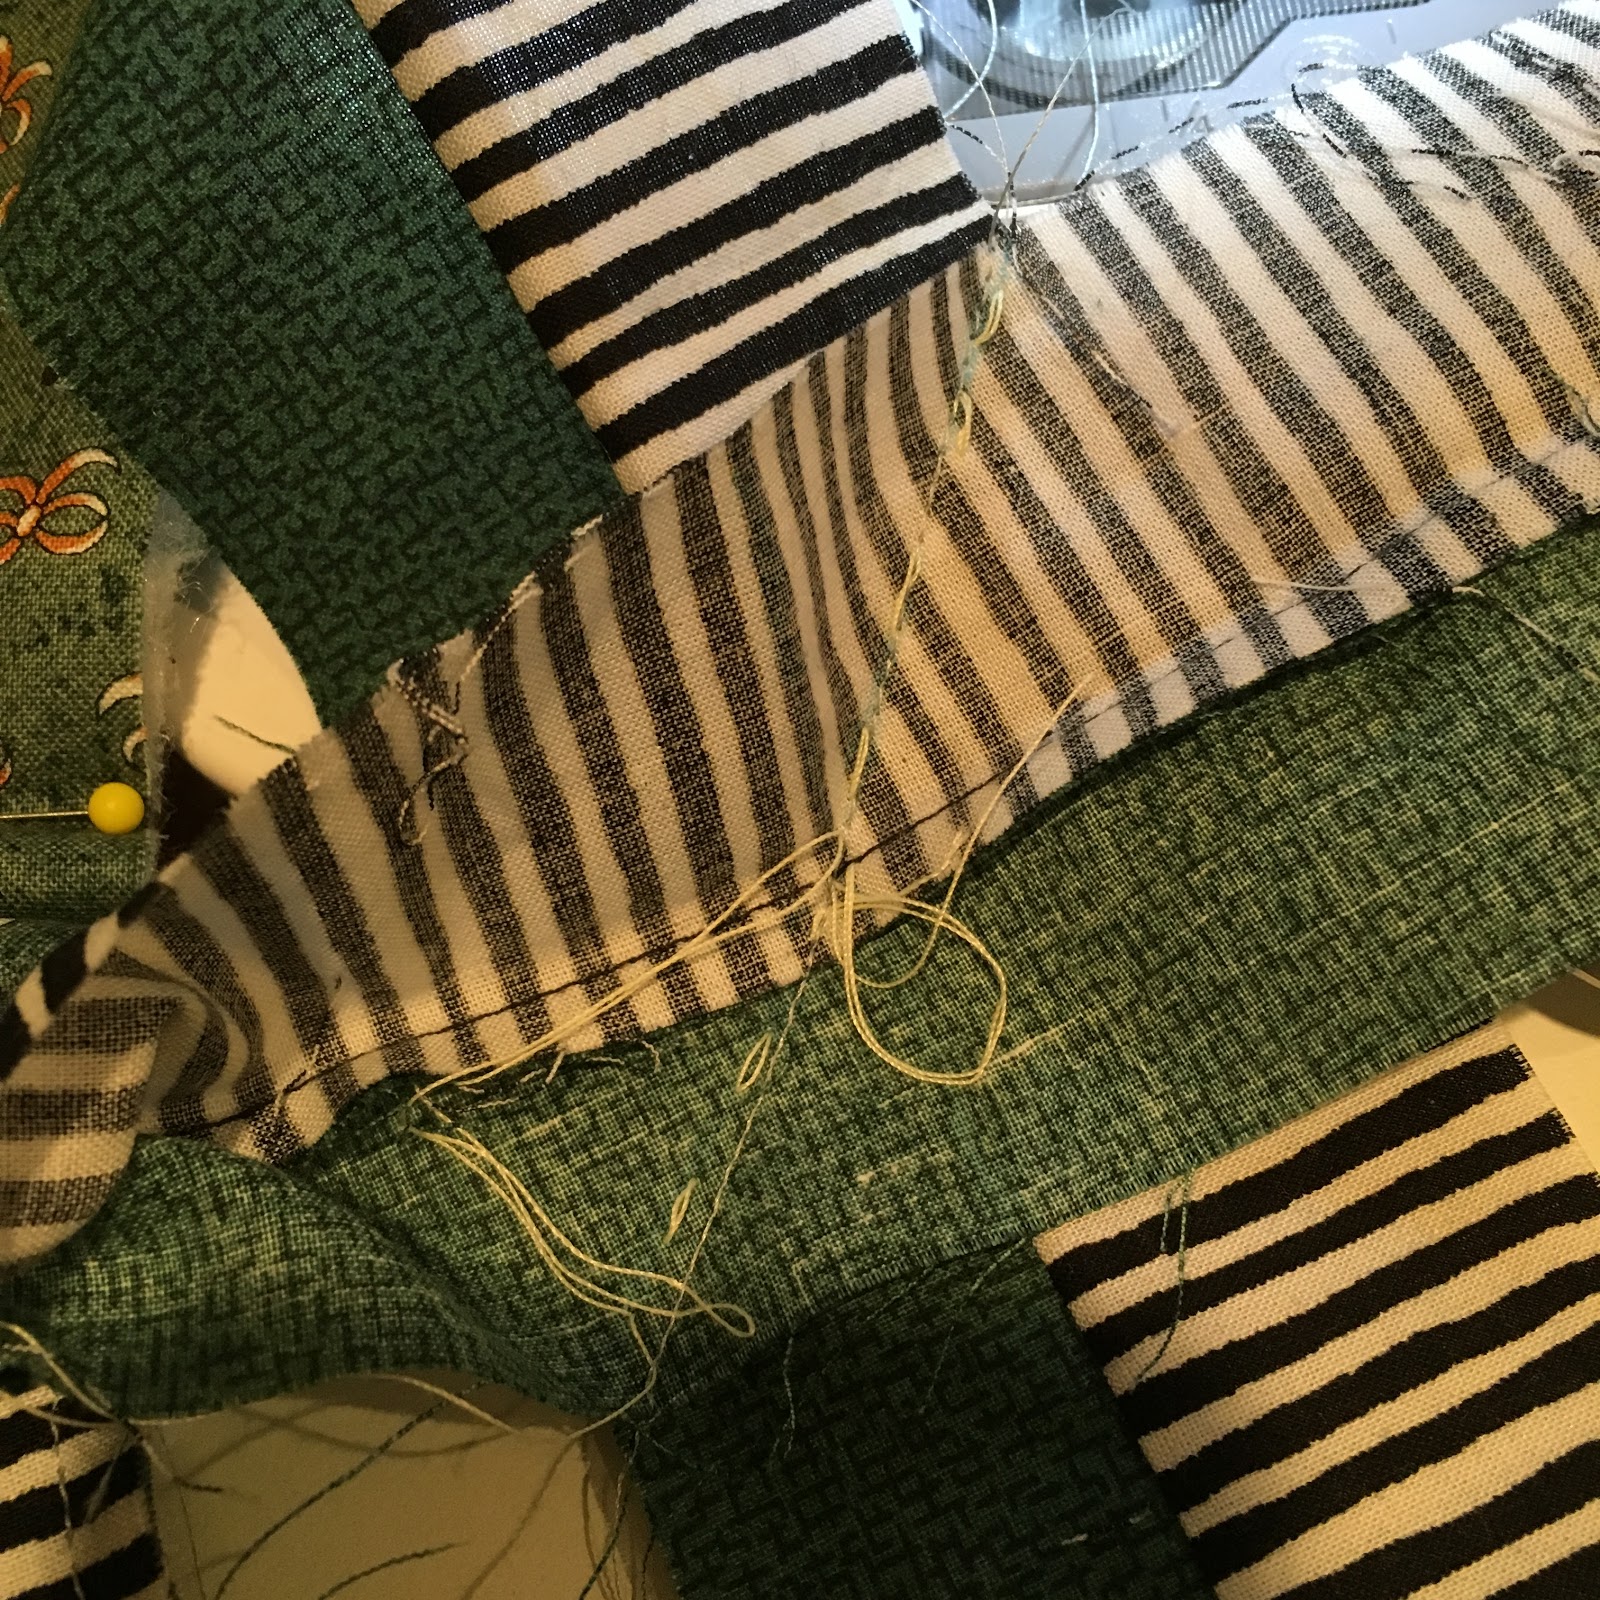
I cut the strips following the directions I found. On straight of grain, the flange part was 1.75 inches, the main color was 1.5. The websites were very helpful with how to apply the strips, but I had trouble with the final joining of the end to the beginning. I referred to my earlier post on binding, but since that example was using a solid Kona it was difficult to see the order to arrange the strips. So I took some photos to help the future me.... In this case I had to line up to the intersection of the seams so I put a pin in - and ended up hand basting to check what I was doing!


Yes, I see it's 3:30 in the morning. But I'm pretty sure it was after dinner tonight before I started experimenting with figuring out which pressure feet and settings to use and getting out my grey thread to do the work! I still was watching videos. I made additional binding and made up samples with scraps testing the settings. It was break through to think to look at Aunt Marti's blog and then to see at the very end of that write up, that I was not expected to stitch directly thru the flange to the ditch of the seam in the back. Even she has a line of stitching that shows on the backing. (I spent a long time fretting about how I was going to do that!)
So I hope my photos will help my future self next time I try this!
: )
To Look Into:
I think there is something I was supposed to do with cutting the batting so the binding would have more of it and/or perhaps I was supposed to sew around the quilt to secure the fabric more before applying binding too.
Wow, your binding looks great! I love the flange technique, it makes everything look really fancy. I've never used it with a striped accent fabric, though, and I really, really like the way that looks. You also did a much a better job with lining it all up for joining the ends than I do :)
ReplyDeleteThanks again Louise! The joining ends is getting easier now, I'm not basting closed for the one I just did. But I'm still looking at photos and websites to get ideas on how to do it!
Delete: )