Pages

Showing posts with label Quadrupal Irish Chain. Show all posts

Wednesday, April 18, 2018

Leah Day's Explore Walking Foot Quilting: My "Rainbow Log Cabin" Part 13

Last night after dinner I started adding the squares around the quilting I have been working on, the center of the piece.

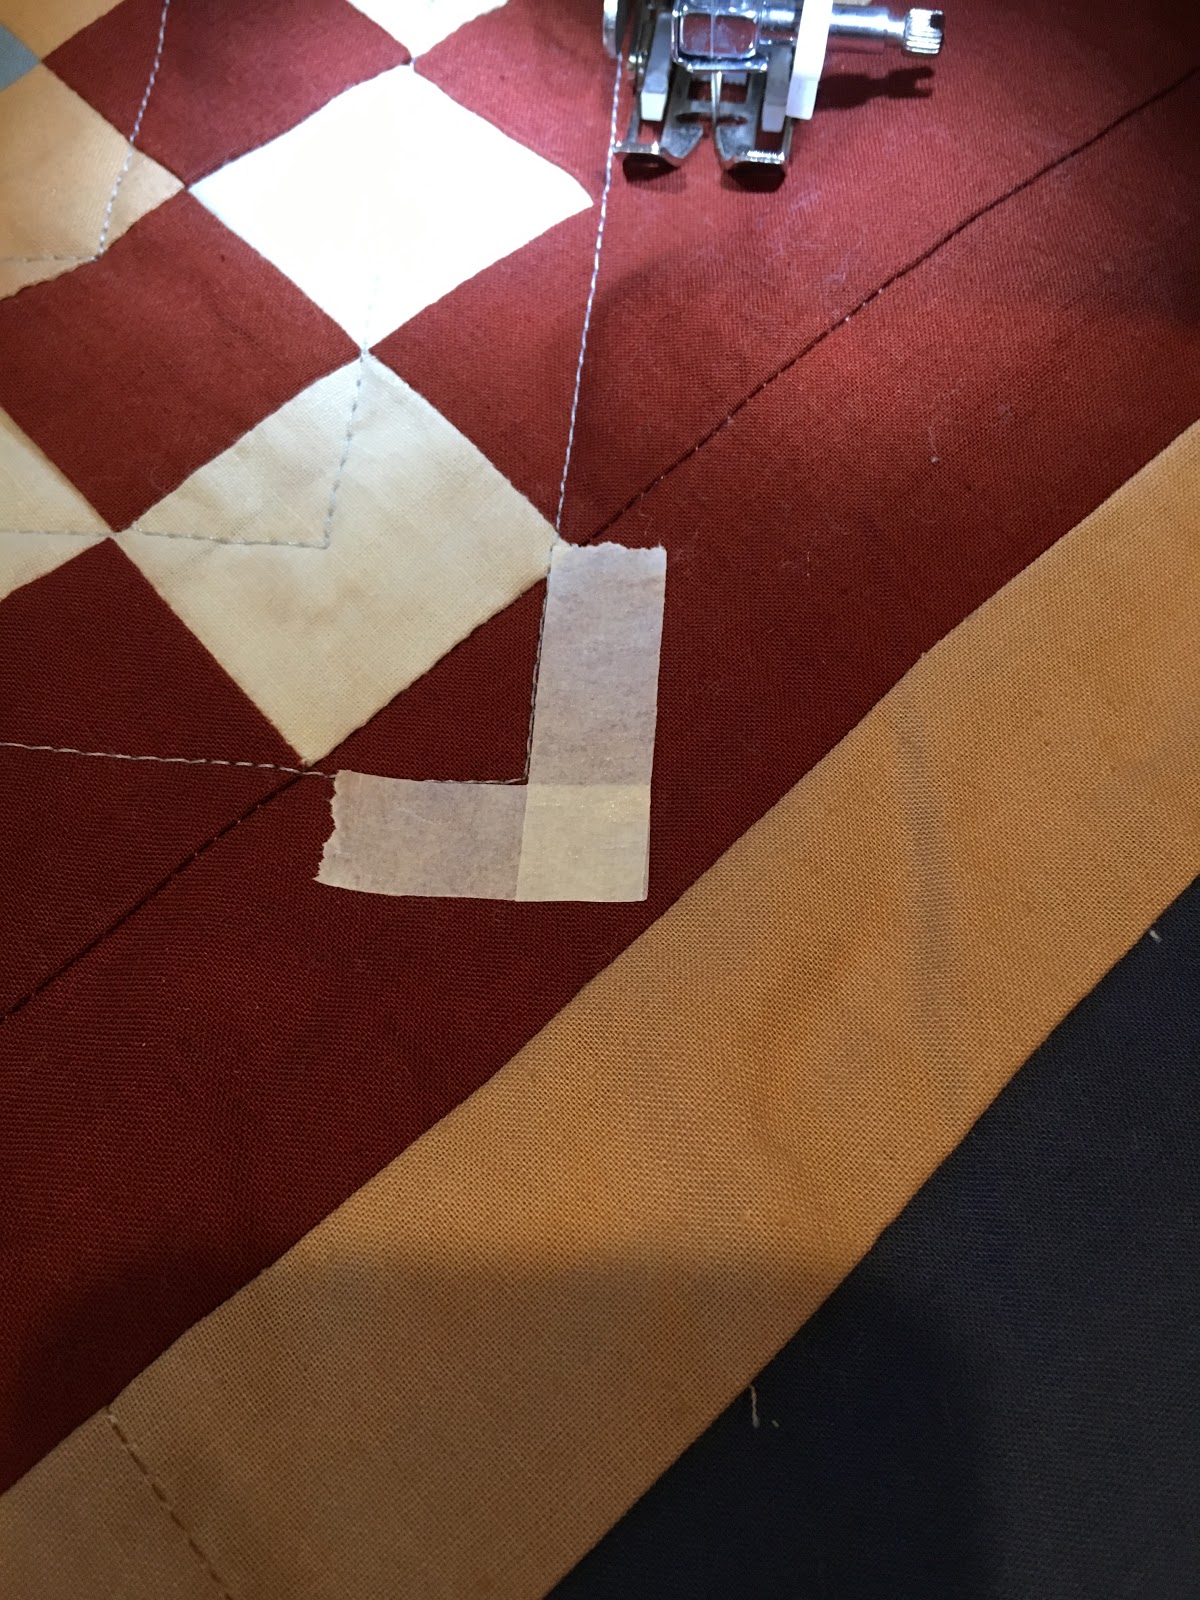
The first one was spaced at one inch.  I used the walking foot guide to make the lines. When I got to the corners I took two pieces of tape to shape a right angle so I knew when to turn.


The next line was half inch away. Again, I used the walking foot guide and made a corner of tape to show me when to turn.


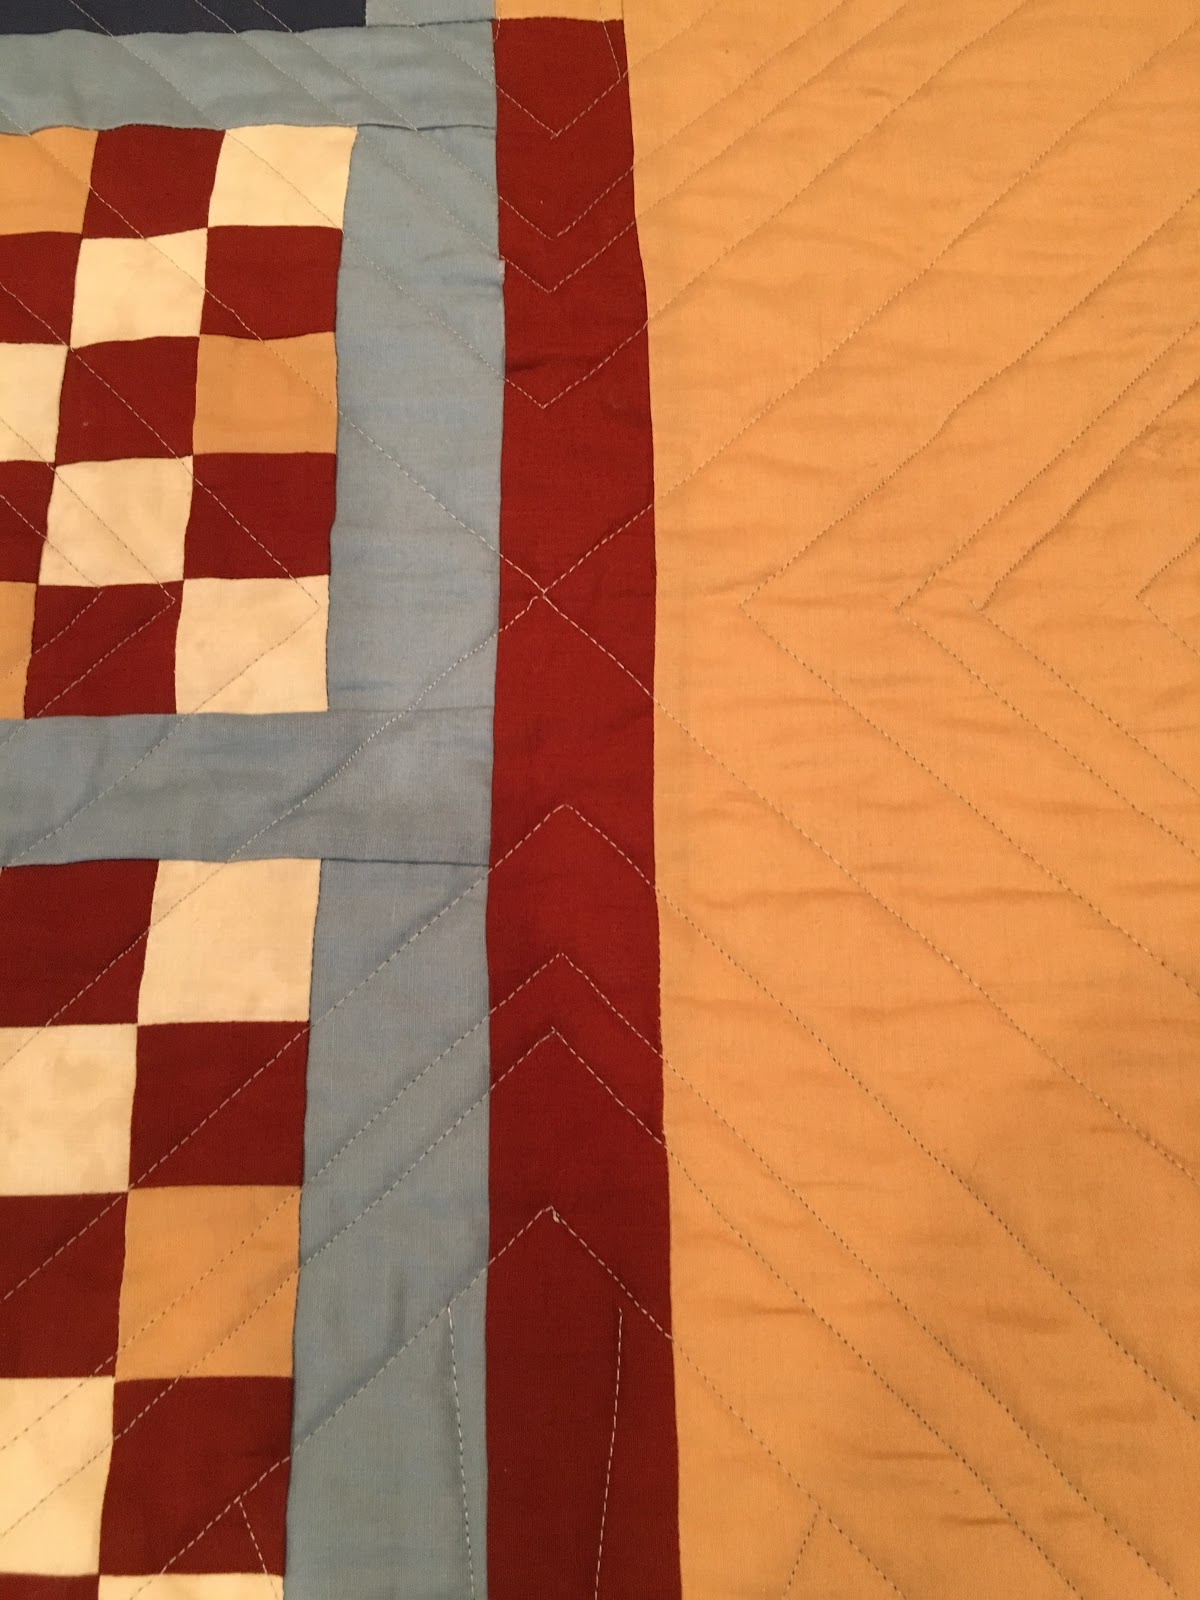
There is still about 3 inches that need lines, then I can start the quarter bright stars in each of the corners!

Tuesday, April 17, 2018

Leah Day's Explore Walking Foot Quilting: My "Rainbow Log Cabin" Part 12

I finished the fourth and last larger blue block!

First new square - marked with one inch painters tape.  I started stitching with half of the quilt under the arm.  It was okay when I ended with half under the arm, and also when I ended with just the corner under the arm.  The key was starting with the most under the arm... and going clock wise.

I started the timer as soon as I entered the room, so the times include all the taping and getting settled in chair, etc.


Second new square.  Used 1/2 inch masking tape to mark.  This tape does not last as long as the painters tape...


Third new square - marked with one inch painters tape.


I'm all set to start some of the outer squares.  Think I will use the walking foot guide instead of tape...


I'm tickled that this is coming together.  I'm using the instruction from Leah and finishing one of my first quilt tops ever made.  When I was doing the bright stars I should have measured out to be sure the lines at the end would end up touching the squares, I'm hoping when this is washed those missing stitched will be hidden.  Or perhaps I should go back and add them?  I can't remove the stitches that went too far out as those thread ends are already hidden and cut...

Sunday, April 15, 2018

Leah Day's Explore Walking Foot Quilting: My "Rainbow Log Cabin" Part 8

Sewing the design in a clock wise direction makes it much easier.

The square in the larger blue blocks.

Block 2 - 11 min
Block 3 - 12 min
Block 4 - 15 min


Now I need to decide how to fill the 3.25 inches that are in the four blocks...  I plan on using concentric squares as Leah did in her model Rainbow Log Cabin, it's just do I make them all the same?  and how much space in between the lines?


Saturday, April 14, 2018

Leah Day's Explore Walking Foot Quilting: My "Rainbow Log Cabin" Part 7

I was so excited this morning to see how adding a square would work, that's what I did first thing in the morning before the Science March.


After I returned I re-read Leah's notes and realized I was supposed to sew clock wise, not counter-clockwise!  Because I didn't follow directions, this took a long time and I had to break thread for the last line and sew that separately.  Doesn't show in the end...

-------
Not quilting

Parked at the Science Museum and walked to the County Bldg for the Science March...


I thought it was going to take about 30 minutes to get there, but it took...

I got to the staging area just a few minutes before the march started.  It was another good march. There was just a small number of people compared with last year's march or the other marches I have attended.  I hope the people who did not attend will still vote on the various election days.


At the end I took trolley back to City College and some friends drove me to my car.  So it was all doable.  I ended up sleeping the rest of the day though!

Friday, April 13, 2018

Leah Day's Explore Walking Foot Quilting: My "Rainbow Log Cabin" Part 6

I have finished the fourth and last blue part of the quilt and filled it with Leah Day's Bright Star with the refined stitching order.

It took me all these times to realize that although the painting tape (used for marking the line) can be on the right or left of the needle, it is much easier for me to see the critical beginning, middle and ending places if the tape is on the right side. At first that was trickier for me to apply the tape, but once I just moved the entire piece away from the needle it was okay.  This last time I also paid more attention so the orientation of the quilt was so the corner was mainly to my right or in my lap.  Two times I forgot to cut the bobbin, and that caused the thread to sort of split when I was pulling it thru to tie the knot, but I was able to force the issue and the threads all pulled thru fine.

This and last block I started by sewing all the way on the first two lines.  I ripped the tape so after the first line though that all lines had the needle down in the center. (as my goal was to have all the lines pass thru the center)

Now I need to work on learning exactly where the needle should start and end.  Even with all this practice I do not have sense of the correct placement. And when I'm tying the knot I usually put the thread back thru the place where the top thread came out.  I'm not sure if that is best, or if it's better to put it thru the bobbin exit.


82 minutes for this last bright star.

So now I am finally ready to do a bunch of concentric squares.  But now I have to pull some weeds and get dinner ready too.  I'd much rather be working on this quilt, but this was a lot of walking foot  time for me.  Probably better to do again after a rest anyway!


Leah Day's Explore Walking Foot Quilting: My "Rainbow Log Cabin" Part 5

Okay!  I have finished the third blue part of the quilt and filled it with Leah Day's Bright Star with the refined stitching order.

I think it looks pretty good, and I'm really happy that I am only needing to tie the thread ends at the edges of the design, not the middle!

It still isn't dazzling on the quilt.  I did ask yesterday at the Quilt in a Day presentation about her batting (Hobbs 80/20) but didn't ask about the thread as she has a long armer do the FMQing and I figured she wouldn't know the thread.  But I wish I had.  

I hope after it's finished and washed that it will somehow look less flat.


Third Blue Star - 82 minutes

Wednesday, April 11, 2018

Leah Day's Explore Walking Foot Quilting: My "Rainbow Log Cabin" Part 4

Okay, I filled a bunch of bobbins so I wouldn't have to stop to do that during the quilting part for a while!

I finished a second blue spot on the quilt, another Leah Day Bright Star done using the refined stitching order. It went well.  I feel less stressed at the end of the work.  But it took two hours, and that unfortunately includes two lines that were removed after I realized I had stitched to or from the incorrect point on the block.

Here is what I had finished after 45 minutes.


I goofed and for the last line there was a really tight angle, but I was able to organize things so mostly the corner was in stuffed in the sewing machine as I sewed...


Here finally is the finished block.


Up close, I don't really see a lot of difference between this block and the first one that I quilted. But I was way less stressed and pleased with the amount of work that I did. Of course this was my second one in the quilt, but finished in 120 minutes instead of 164 minutes is quite an improvement too.

It really wasn't just 120 minutes as Buffy wanted a walk after I took the first photos today...


I use the stop watch app on the phone to get the times for sewing/quilting recorded.

Monday, April 2, 2018

Leah Day's Explore Walking Foot Quilting: My "Rainbow Log Cabin" Part 3

The adventure slowly continues - I have changed my estimate to this taking at least 20 sewing sessions to finish the quilting...

Part 3:
54 minutes:  finished the rest of the spokes for the first super star.

You can double click to see the centers more closely.


Hmm.  I'm not happy with the way the design looks in the center.  I went back to my original Bright Star practice and see that it also doesn't look great in the center...

But I'm pleased I have one of the four blue spaces quilted!

Wednesday, March 28, 2018

Leah Day's Explore Walking Foot Quilting: My "Rainbow Log Cabin" Part 2

Part 2 of the quilting adventure:

(I had estimated ten sewing sessions to finish the quilting on this top, but based on today it will take much longer...)

Today:

28 min - Applied painters tape to outline the outer center square and then sewed the square.


110 min - Applied painters tape to show initial line for all four blue areas.  New bobbin.  Applied tape to determine center of blue area.  Sewed two lines end to end.  Sewed third line but had to remove it as it was not going thru the center.  Marked half spokes and sewed 8 of them.


Tuesday, March 27, 2018

Leah Day's Explore Walking Foot Quilting: My "Rainbow Log Cabin"

Part One of the Quilting Adventure:

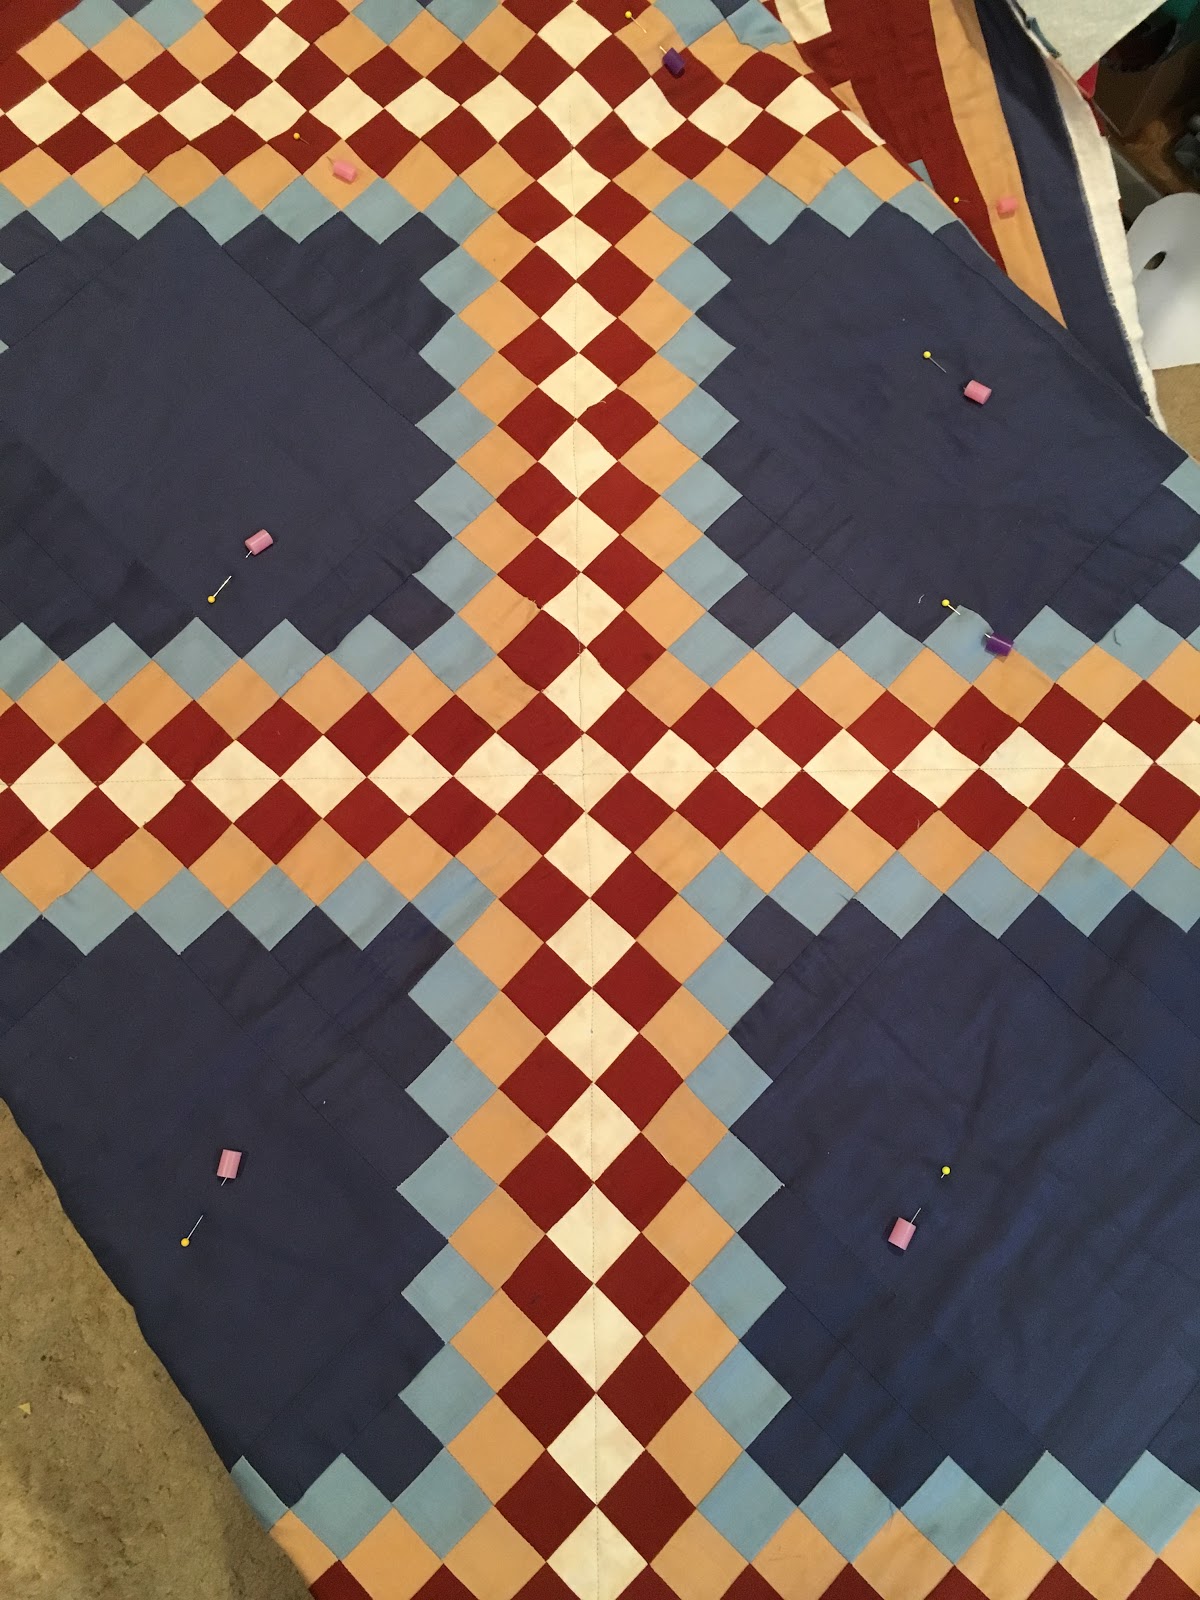
In Leah Day's Explore Walking Foot Quilting, she has folks begin with making a very pretty rainbow log cabin.  I have so many unquilted tops that I just couldn't make another one.  So I decided to use my quadruple Irish Chain for the first project in her class.  I think this was the second or third quilt top I finished.  I know it was the first I made without a pattern.  I had liked the Irish chains I had seen, but wanted more colors.  So I figured out how to make this one:

I can't really remember how I made it, but know it involved make strip sets and subcutting, then putting things together.  (I forgot to take a photo of the flip side of the full quilt, but even looking at the back it is difficult for both a quilting friend and for me to to figure out how I sewed the pieces together. We couldn't find the block lines.)  I remember when I was sewing it how I was shocked at how large the dark blue parts became, and how much more of the beige and rust were becoming the face of the quilt.  I didn't draw and color things out to scale, I just figured where the pieces would go to make the design.  In my mind this was going to be a blue quilt with rust, beige and lighter beige accents.  When I saw what it had become, I started adding more of the little light blue/dark blue center bits, instead of making more of the large dark blue areas.  I extended the ends into the first border because it made the design float and was, I thought, rather cool looking.  I added the extra blues in the corners to also try to have more blue.  Immediately on finishing the last border I remember thinking how I should have made that border wider as it would become very small once I put on the rust binding.  Fun problems.

In those days machine quilting was new.  No one around here was showing how to machine quilt things.  I didn't want to hand the project off to someone else to finish up.  So this project sat in a box for around 26 years.  Was that the right decision?  I'm not sure. Well, probably not.  It would have been nice for my son and husband - and for me -  to be in a house with quilts...  But I really wanted to do the entire quilt myself.  So now with Leah Day's help, I will be able to do that.  I have been practicing on charity quilts, and gift quilts. I will continue to do that, but now I'm starting to work on a quilt that will be used in this house!

I pulled it out now to repair a piece that had wax on it, and to use as my first practice quilt for Leah Day's Explore Walking Foot Quilting project.  I was planning to do the quilting she prescribed on that quilt on this quilt...  But now I may change things up.  I'm still thinking.

Her quilt is made so the log cabin blocks are arranged so the final quilt appears from a distance to be one large block.  Here is her quilt with the quilting.  She has just two quilting designs on this 80 x 80 inch quilt.  In the center there is what she calls a giant bright star, surrounded by several concentric squares, and then in the corners she has a variation of the bright star (each corner has a quarter of the bright star that begins in the corner and goes back to the concentric square).  It's completely doable with the book and the videos on her site.


I'm thinking that I perhaps should have a bright star in each of the four larger blue parts, surround each with a concentric square and then put a few concentric squares around all those and then continue as Leah has shown. Instead of changing thread colors, I'm planning to use my grey for the top and bobbin of the entire 60 inch square quilt.

So right now I have just sewn the initial X in the center. I used painters tape to do the marking.


And ta dah - here are the first two lines of quilting on the quilt!


(I spray basted this project, so that is why there are not many pins.)

I created this backing made of left over bits and fabric when it was not 'a thing' to do - also then it seemed solids were not a thing.  But I sure like them. When I was sewing the quilt I liked the back of the quilt more than the front.  Now I can appreciate both sides.

Sharing via Em's Scrapbag: Moving it Forward