Pages

Showing posts with label UANDUQAL. Show all posts

Thursday, March 14, 2019

WIPs in Progress: String Log Cabins, Red Charity, and Baby Gifts and Just Get It Done Winner!

Well, I have been busy.  But nothing is complete, yet...

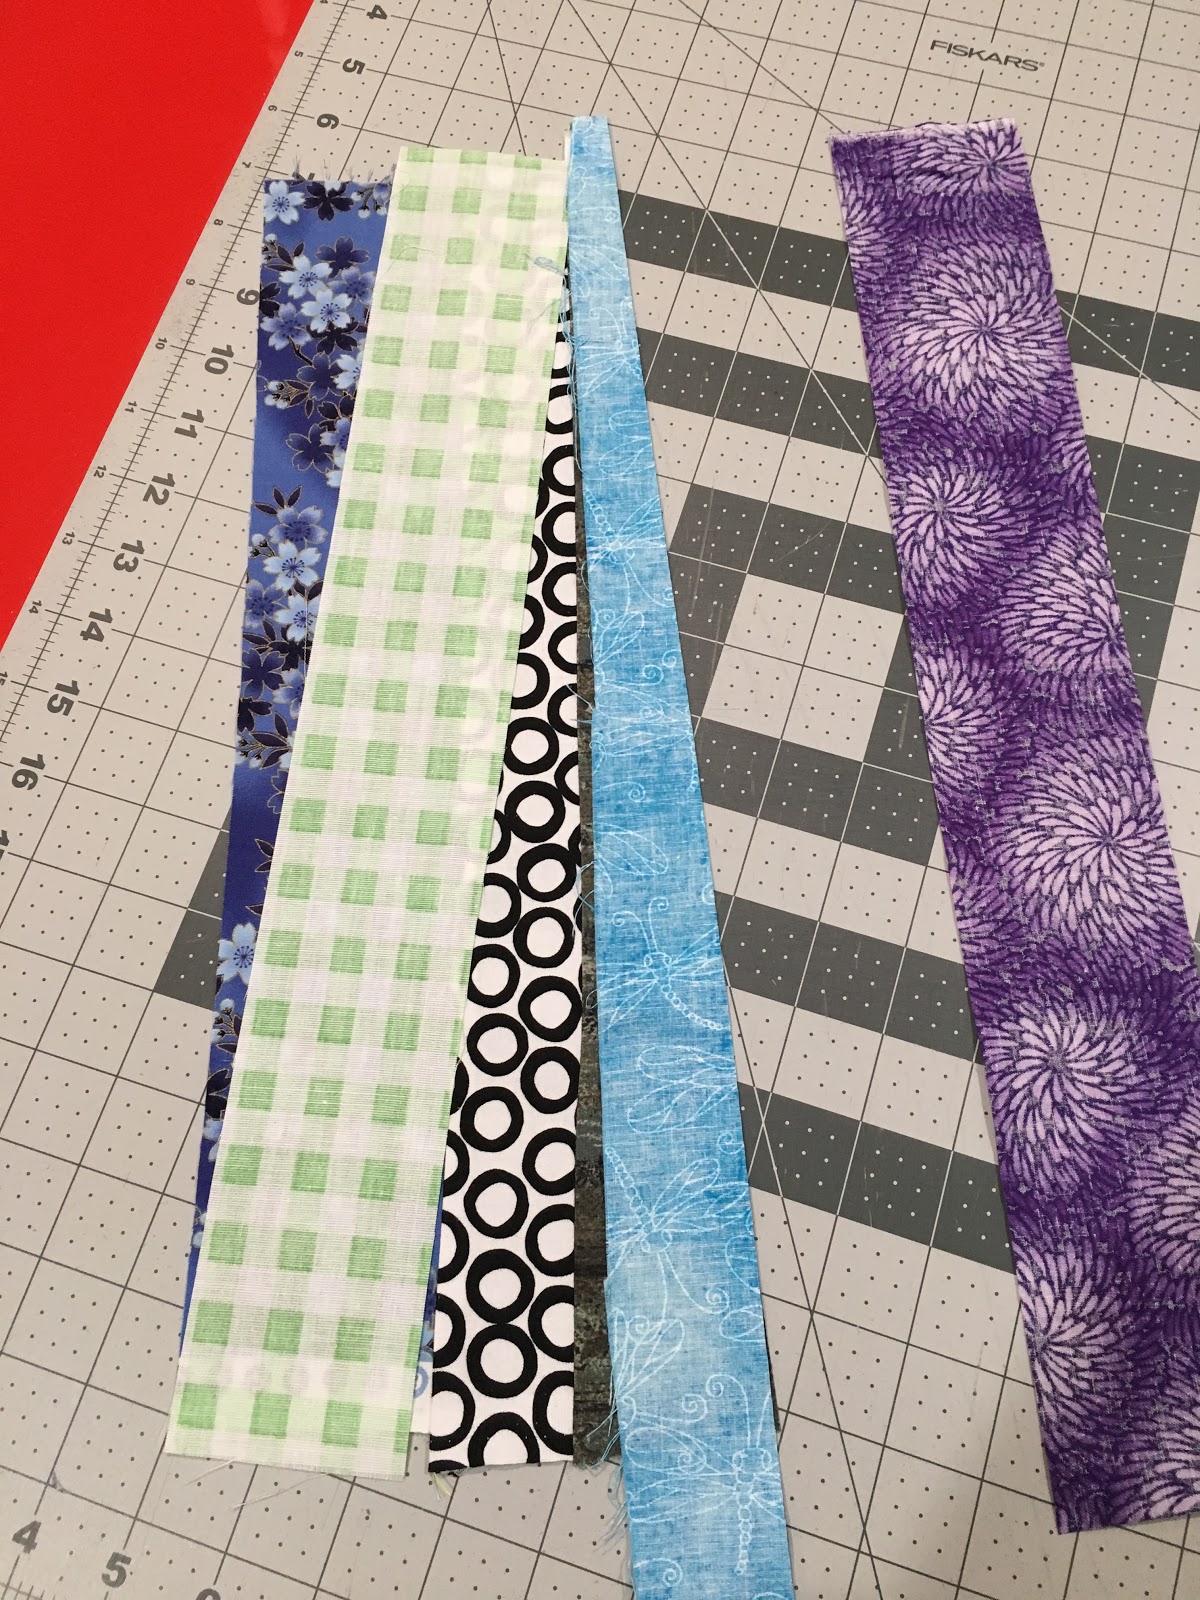
I made more of the strings that will surround the UANDUQAL wonky log cabin with strings quilt.  Was all set to finalize the placement of the blocks, and then received an invitation to a baby shower of a friend's daughter second baby.  I wasn't able to attend the first shower a few years ago when I came down with the shingles (diagnosed when I went to the doctor to receive the shingles shot!).  I never finished that quilt and instead gave her a little gift meant to be a place saver until I finished the quilt.  I reread my notes and see that I used the wrong colors in the blocks I was putting together (but having trouble cutting the final square correctly so the seams would line up).

Here are the blocks I have completed for the wonky log cabin with strings. The log cabins  are placed on top of each  other since my design wall wouldn't hold them all.  Project UANDUQAL.

Here is the link to the post about the original baby quilt.  Notice in the words I say she requested (black, grey and if I had to use another color maybe some purple).   I'm not sure how I converted that to black white, and navy blue.  https://quiltquest.blogspot.com/2017/03/wip-baby-quilt-based-on-allpeoplequilts.html  But since I couldn't get the seams to line up I will save these strips and partially completed blocks for another project, another time.  The Wonky Log Cabin with Strings would almost be the correct colors, but the green and the blue knock it off in the running for the now three year old...

I want to have a quilt for both children for the baby shower on March 23rd.

I'm now thinking of finishing the purple, and black Cultural Fusion Windmill for the first child.
https://quiltquest.blogspot.com/2016/03/omg-march-2016-quilting-cultural-fusion.html
To finish it I just need to square it up and apply the binding.  Would be nice to make a pillow cover too.  I was going to send this to my Swedish friend, but since she doesn't know that was my plan I can make another one for her...  I see in my blog notes I saw a problem with the way I did the quilting as the outer lines will be covered by the binding.  Oh dear.

Then for the new baby (a girl) I may either combine my Liberated Floating Yellow Triangle Quilt:
https://quiltquest.blogspot.com/2016/07/a-variety-of-liberated-floating-yellow.html  This would be pretty easy to put together, but I'm unsure if the mom would like all the yellow and white...  Easy but since I'd have to continue inventing the directions it would be time consuming...

Perhaps better yet, use my newly won fabric from Karen at Just Get It Done Quilts (Blog) that I forgot to write about) and make either a square on point quilt or the Moda So Simple pattern.


The beautiful fabric that I won in a random drawing from Karen Brown is amazing!  30 fat quarters!  In her note she said she hoped I would use it in my next project...


I only need 12 fat quarters for the So Simple pattern though so I'm unsure which to use....  I didn't ask The new mother this time what colors she would like as there is a baby registry where I can see what colors she is liking now...  The fabric Karen sent me match all the colors I think!
Not able to come to any decisions on anything,  I have distracted myself with starting a square on point charity quilt...  Testing this will let me know whether it would be a good pattern to make for the baby girl.

Here are the directions I am doing for this quilt.

Cut squares (my long ruler is 6 x 24 so I cut 6 inch squares).  In doing some rough math since I wanted the quilt to finish at around 42 inches square with out any additional border fabric, I needed 72 squares.

I decided to arrange my squares so when finished there would be an outer border of all the same fabric.  So I needed 12 squares of one fabric, and then 60 squares of a combination of fabric.


Originally I was going to divide my fabrics into darks and lights, but then I added some middle shades and ones that were different as they had large designs.  I just added them in but by by coding them as light or dark the six inch seams never joined with the same fabric.  Once the two squares are together then I will cut each on the diagonal and sew together to get my top.

To work on where the squares would end up I put the pieces of fabric on my bed top:
I decided to try not to stress about it and just be happy if it ended up that two of the same fabric would not have a long seam next to another...

Here is what I have after my first sewing session...


So I have been busy, but nothing is completed.

Do make sure to check out Just Get it Done Quilts! 

Sunday, February 17, 2019

New Project: UANDUQAL

UANDUQAL

Last December Sujata shared an idea for a non-structured quilt along. Using the quilts in the book: Unconventional and Unexpected Quilts by Roderick Kiracofe we will pick a quilt to interpret a project.


From Sujata's Blog: The Root Connection: RED

Here are some  "No Rules" of this U&U Quilt-Along


  • They do not need to be wonky if  you like to stitch in the straight line. 
  • There are no deadlines.
  • I will be sharing some loose directions but you Do Not need to follow my guidelines. You are more than encouraged to go your own way. 
  • Remember that possibilities are endless and you Do Not need to repeat the colors or pattern exactly like it is in the book.  
  • When you post the progress pictures as well as finished quilts on Instagram, use #U&UQA  

Sujata has written about the quilt she is starting with:
https://therootconnection.blogspot.com/2019/01/u-and-u-qal-january-2019.html

It is beautiful.  Such fun to see how she decided to make the pieces and how they are going to fit together.  If you go to her site you will see she made some changes in her initial  plan, and has by using mainly repurposed shirts had a terrific start (of course) to getting her project together.

I was drawn to try this quilt too, but then after reading the first few chapters of the book realized I could get a jump start if I picked a different quilt.  So I am going to use the Block Lotto wonky log cabin blocks that I won for the center and make the log cabin quilt that is on page 54 of Unconventional and Unexpected Quilts


My blocks were made using blue, green, purple, black and white - the directions are still posted at:
http://blocklotto.blogspot.com/2010/03/scrap-strips-for-log-cabin-quilt-with.html
(Anyone making the blocks should remember that the edges of the blocks should have space without a seam so the colors are not lost when they are joined.  I'm going to try to just leave the pieces the way I received them, but will add fabric if any is needed to bring the block to a full 9.5 inches.)

I pulled out most of my fabric in these colors so they are handy to make the surrounding blocks.  (Aside: I shared some of the blocks with a friend. She and I made a baby quilt for her granddaughter.  Now her daughter would like her to make the quilt larger so she needed more blocks and fabric to add on!)  I cut a lot of mostly 2.5 inch strips as they would be a good starting size to deal with don't you think?


I also cut some 12.5 squares of fabric so she would have more flexibility when making her blocks.

As I was cutting I took the odd widths for myself and when there were several cut of the same fabric I split those so I have a large stack in these colors for myself.

So here you can start to see the blocks.  I can only get three across on my counter top, but the final quilt will be made I think so the inner log cabin section will have 20 blocks (4 x 5).  The original quilt on page 54 has 24 log cabin blocks (4 x 6).

At the beginning and ending of each row and column there will be wonky string blocks made of fabrics in the same colors as the log cabins.  These blocks will be the same size as the log cabin blocks (9.5 inches).  Making the first border blocks I started with width of fabric pieces, but now I am using strips that are around 11 inches long.  The four corners will have the strings oriented so they radiate out from the corner so those strings will be around 17 inches and then trimmed down to 9.5 inch square too.

I will need 4 corner border string blocks and 18 or 20* edge border string blocks. (* depending on the number of columns and rows of log cabin blocks in the quilt)


When I was first making the border blocks I laid the new fabric so it was on an angle on the already joined fabric and just arranged where the fabric went as I sewed the seam.  (Then I had to fiddle with the fabric and go back and trim the seams down to .25 inch.)  Now I'm trimming the fabric at an angle so I have a straight edge to sew the new fabric on.


Here is my first set of 17 inch long strips.


Blue/green: At first I would lay the new fabric on the fabric, sew and trim.  (It was tricky to do the trimming when I sewed in this order, so I do not recommend doing this!)
Moss/purple: Now I'm trimming the larger fabric and then just place the new strip down and sew.  Only trimming after the new pieces are joined/pressed and ready to add another strip.  If I am careful I will end up being able to use the trimmed fabric in another block.


Moss/turquoise: I will also test trimming both pieces before joining them.


In the book the strips for the border blocks are made up of strips of different widths.  Some are sewn straight, while others are at an angle.  The corner pieces were set so all the pieces radiated out so I will experiment with that too.

Tips:

I cut most of my strips with a regular straight edge ruler, but at my Saturday group used a
June Tailor Shape Cut 12''x12'' Slotted Ruler. Wow! This made the strip cutting go so much quicker. I just needed to be sure to smooth the fabric and place the fold on the zero line.  Full price this is around $30.  

The Saturday group has pieces of PVC pipe cut to raise the height of the cutting table - what a back saver!  My table doesn't have curved legs though so I'm going to get some furniture lifters.  Home Depot has some that will work and raise the table 8 inches for around $15.  Ideally I think the cutting table should be even taller, but 8 inches is the tallest I could find when I searched online.

All my fabric has been washed.  I was using spray starch to make the fabric easier to cut, but am now experimenting with simply putting some corn starch in a spray bottle with water.  I need to work on the measurements, but this so far is working well. (Sorry, can't remember where I got the idea to do this.)  I put around 1 tablespoon corn starch to 1 cup of water in a spray bottle - just shake to combine.