Pages

Showing posts with label Play with Me. Show all posts

Monday, October 10, 2016

Play with Me QAL: Photo of all the blocks!

http://alidatweloqdesigns.blogspot.com/2016/09/play-with-me-qal-final-linky-party.html
Here is a photo of all my blocks in one frame!

I started with using the aqua and white fabric, but then decided to switch to denim to make them all into pillows for our den and living room!  **Perfect as my husband teaches educational game design and sometimes they do work on designing board games (although this semester they are working on making presidential card games). 

I blogged about making these blocks:
  1. Checkers Pillow Cover denim
  2. Checkers - front only aqua & white 
  3. Nine Man's Morris Pillow Cover denim
  4. Backgammon Pillow Cover denim
  5. GO Pillow Cover  denim
  6. Peg Solitaire - front only  denim
  7. Ludo - front only  denim
  8. Hexie - front only  denim
  9. Coppit - front only   denim
  10. Snakes and Ladders front only   denim
This QAL was done very nicely.  The directions were clear and challenged us to use different types of procedures for the blocks.  But we were also allowed/encouraged to make changes as desired to make the blocks our own.

: )

Click here to see what the others have finished up!
http://alidatweloqdesigns.blogspot.com/2016/09/play-with-me-qal-final-linky-party.html


http://alidatweloqdesigns.blogspot.com/2016/09/play-with-me-qal-final-linky-party.html

Wednesday, September 28, 2016

Play with Me QAL: 09-2016 Snakes and Ladders

http://alidatweloqdesigns.blogspot.com/2016/09/
play-with-me-qal-snakes-and-ladders_26.html
The last game board for 2016 is Snakes and Ladders!

Here is my version in various denims...


Click to see the way other folks made the game board!
http://alidatweloqdesigns.blogspot.com/2016/09/play-with-me-qal-snakes-and-ladders_26.html


I'll be adding a back with a zipper so this can join the other Play with Me pillows from the year! 


-=-=-=-=-

Escondido City Hall Area Photos


 Nice event that I didn't attend, but what a great idea for a library to host each month!

Friday, August 19, 2016

Play with Me QAL - 2016-08 Coppit - Curved Paper Piecing

I have finished the block for this month's Play With Me Game Board.
http://alidatweloqdesigns.blogspot.com/2016/08/play-with-me-qal-linky-party-month-8.html

The game is one I hadn't heard of before - Coppit.  (Looks like a Trivial Pursuit game board sort of.) The skill to practice was paper piecing with curves.

Really the most difficult thing was decided what fabric to use in the different spots for the block...

I am still using the same denim from pants I do not need, so my colors are black (very heavy fabric), denim blue, and two shades of tan.  I wasn't sure if I had enough of one color so thought it would be best to use both...

Tah Tah!


Side Notes:

I used fabric glue stick for the first piece of each section - that makes it nice and flat for adding the second piece of fabric.

When fabric joined at the center, I started at the center as I figured that was the most important to match up.  But everything matched anyway as it was a good pattern!

I used the seams in the outer circle as points to match, I think in a few cases reversing the order of the paper piecing would make the seams be more consistent.


There were corners in the templates that were to be trimmed, but when I put the pieces together the cut tips were up against uncut tips, so I'm not sure what I was missing in how the trimming was to help.  It make it harder for me to match the sides near the corners.

Since I used two tans, I could have thought ahead and counted the pieces so things would be alternating all around.

I trimmed the seams as I removed the paper and that worked out nicely for this block.

-------

Another great challenge by Alida at Play with Me!  Please click to see progress of the others!

There is still one more month for you to join in the fun.

Monday, July 25, 2016

Play with Me QAL - 2016-07 Hexie - Denim Machine Sewn Hexagons - with no paper piecing

This month the Play With Me QAL board game is HEX, so of course the game board is made of hexies.

In the pattern, several methods of making them are explained, but since I'm using denim from old pants, it seemed the traditional English paper piecing would be impossible.

I decided I needed to resize the pattern so the game board would be more symmetrical, that means I made the hexies so they were smaller.  I didn't know enough the beginning to realize it would then make the pieces even more difficult to manage!

I found a lot of help online to get the hex board done with the machine:

Machine Sewn Hexagons - start with perfectly cut shapes.
http://tallgrassprairiestudio.blogspot.com/2012/02/sewing-hexagons-by-machine-without.html
The problem for me was starting with the perfectly cut shapes, but I took her advice and modified to suit the denim...

Start with perfectly cut shapes and draw the seam lines on each piece.
https://katyquilts.net/2013/04/21/machine-piecing-hexagons-tutorial/
http://www.fromthebluechair.com/2012/11/how-to-piece-hexagons-part-2.html
She discusses the placement of the grain of the fabric here:
http://www.fromthebluechair.com/2012/11/how-to-piece-hexagons-part-1.html
Hmm, I thought.  Drawing the seams might be just what I need to do!  Then it would be easy to start each seam a stitch short so there would be less chance of needed to remove stitches later.

This one suggests sewing the hexagon on facing then turning that inside out and pressing where you want it on the backing:
http://reannalilydesigns.com/2013/01/hexagons-made-easy/
http://www.sewmamasew.com/2014/05/modern-geometric-pillows/
My pieces were too small to even try this!

Making the hexagon look by sewing half hexagons:
http://sewmanyways.blogspot.com/2010/08/machine-sewing-hexagonshalf-hexies-that.html
http://www.polkadotchair.com/2013/10/large-hexagon-quilt-tutorial.html/
http://modernhandcraft.com/2014/10/hexagon-snuggle-quilt/
I thought the extra seams would be too apparent in the end product this time.

Paper Piecing (but sewing straight seams on paper) without folding and ironing:
Derksen, Cori, and Myra Harder. Traditional Quilts to Paper Piece: 14 Small Projects. Woodinville, WA: Martingale, 2003. Print.
I bought a used copy of these from Rodney's in Cambridge last month.  Really a neat idea, but I decided to save the technique for different fabric.

Another way would be to sew them directly to the backing - but this method still required folding the fabric over paper first - Very cute and different look when done!
http://modernhandcraft.com/2016/07/quilt-it-modern-hexie-pillows/
http://modernhandcraft.com/2013/11/hexagon-mini-quilt-tutorial/
I was sure some of my denim would be too thick for folding over the paper.

This way you just cut the fabric and sewed on the backing:
http://modernhandcraft.com/2015/01/hexie-pincushion-a-tutorial/
I didn't see this until I had already finished several rows using my primitive draw the outline of the hexit method. 

I was afraid I wouldn't get things lined up exactly enough...  but the photos on the modernhandcraft.com site were so appealing.  I decided I needed to at least test the method.

So I did.  I tested the method with a smaller number of hexies and was really pleased with the result.  This is something I will try again! (If I hadn't already done so much work on the project I would have switched to this method for the gameboard.)
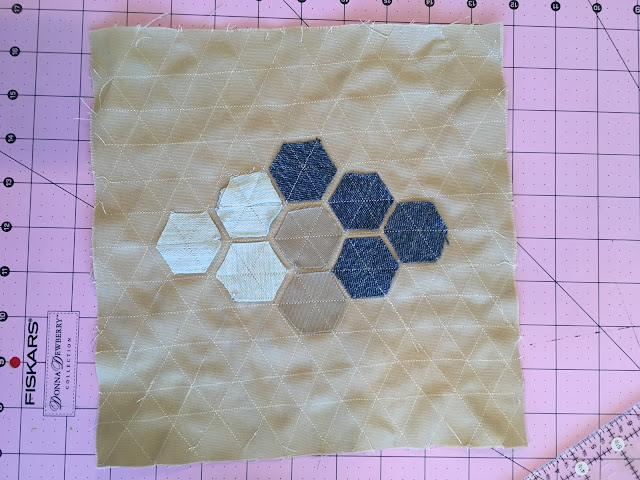

I eyeballed all of this.  Think how terrific it would be if I premarked the lines!
Here is a link to a different, easier way perhaps to stitch the hexies down - way different look.
http://lilluna.com/jean-hexagon-pillow/
(Got the link from http://gnomeangel.com/link-love-illness-slow-stitching/ )


So after this research, here is what I did. (after reading websites and articles about how to play the game)

I printed one that would fit on a regular sheet of paper, drew the line for the game board, and challenged my husband to a game!  (Somewhere I read that during WWII people would play paper versions of this game provided by their government or army while waiting for the 'all clear' in underground shelters.  I didn't save that link, but it was interesting in a sad way to think about.) 
So now I had the game to preserve on the pillow!

The pillow front will be around 18 - 20 inches so the size of the design could be larger than the piece where we played the game.  I enlarged and printed two times.  I then cut and taped the two pieces so I had a life sized pattern.  I transferred the pieces showing the game to be preserved on this pattern.

I decided on my fabrics, made a template to trace the design using the top of a plastic container.  I tried tracing with a pencil and pen, but they distorted the fabric too much, so I decided to take advantage of the fabric being so thick and just use a Sharpie.

Paper pattern, paper game, individual hexies and hexies sewn together in rows (back sides).
 I randomly made outlines on the back of different denim.  Then arranged one row to match the colors in my game board.  Sewed the straight seam for that row.  It didn't look like this was going to work out, but I thought I'd continue until I came up with another way to do it.

I sewed one hexie at a time to the next row for a while.  It was really difficult to keep track of what was to be sewn together!  So I thought to join the hexies in order for the rest of the row and then join them together.  This made it much more manageable!

(Actually I tried using my sashiko needle and thread to join some pieces when I was at a sewing group without a machine.  But a smaller needle and or thread would have been better, so I removed what I could and sewed together again with the machine.)

So for the rest of the project I would do that.  Sew the eight hexagon pieces together so they were order, then I would start at a place where there were different colors to be joined and sew.  Then I'd return to the other side of the colors and continue sewing the row.

Rows sewn together on the flat sides, paper pattern, and right side of sewn rows.
To help ensure the matching of the intersections and to help me keep track of which seam I was sewing, I placed two pins at the start and end of each seam.  (I put them in by looking at the drawn lines on each side.)

Backside showing next seam to be sewn. Pins matched on both sides of the drawn lines placed to show me where to sew.
I would place the piece under the machine and lower the needle, then would remove the first pin before starting to sew.

About to put the needle down and remove the pin.
At first this was very difficult for me to do, and not fun at all.  I'm not sure if it ever would be fun, but it was very do-able and I am pleased at how it looks at this point. This would not work for a quilt as it would be too bumpy, but for a pillow in the game board series will be very nice.

Front side of the piece without borders.
But now I need to work on the borders for the game board!  At first I didn't think the borders would be important, but for the game it's important to show the players the sides of the board they have to start and end.

First I was going to just  trace the pattern on a strip of fabric and sew each seam as I had done before...

But I lost my confidence, so went back to making individual hexagons and sewing things together.


!! If I do this again I will simply add the ends when doing each row!!

Nine hexies in each black row.  The coloring didn't make it clear that the corners could belong to either player.

The last two rows were easy to add.  I was starting to think ahead for how I was going to add the rest of the pillow front to the game board.  But something wasn't right.  There were more hexies in each of those rows.

There was several hexies removed and replaced, and removed and replaced, but finally I settled on making two hexies that were half of each color and then placing them in the larger angles of the piece. (So all the border sides have 8 1/2 cells of a color.)


First I put a border around the game board.  Then I cut two rectangles - and then cut them on the diagonal and sewed those on the piece.  I made a template to help me with the size of the front of the pillow, pinned that down and then cut the piece.

I am behind with making several of my game boards into pillows, but that is still the plan.

I have admired hexie quilts for a long time.  I know I didn't do this in the correct way.  It seemed more important to make it using the denim for this project.  I don't think I ever would have put this on my bucket list, and even if I do not make another one (with regular cotton and larger pieces) I have a new found appreciation and amazement at the work done by others.

You can see how the others in the quilt a long have done their hexie game boards. You can still join the quilt a long for the final months of the adventure.


Sunday, July 3, 2016

Play with Me QAL: 06-2016 Ludo

Play with Me Quilt Along
Traditional Piecing - Wow!

This block was fun to sew.

Clear directions but I had to sew it to believe it.

It was a wonderful puzzle to solve.

Alida had us cut all the fabric first, then do sections of the board, then finally put things together and it all made sense!  I'm very happy!

The arrow was such a pleasant surprise!

There must be some secret-to-me rule of thumb about pressing seams though.
However, because this is going to be a pillow case this will be fine.
Only you and I will know how the seams look behind the case!   : )


To get the four colors in denim I used fabric from different pants than before, and they turned out to be very stretchy.  Took me a while to figure out how to work with it, but it was manageable!

I need to get some more zippers and pillow forms so I can put this on the sofa to join the other games!

Thank you Alida again for  doing the Play with Me Quilt Along!
Play with Me Quilt Along
  My husband is so happy when I put out a new game pillow!


Wednesday, May 18, 2016

Play with Me QAL: 05-2016 Peg Solitaire/Applique

http://alidatweloqdesigns.blogspot.com/
2016/05/play-with-me-qal-linky-party-month-5.html
It's another cute tutorial for a game board this month!  I hadn't seen the layout the way it was in the tutorial, but did remember playing this at Cracker Barrel with our boy so I decided to do that layout triangle for the board instead.

I wasn't sure how the applique would work since I'm sewing on denim...  I tried cutting circle and using the machine to outline using a regular stitch.  Then I tried my new machine with the blanket stitch, after sewing the circle on fusible web then turning it backwards - that took a long time.  Then I thought about and just made a square to keep the fabric down.  I even cut a square and tightened the fabric using a cardboard circle to make the shape - that one I didn't even finish as it was way too bulky and time consuming so you won't see that try!

I couldn't find the cheater needle that I use to hide threads so you have to look beyond that for now to see the circles...  I plan to find that needle, hide and take a new photo sometime...  : )
I'm thinking this will be the back of my future game board pillow.

I finished the board game block though...  


How did I do it?

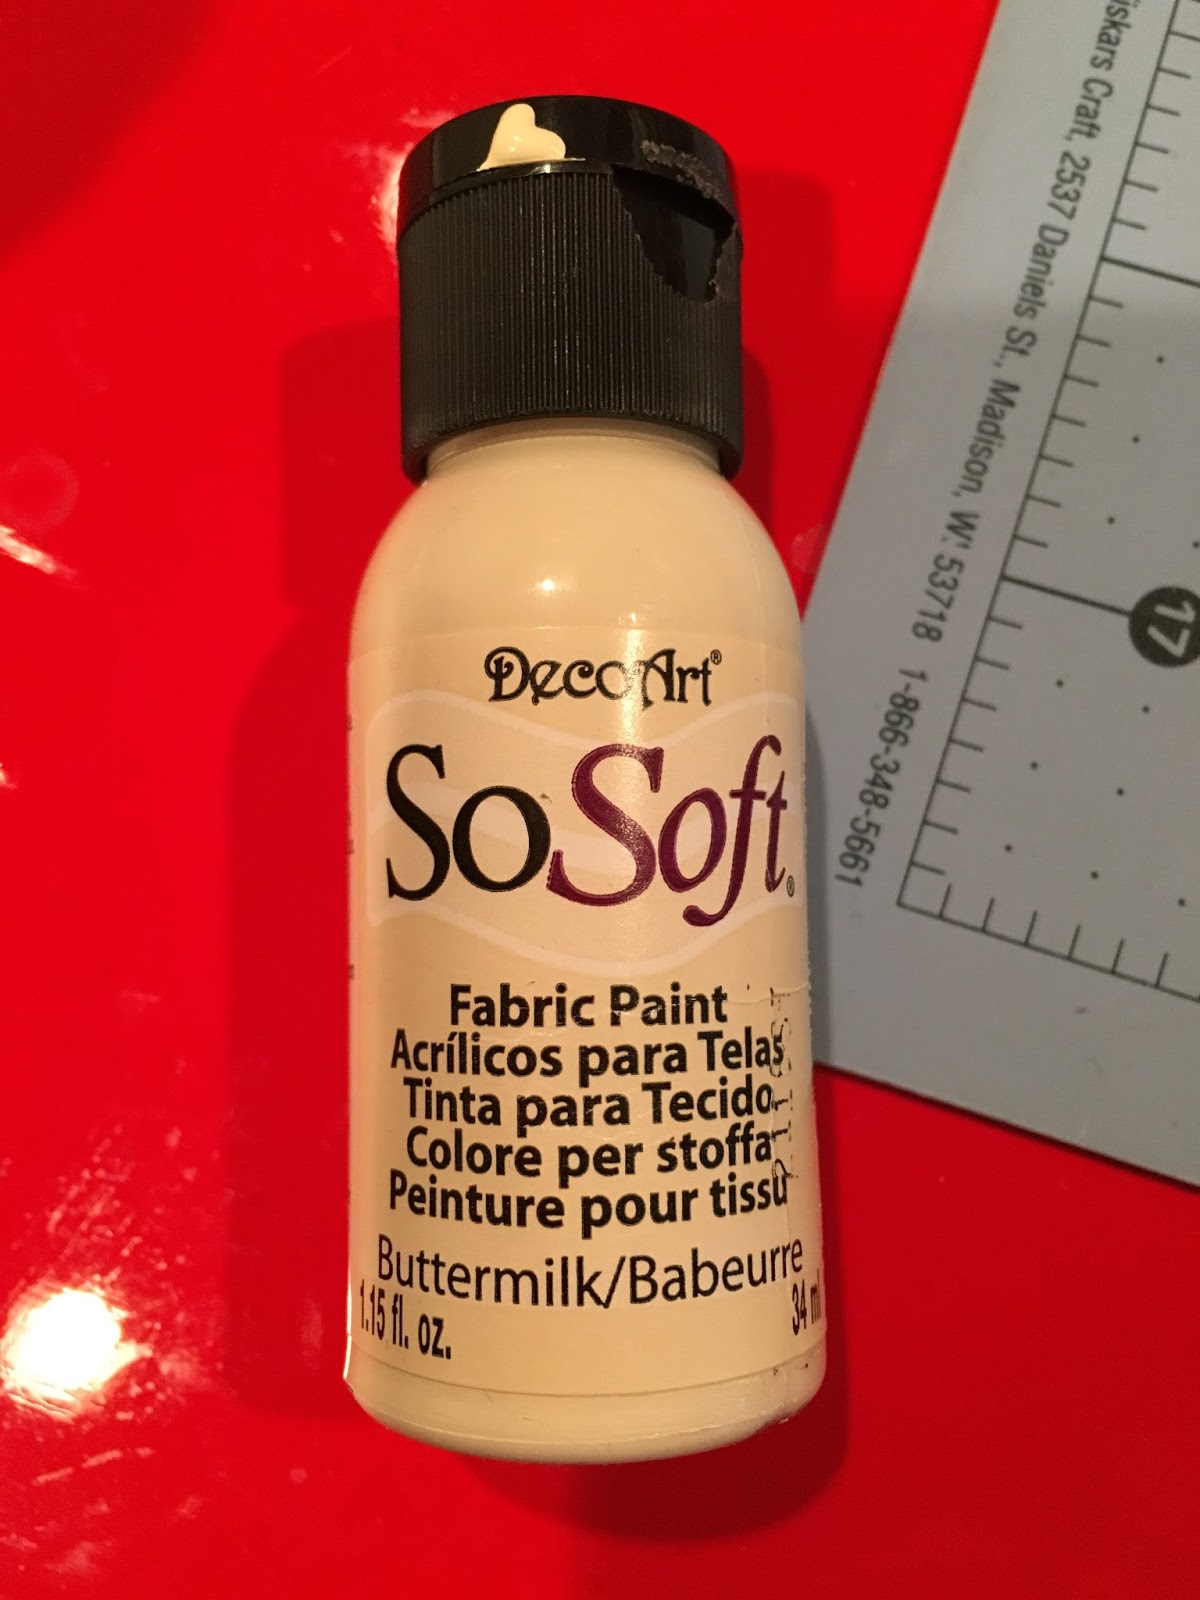
Yes!  With fabric paint!

I used tape to mark where the pegs would go.  And just painted them on!

I'm pleased with how this turned out and feel very clever to have found a solution that worked for me.
(I had also thought about sewing large buttons down, but the ones at the store I went to were $4.00 to $9.00 each!)
Peg Solitaire Board Game - Triangle Version

 I will make this into a pillow later this summer.  For now though I have the game board part finished!

My husband even said the pile of dots has some meaning in his fraternity so it will have extra meaning beyond remembering the time at Cracker Barrel when we played the game together with our son!

I'll work on my applique skills later with regular fabric. I just couldn't do it this time. I read a great post by Made by Chrissy D where she shows how she is working on some Sashiko.  She mentions how she thinks it helping her with other hand stitching.  So perhaps I will try that out too.

Anyway, thank you again Alida for organizing the Play with Me QAL where we are inspired to use different techniques to create a game board.

Please click so you can see what folks are doing, and join in!  You'll see some very pretty work done by the others!


Friday, April 15, 2016

Play with Me QAL: 04-2016 GO/Embroidery


I am really having fun with these Play with Me QAL board game block pillows!

This month we made a GO board and used embroidery.

Click and see what the others have created this month!


This month it's a GO board, and the skill is embroidery.

I used this as an opportunity to get more familiar with my new Brother sewing machine.

I changed the foot as needed, but tested how the stitches would look on a sample piece of denim.

I sewed on the back as that was how I was marking my pillow top, and wrote the stitch number with pen so I could refer back to the piece.


I was pretty pleased with how well the stitches looked on the opposite side.

I thought the column of asterisks stood out and was narrow so picked that to start!
In looking up GO boards I found there are different number of lines but that the 9 x 9 was a good beginner's board.  

Some of the sites discussed how the cells were not to be square, but then there was discussion about how the size was very different and if the object was to make it appear square then it would also have to do with how tall the players were.  

I did find one place that said the cells have a ratio of 15:14.  Luckily this was easy to put into action as 1.75 inch is also 14/8th so I drew that for one direction and then did 15/8th for the other direction. I used a pencil and then a pen to mark the lines.  

I sewed the center lines, then consulted my husband on what stitches he wanted.  He requested that the inner lines all be the same, that there be a different outer border, and that the little dots (hoshi) be added with black thread.

Link One Equipment Dimensions
Link Two Seattle GO Center
Link Three Print out GO Board - see hoshi placement
Link Four - 15:14


I discovered that by unplugging the foot pedal of my new Brother 600i sewing machine, I can press a button on the machine to control the speed and to turn the machine on and off!  So all I had to do was guide the material so the lines were between the center of the foot.

So although this did take time, it didn't take as long as I thought it would!  The secret was in the marking and in having this cool new machine to sew fancy stitches with!

I had to fill the bobbin during this process, but I bet you can't tell where I did it.  I'm not sure I can find the spot again myself!

 This is what the board looked like once the lines and border were done.


I pinned the flap to the back and the zipper.
Doubling checking what will show on the flap.


This time I trimmed the corners before joining the front to the back.


Again added a row of top stitching. Note to self: the zipper foot should not have been used for this step.
Pinning the second part of the zipper in place.
Triple checking!


The Reward!
Here are my four pillows!


Click and see what the others have created this month!